
Casdoor 是一个基于 OAuth 2.0 / OIDC 的中心化的单点登录(SSO)身份验证平台,简单来说,就是 Casdoor 可以帮你解决用户管理的难题,你无需开发用户登录、注册等与用户鉴权相关的一系列功能,只需几个步骤进行简单配置,与你的主应用配合,便可完全托管你的用户模块,简单省心,功能强大。
官网有 demo 体验,及文档。本文是依照文档「服务器安装」「使用 Docker 运行」于 Ubuntu 22 上的实践记录。
安装环境
安装 Go
1# 下载,依据系统选择 Linux x86-64 的发布包
2curl -O -L https://go.dev/dl/go1.20.4.linux-amd64.tar.gz
3# 解压
4tar -xzvf go1.20.4.linux-amd64.tar.gz
5# 重命名,带上版本号
6mv go go1.20.4.linux-amd64
7# 软链,便于配置或切版本
8sudo ln -sfT `pwd`/go1.20.4.linux-amd64 /usr/local/go
9# 配置,GOPATH 用自己的工作目录
10cat <<-EOF >> ~/.bashrc
11# go
12export GOROOT=/usr/local/go
13export GOPATH=\$HOME/Codes/Go
14export PATH=\$GOROOT/bin:\$GOPATH/bin:\$PATH
15EOF
16# 检查
17go version
18go env
安装 Node.js
1# 下载,选了当前最新的 LTS 版本,可用
2curl -O -L https://nodejs.org/dist/v18.16.0/node-v18.16.0-linux-x64.tar.xz
3# 解压
4tar -xvf node-v18.16.0-linux-x64.tar.xz
5# 软链,便于配置或切版本
6sudo ln -sfT `pwd`/node-v18.16.0-linux-x64 /usr/local/node
7# 配置,GOPATH 用自己的工作目录
8cat <<-EOF >> ~/.bashrc
9# node
10export NODE_HOME=/usr/local/node
11export PATH=\$NODE_HOME/bin:\$PATH
12EOF
13# 检查
14node -v
15npm -v
安装 Yarn
1npm install yarn -g
2# 检查
3yarn -v
安装 MySQL
1sudo apt update -y
2# 安装
3sudo apt install mysql-server -y
4
5# 检查
6systemctl status mysql.service
7# 或启动
8systemctl start mysql.service
配置 MySQL:
1 修改 root 用户的密码,
1sudo mysql
2ALTER USER 'root'@'localhost' IDENTIFIED WITH mysql_native_password BY 'YourPassword';
3exit
不然,执行 mysql_secure_installation 会遇到如下错误:
1 ... Failed! Error: SET PASSWORD has no significance for user 'root'@'localhost' as the authentication method used doesn't store authentication data in the MySQL server. Please consider using ALTER USER instead if you want to change authentication parameters.
2 执行配置脚本 mysql_secure_installation 把不安全的功能都给关了,
1$ sudo mysql_secure_installation
2
3Securing the MySQL server deployment.
4
5Enter password for user root:
6The 'validate_password' component is installed on the server.
7The subsequent steps will run with the existing configuration
8of the component.
9Using existing password for root.
10
11Estimated strength of the password: 100
12Change the password for root ? ((Press y|Y for Yes, any other key for No) : n
13
14 ... skipping.
15By default, a MySQL installation has an anonymous user,
16allowing anyone to log into MySQL without having to have
17a user account created for them. This is intended only for
18testing, and to make the installation go a bit smoother.
19You should remove them before moving into a production
20environment.
21
22Remove anonymous users? (Press y|Y for Yes, any other key for No) : y
23Success.
24
25
26Normally, root should only be allowed to connect from
27'localhost'. This ensures that someone cannot guess at
28the root password from the network.
29
30Disallow root login remotely? (Press y|Y for Yes, any other key for No) : y
31Success.
32
33By default, MySQL comes with a database named 'test' that
34anyone can access. This is also intended only for testing,
35and should be removed before moving into a production
36environment.
37
38
39Remove test database and access to it? (Press y|Y for Yes, any other key for No) : y
40 - Dropping test database...
41Success.
42
43 - Removing privileges on test database...
44Success.
45
46Reloading the privilege tables will ensure that all changes
47made so far will take effect immediately.
48
49Reload privilege tables now? (Press y|Y for Yes, any other key for No) : y
50Success.
51
52All done!
3 恢复 sudo mysql 登录,
用客户端的话,跳过这一步。
1# 密码登录
2mysql -u root -p
3# 恢复 sudo mysql 登录
4ALTER USER 'root'@'localhost' IDENTIFIED WITH auth_socket;
5# 退出
6exit
安装 MySQL 客户端:
1# 例如,用 MySQL Workbench
2sudo snap install mysql-workbench-community
3# 或者,用 phpMyAdmin 等
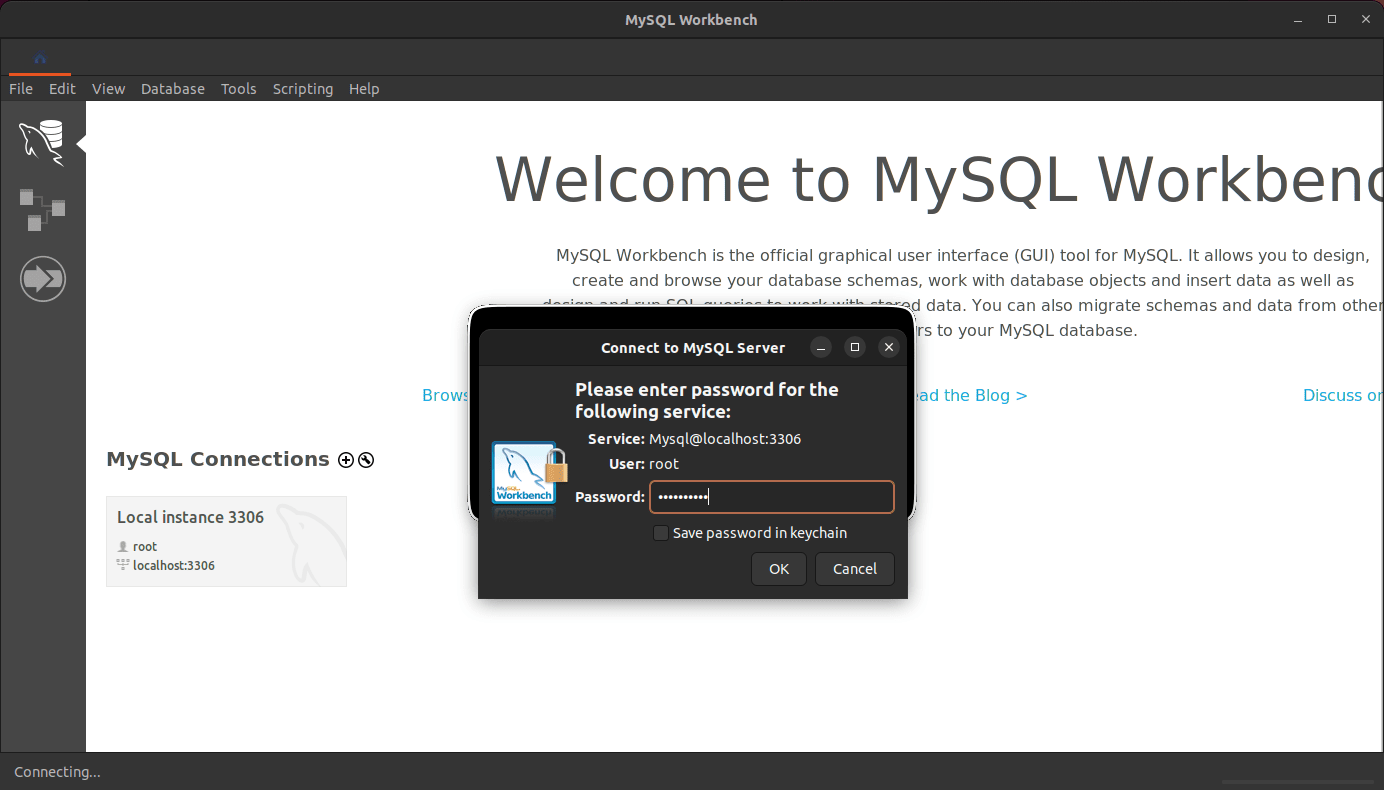
选择 Local 实例,用密码登录,
创建一个名为 casdoor 的数据库,
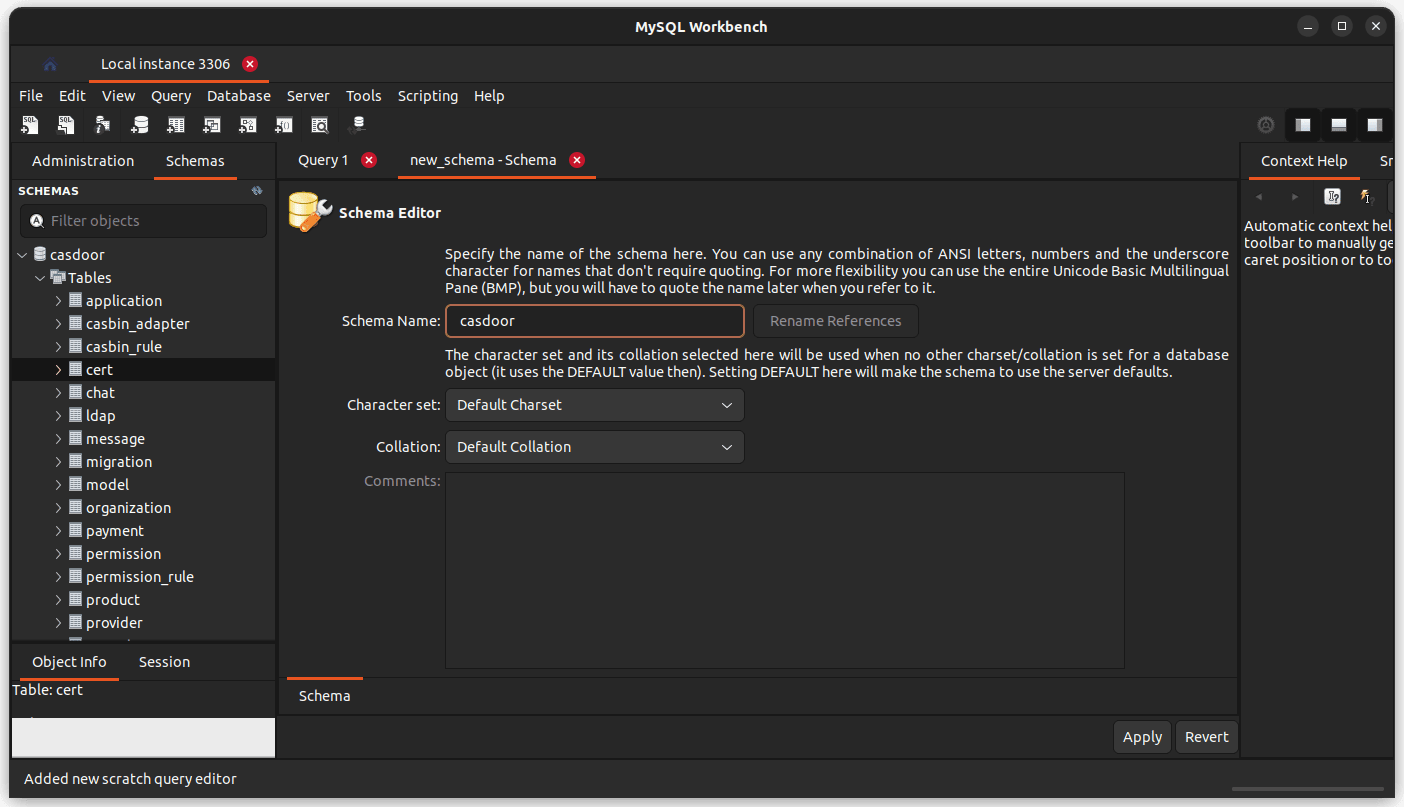
另外,可创建一个名为 casdoor 的新用户,专门管理该数据库。
获取源码
进工作目录,获取 Casdoor 源码,
1# 获取源码
2git clone --depth 1 https://github.com/casdoor/casdoor.git
配置
配置位于 casdoor/conf/app.conf,
1appname = casdoor
2httpport = 8000
3runmode = dev
4copyrequestbody = true
5driverName = mysql
6dataSourceName = root:123456@tcp(localhost:3306)/
7dbName = casdoor
8tableNamePrefix =
9showSql = false
10redisEndpoint =
11defaultStorageProvider =
12isCloudIntranet = false
13authState = "casdoor"
14socks5Proxy = "127.0.0.1:10808"
15verificationCodeTimeout = 10
16initScore = 2000
17logPostOnly = true
18origin =
19staticBaseUrl = "https://cdn.casbin.org"
20isDemoMode = false
21batchSize = 100
22ldapServerPort = 389
23languages = en,zh,es,fr,de,id,ja,ko,ru,vi
24quota = {"organization": -1, "user": -1, "application": -1, "provider": -1}
目前先只配置数据库字段 driverName dataSourceName dbName。更多字段说明,见官方文档「服务器安装 / 通过-ini-文件配置」。
运行
开发模式
运行后端:
1cd casdoor/
2go run main.go
如果发生错误 checksum mismatch,可执行:
1go clean -modcache
2rm go.sum
3go mod tidy
4# 还不行,切个代理,再试一次
5#  可能代理缓存不一致;可写进 ~/.bashrc
6export GOPROXY="https://goproxy.cn,direct"
运行前端:
1cd casdoor/web
2yarn install
3yarn start
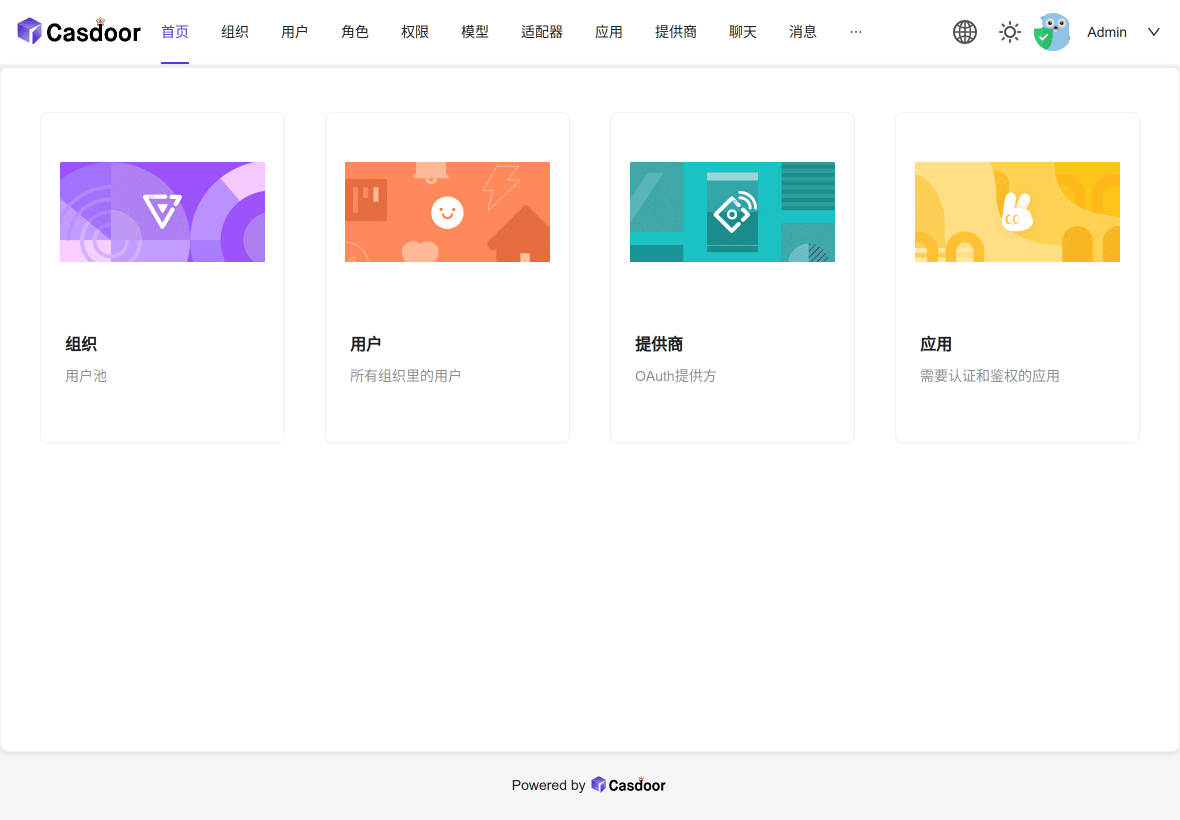
访问 http://localhost:7001/,用户 admin 密码 123 登录,
生产模式
运行后端:
1cd casdoor/
2go build
3./casdoor
运行前端:
1cd casdoor/web
2yarn install
3yarn build
容器运行
Docker 准备
Install Docker Desktop on Ubuntu,
1$ docker -v
2Docker version 23.0.6, build ef23cbc
3
4$ docker compose version
5Docker Compose version v2.17.3
Docker 运行
Casdoor 可以使用 docker-compose 运行,它带有独立的数据库,
1cd casdoor/
2docker compose up
可以如下修改,用本地已有的数据库,
- 编辑
docker-compose.yml- 删掉
services/casdoor下,entrypoint里的--createDatabase=true参数depends_on里的db依赖
- 删掉
services/db的所有配置
- 删掉
1version: '3.1'
2services:
3  casdoor:
4    restart: always
5    build:
6      context: ./
7      dockerfile: Dockerfile
8      target: STANDARD
9    entrypoint: /bin/sh -c './server'
10    ports:
11      - "8000:8000"
12    volumes:
13      - ./conf:/conf/
- 编辑
Dockerfile删掉ENTRYPOINT ["/server"]之后的 db 内容- 遇到
go build提示版本问题,可修改FROM golang:1.17.5 AS BACK升下版本,如1.20.4 - 遇到
go test不过,- 若下载问题,可命令前加
export GOPROXY="https://goproxy.cn,direct" &&用代理 - 若
TestGetVersionInfoFail,可git pull --unshallow拉取更多 commits 即可
- 若下载问题,可命令前加
- 遇到 apk 安装问题,可以注掉
RUN sed -i 's/https/http/' /etc/apk/repositories - 遇到 yarn fresh packages 永不终止,可以注掉
yarn config set registry https://registry.npmmirror.com
- 遇到
此外,再写个独立的 docker-secret.yaml 来放 services/casdoor 的数据库配置:
1version: '3.1'
2services:
3  casdoor:
4    environment:
5      driverName: "mysql"
6      dataSourceName: "casdoor:password@tcp(host.docker.internal:3306)/"
7      dbName: "casdoor"
最后,
1# 运行服务
2$ docker compose -f docker-compose.yml -f docker-secret.yml up
3[+] Running 2/0
4 ✔ Network casdoor_default      Created                                                                                                 0.0s
5 ✔ Container casdoor-casdoor-1  Created                                                                                                 0.0s
6Attaching to casdoor-casdoor-1
7casdoor-casdoor-1  | 2023/05/14 06:00:00 Listening on 0.0.0.0:389
8casdoor-casdoor-1  | 2023/05/14 06:00:00.000 [I]  http server Running on http://:8000
访问 http://localhost:8000/,用户 admin 密码 123 登录。
结语
Casdoor 这里选择源码方式安装,是考虑做定制化修改;使用容器编译和运行,是考虑发布和部署。
至于 Casdoor 功能如何、怎么使用,要阅读官方文档多做了解,同时也在运行环境里实际玩上一玩。
GoCoding 个人实践的经验分享,可关注公众号!