MobX 用于状态管理,简单高效。本文将于 React 上介绍如何开始,包括了:
- 了解 MobX 概念
- 从零准备 React 应用
- MobX React.FC 写法
- MobX React.Component 写法
可以在线体验: https://ikuokuo.github.io/start-react ,代码见: https://github.com/ikuokuo/start-react 。
概念
首先,ui 是由 state 通过 fn 生成:
1ui = fn(state)
在 React 里, fn 即组件,依照自己的 state 渲染。
如果 state 是共享的,一处状态更新,多处组件响应呢?这时就可以用 MobX 了。
MobX 数据流向如下:
1      ui
2    ↙    ↖
3action → state
ui 触发 action,更新 state,重绘 ui。注意是单向的。
了解更多,请阅读 MobX 主旨 。这里讲下实现时的主要步骤:
- 定义数据存储类
Data Store- 成员属性为
state,成员函数为action - 用
mobx标记为observable
- 成员属性为
- 定义
Stores Provider- 方式一
React.Context:createContext包装Store实例,uiuseContext使用 - 方式二
mobx-react.Provider:直接包装Store实例,提供给Provider,uiinject使用
- 方式一
- 实现
ui组件- 用
mobx标记为observer - 获取
stores,直接引用state - 若要更新
state,间接调用action
- 用
项目结构上就是多个 stores 目录,定义各类 store 的 state action,异步操作也很简单。了解更多,请阅读:
准备
React App
1yarn create react-app start-react --template typescript
2cd start-react
React Router
路由库,以便导航样例。
1yarn add react-router-dom
Antd
组件库,以便布局 UI。
1yarn add antd @ant-design/icons
高级配置,
1yarn add @craco/craco -D
2yarn add craco-less
craco.config.js 配置了深色主题:
1const path = require('path');
2const CracoLessPlugin = require('craco-less');
3const { getThemeVariables } = require('antd/dist/theme');
4
5module.exports = {
6  plugins: [
7    {
8      plugin: CracoLessPlugin,
9      options: {
10        lessLoaderOptions: {
11          lessOptions: {
12            modifyVars: getThemeVariables({
13              dark: true,
14              // compact: true,
15            }),
16            javascriptEnabled: true,
17          },
18        },
19      },
20    },
21  ],
22  webpack: {
23    alias: { '@': path.resolve(__dirname, './src') },
24  },
25};
ESLint
VSCode 安装 ESLint Prettier 扩展。初始化 eslint:
1$ npx eslint --init
2✔ How would you like to use ESLint? · style
3✔ What type of modules does your project use? · esm
4✔ Which framework does your project use? · react
5✔ Does your project use TypeScript? · No / Yes
6✔ Where does your code run? · browser
7✔ How would you like to define a style for your project? · guide
8✔ Which style guide do you want to follow? · airbnb
9✔ What format do you want your config file to be in? · JavaScript
配置 .eslintrc.js .eslintignore .vscode/settings.json,详见代码。并于 package.json 添加:
1"scripts": {
2  "lint": "eslint . --ext .js,.jsx,.ts,.tsx --ignore-pattern node_modules/"
3},
执行 yarn lint 通过, yarn start 运行。
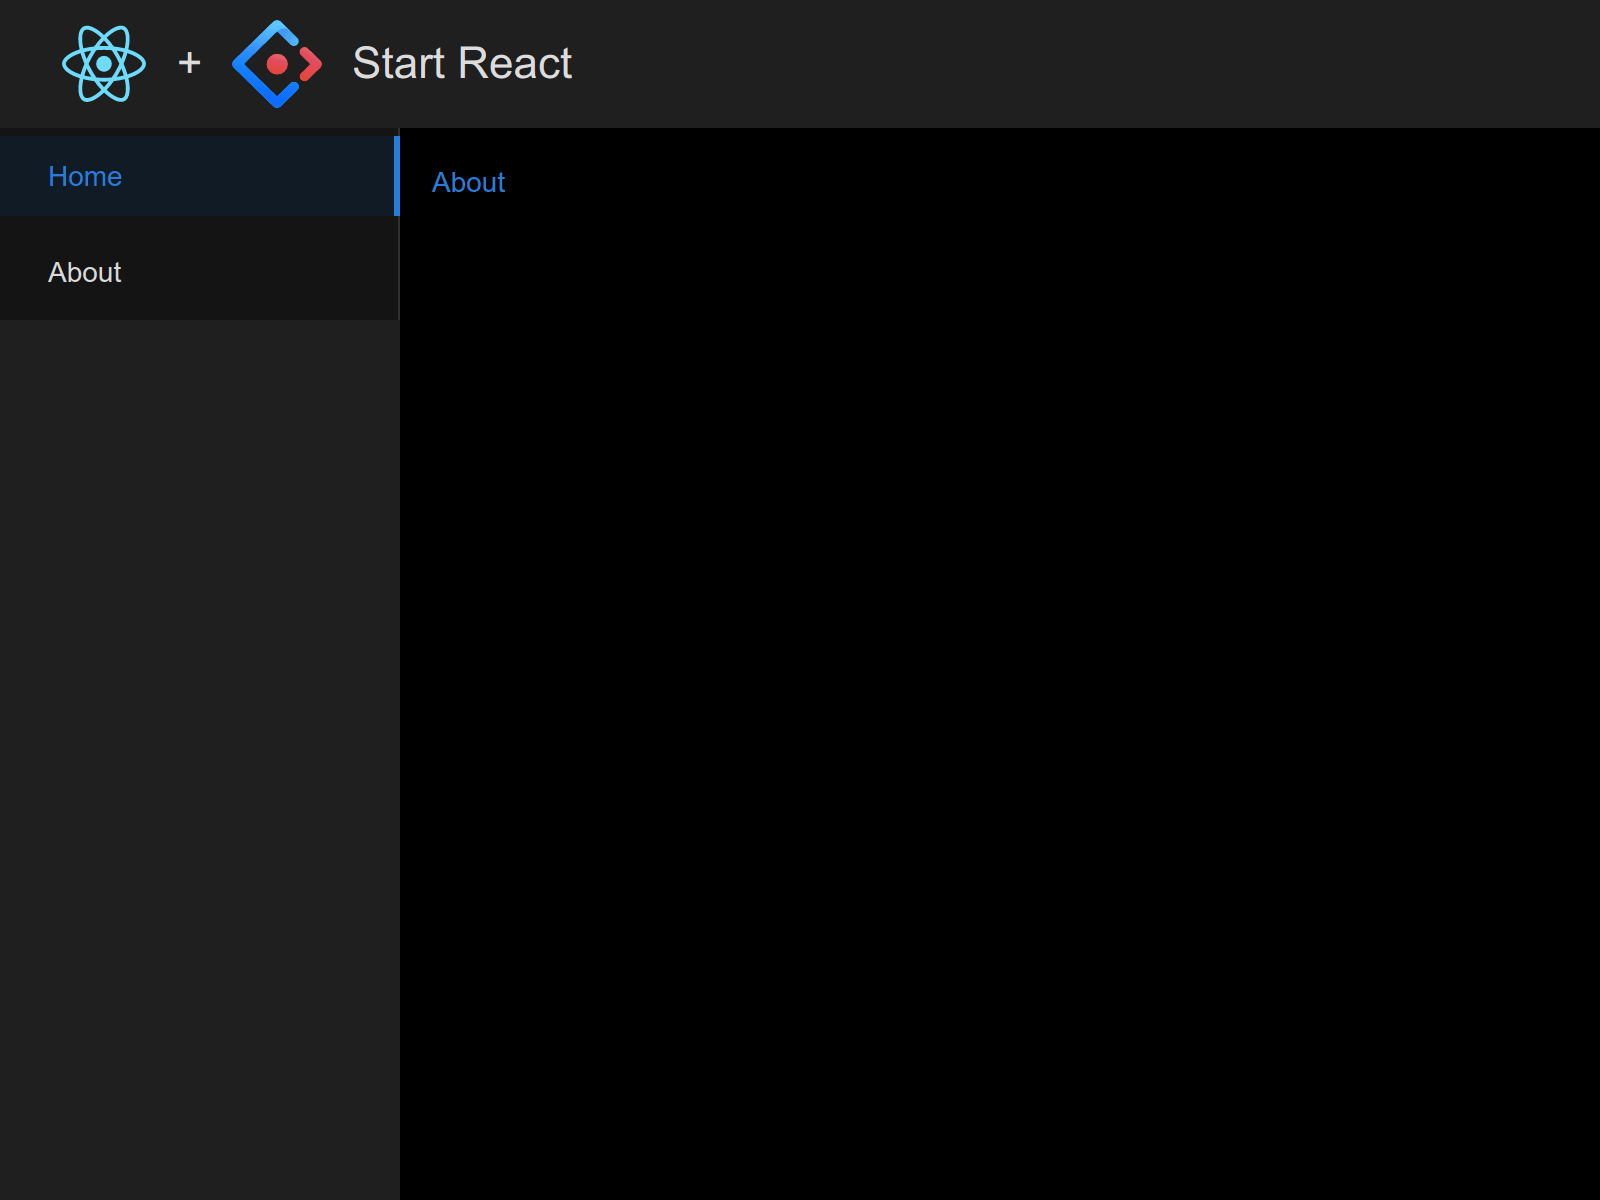
到此, React Antd 应用就准备好了。初始模板如下,可见首个提交:
MobX
1yarn add mobx mobx-react
mobx-react 包含了 mobx-react-lite,所以不必安装了。
- 如果只用 React.FC (HOOK) 时,用
mobx-react-lite即可。 - 如果要用 React.Component (Class) 时,用
mobx-react才行。
mobx-react-lite 与 React.FC
定义 Data Stores
makeAutoObservable
定义数据存储模型后,于构造函数里调用 makeAutoObservable(this) 即可。
stores/Counter.ts:
1import { makeAutoObservable } from 'mobx';
2
3class Counter {
4  count = 0;
5
6  constructor() {
7    makeAutoObservable(this);
8  }
9
10  increase() {
11    this.count += 1;
12  }
13
14  decrease() {
15    this.count -= 1;
16  }
17}
18
19export default Counter;
React.Context Stores
React.Context 可以很简单的传递 Stores。
stores/index.ts:
1import React from 'react';
2
3import Counter from './Counter';
4import Themes from './Themes';
5
6const stores = React.createContext({
7  counter: new Counter(),
8  themes: new Themes(),
9});
10
11export default stores;
创建一个 useStores 的 Hook,简化调用。
hooks/useStores.ts:
1import React from 'react';
2import stores from '../stores';
3
4const useStores = () => React.useContext(stores);
5
6export default useStores;
Pane 组件,使用 Stores
组件用 observer 包装,useStores 引用 stores。
Pane.tsx:
1import React from 'react';
2import { Row, Col, Button, Select } from 'antd';
3import { PlusOutlined, MinusOutlined } from '@ant-design/icons';
4import { observer } from 'mobx-react-lite';
5
6import useStores from './hooks/useStores';
7
8type PaneProps = React.HTMLProps<HTMLDivElement> & {
9  name?: string;
10}
11
12const Pane: React.FC<PaneProps> = ({ name, ...props }) => {
13  const stores = useStores();
14
15  return (
16    <div {...props}>
17      {name && <h2>{name}</h2>}
18      <Row align="middle">
19        <Col span="4">Count</Col>
20        <Col span="4">{stores.counter.count}</Col>
21        <Col>
22          <Button
23            type="text"
24            icon={<PlusOutlined />}
25            onClick={() => stores.counter.increase()}
26          />
27          <Button
28            type="text"
29            icon={<MinusOutlined />}
30            onClick={() => stores.counter.decrease()}
31          />
32        </Col>
33      </Row>
34      {/* ... */}
35    </div>
36  );
37};
38
39Pane.defaultProps = { name: undefined };
40
41export default observer(Pane);
mobx-react 与 React.Component
定义 Data Stores
makeObservable + decorators
装饰器在 MobX 6 中放弃了,但还可使用。
首先,启用装饰器语法。TypeScript 于 tsconfig.json 里启用:
1"experimentalDecorators": true,
2"useDefineForClassFields": true,
定义数据存储模型后,于构造函数里调用 makeObservable(this)。在 MobX 6 前不需要,但现在为了装饰器的兼容性必须调用。
stores/Counter.ts:
1import { makeObservable, observable, action } from 'mobx';
2
3class Counter {
4  @observable count = 0;
5
6  constructor() {
7    makeObservable(this);
8  }
9
10  @action
11  increase() {
12    this.count += 1;
13  }
14
15  @action
16  decrease() {
17    this.count -= 1;
18  }
19}
20
21export default Counter;
Root Stores
组合多个 Stores。
stores/index.ts:
1import Counter from './Counter';
2import Themes from './Themes';
3
4export interface Stores {
5  counter: Counter;
6  themes: Themes;
7}
8
9const stores : Stores = {
10  counter: new Counter(),
11  themes: new Themes(),
12};
13
14export default stores;
父组件,提供 Stores
父组件添加 mobx-react.Provider,并且属性扩展 stores 。
index.tsx:
1import React from 'react';
2import { Provider } from 'mobx-react';
3import stores from './stores';
4
5import Pane from './Pane';
6
7const MobXCLS: React.FC = () => (
8  <div>
9    <Provider {...stores}>
10      <h1>MobX with React.Component</h1>
11      <div style={{ display: 'flex' }}>
12        <Pane name="Pane 1" style={{ flex: 'auto' }} />
13        <Pane name="Pane 2" style={{ flex: 'auto' }} />
14      </div>
15    </Provider>
16  </div>
17);
18
19export default MobXCLS;
Pane 组件,注入 Stores
组件用 observer 装饰,同时 inject 注入 stores。
Pane.tsx:
1import React from 'react';
2import { Row, Col, Button, Select } from 'antd';
3import { PlusOutlined, MinusOutlined } from '@ant-design/icons';
4import { observer, inject } from 'mobx-react';
5
6import { Stores } from './stores';
7
8type PaneProps = React.HTMLProps<HTMLDivElement> & {
9  name?: string;
10};
11
12@inject('counter', 'themes')
13@observer
14class Pane extends React.Component<PaneProps, unknown> {
15  get injected() {
16    return this.props as (PaneProps & Stores);
17  }
18
19  render() {
20    const { name, ...props } = this.props;
21    const { counter, themes } = this.injected;
22
23    return (
24      <div {...props}>
25        {name && <h2>{name}</h2>}
26        <Row align="middle">
27          <Col span="4">Count</Col>
28          <Col span="4">{counter.count}</Col>
29          <Col>
30            <Button
31              type="text"
32              icon={<PlusOutlined />}
33              onClick={() => counter.increase()}
34            />
35            <Button
36              type="text"
37              icon={<MinusOutlined />}
38              onClick={() => counter.decrease()}
39            />
40          </Col>
41        </Row>
42        <Row align="middle">
43          <Col span="4">Theme</Col>
44          <Col span="4">{themes.currentTheme}</Col>
45          <Col>
46            <Select
47              style={{ width: '60px' }}
48              value={themes.currentTheme}
49              showArrow={false}
50              onSelect={(v) => themes.setTheme(v)}
51            >
52              {themes.themes.map((t) => (
53                <Select.Option key={t} value={t}>
54                  {t}
55                </Select.Option>
56              ))}
57            </Select>
58          </Col>
59        </Row>
60      </div>
61    );
62  }
63}
64
65export default Pane;
最后
MobX 文档可以浏览一遍,了解有哪些内容。未涉及的核心概念还有 Computeds, Reactions。
其中 MobX and React 一节,详解了于 React 中的用法及注意点,见:React 集成,React 优化。
GoCoding 个人实践的经验分享,可关注公众号!