
Ory Kratos 为用户认证与管理系统。本文将动手实现浏览器(React+AntD)的完整流程,实际了解下它的 API 。
了解 Kratos
获取代码
1git clone -b v0.7.0-alpha.1 --depth 1 https://github.com/ory/kratos.git
查看 API
go-swagger 查看:
1cd kratos
2swagger serve -F=swagger ./spec/swagger.json
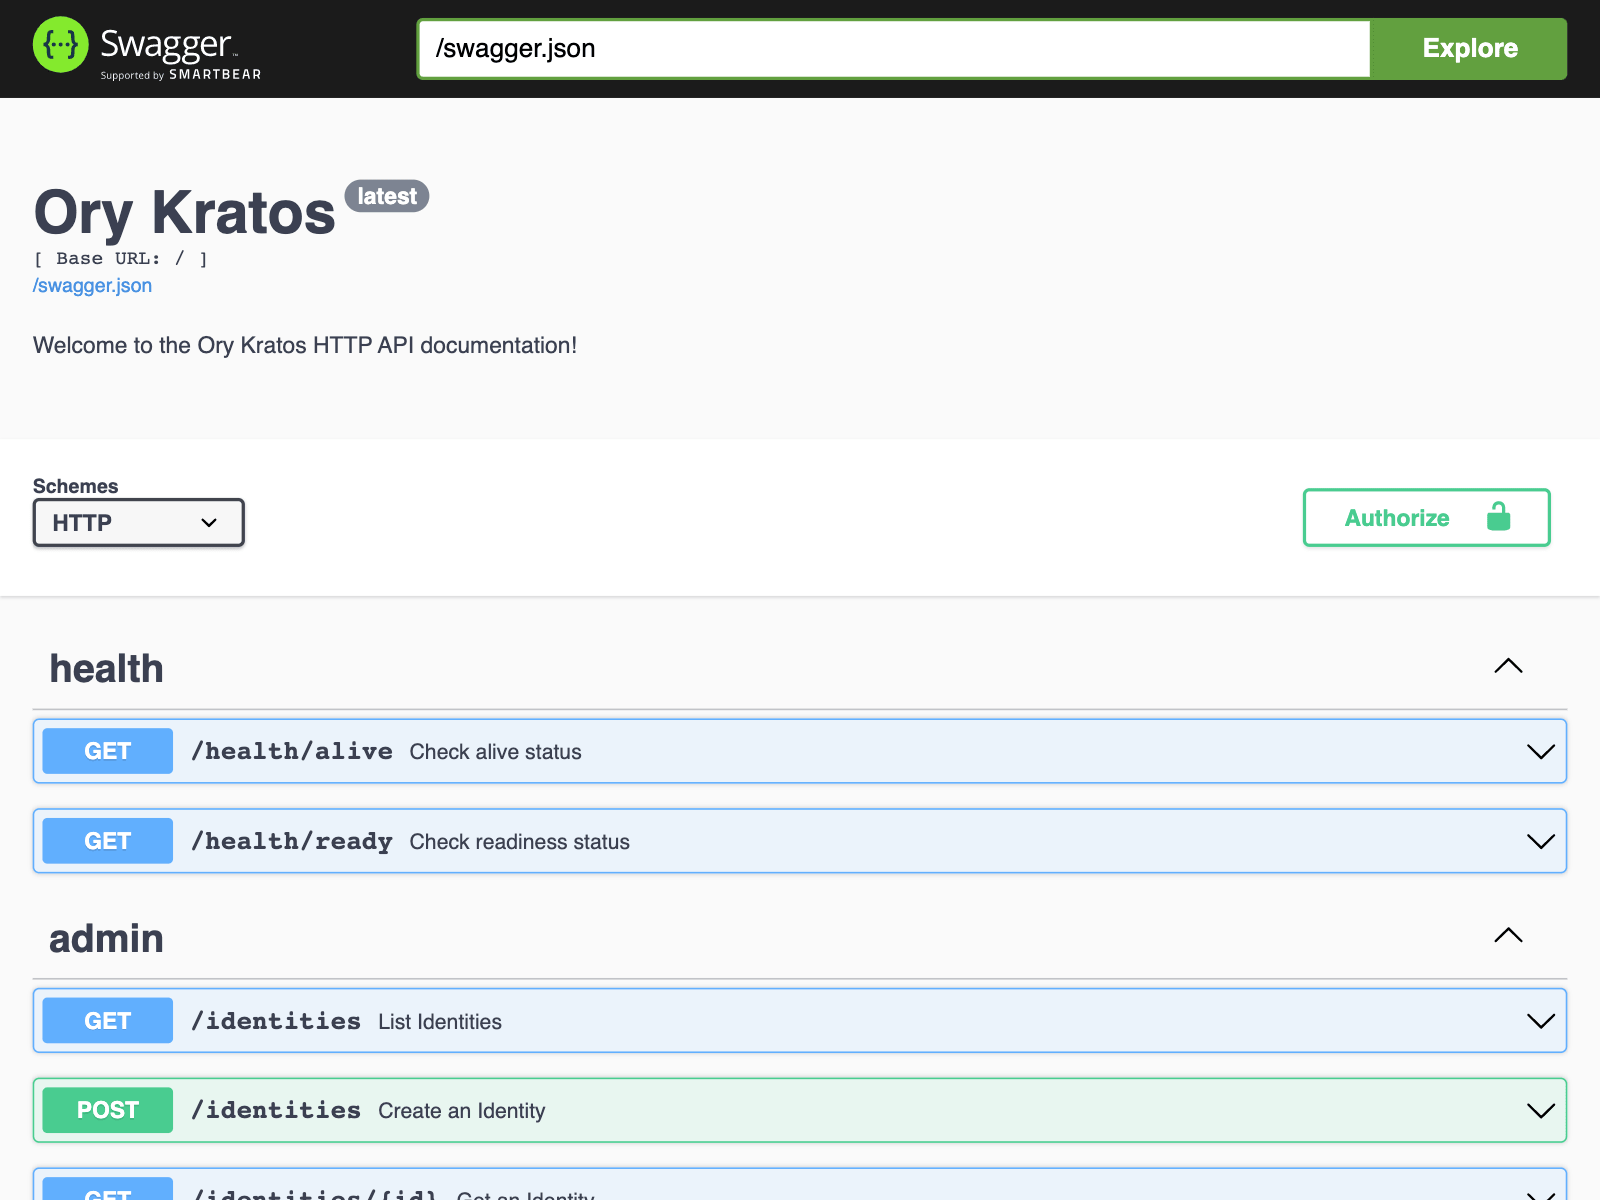
运行服务
docker-compose 运行:
1cd kratos
2docker-compose -f quickstart.yml -f quickstart-postgres.yml -f quickstart-standalone.yml up --build --force-recreate
3# If you have SELinux, run: -f quickstart-selinux.yml
运行了官方 Quickstart 例子,可以访问 http://127.0.0.1:4455/dashboard 体验。
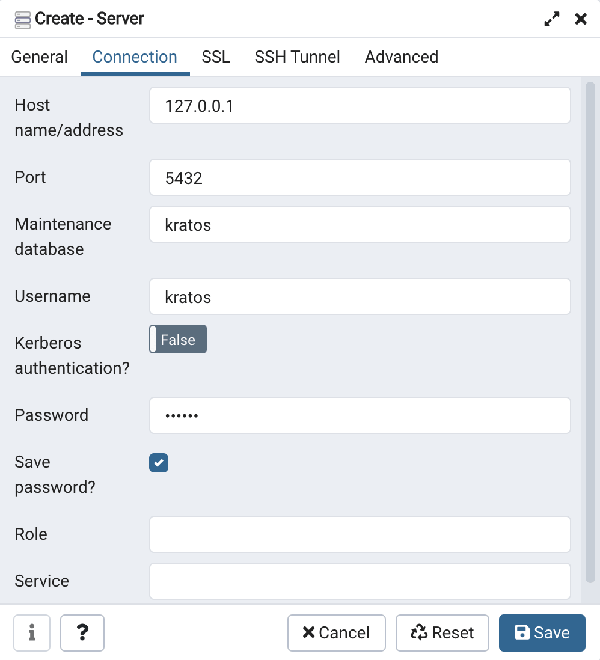
查看 DB
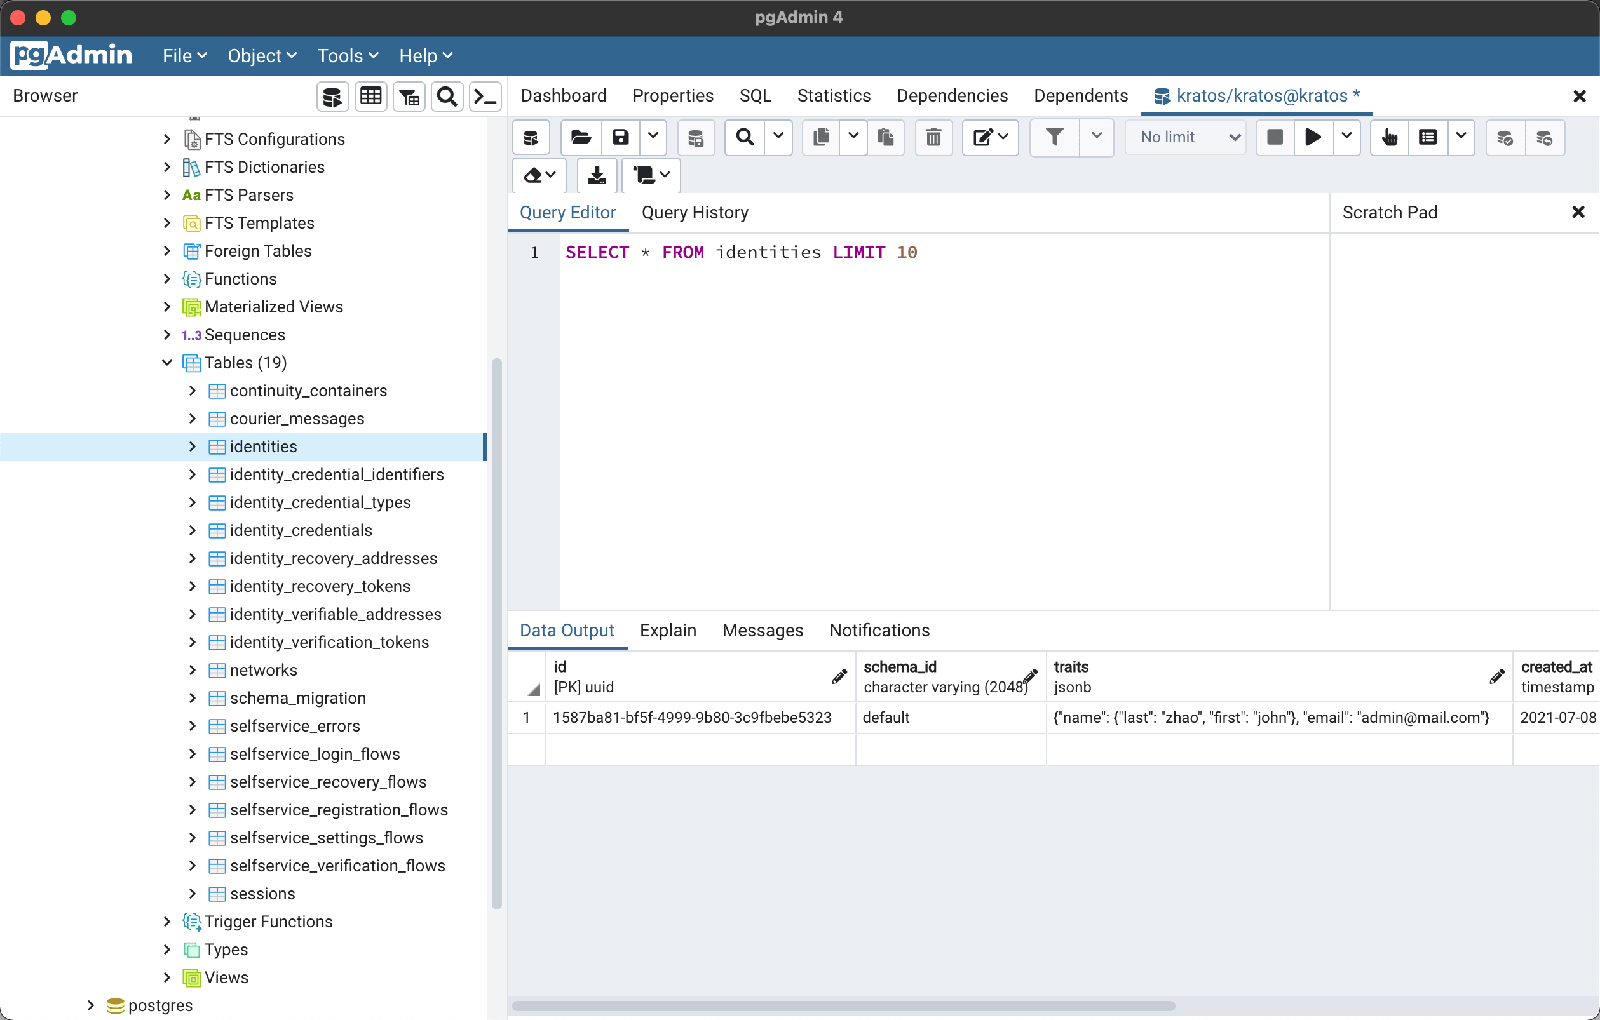
pgAdmin 打开(DB 信息见 quickstart-postgres.yml):
查看表:
查看配置
1cd kratos
2cat contrib/quickstart/kratos/email-password/kratos.yml
设置环境变量可以覆盖。以 _ 表示层级,如 SELFSERVICE_FLOWS_SETTINGS_UI_URL=<value> 覆盖 selfservice.flows.settings.ui_url。
Self-Service 流程
- Registration
- Login
- Logout
- User Settings
- Account Recovery
- Address Verification
- User-Facing Error
- 2FA / MFA
浏览器流程
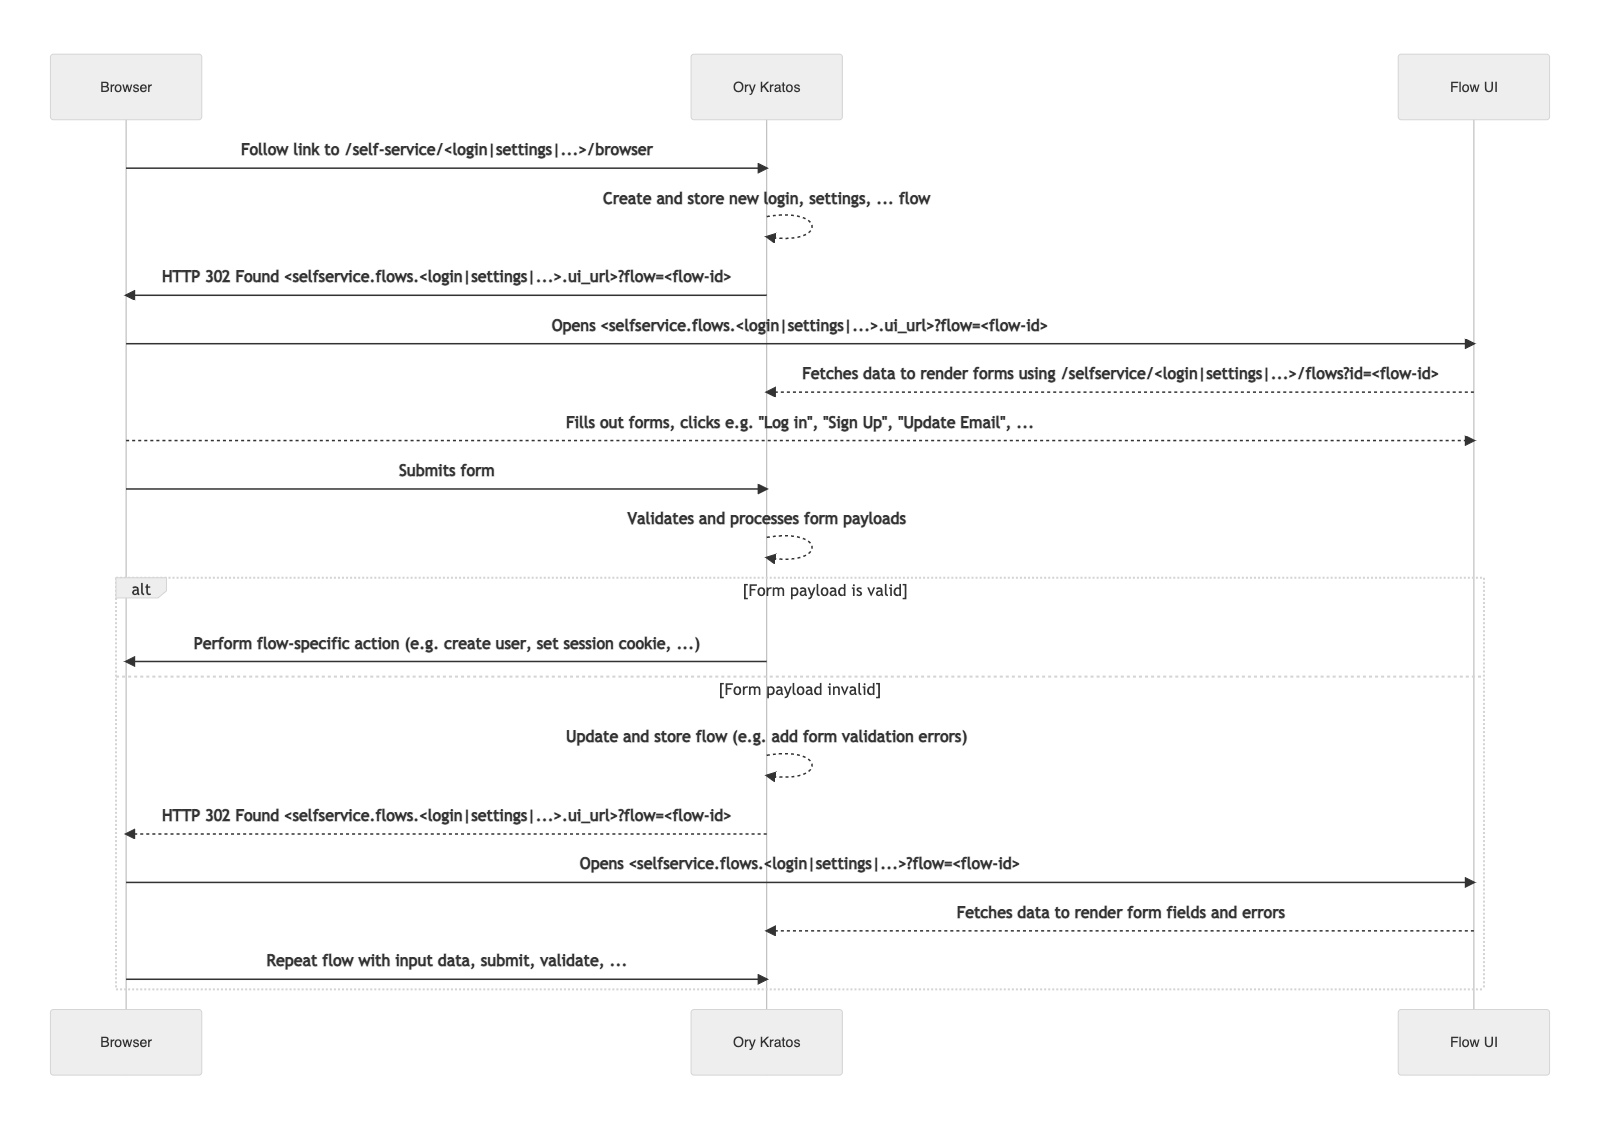
客户端流程
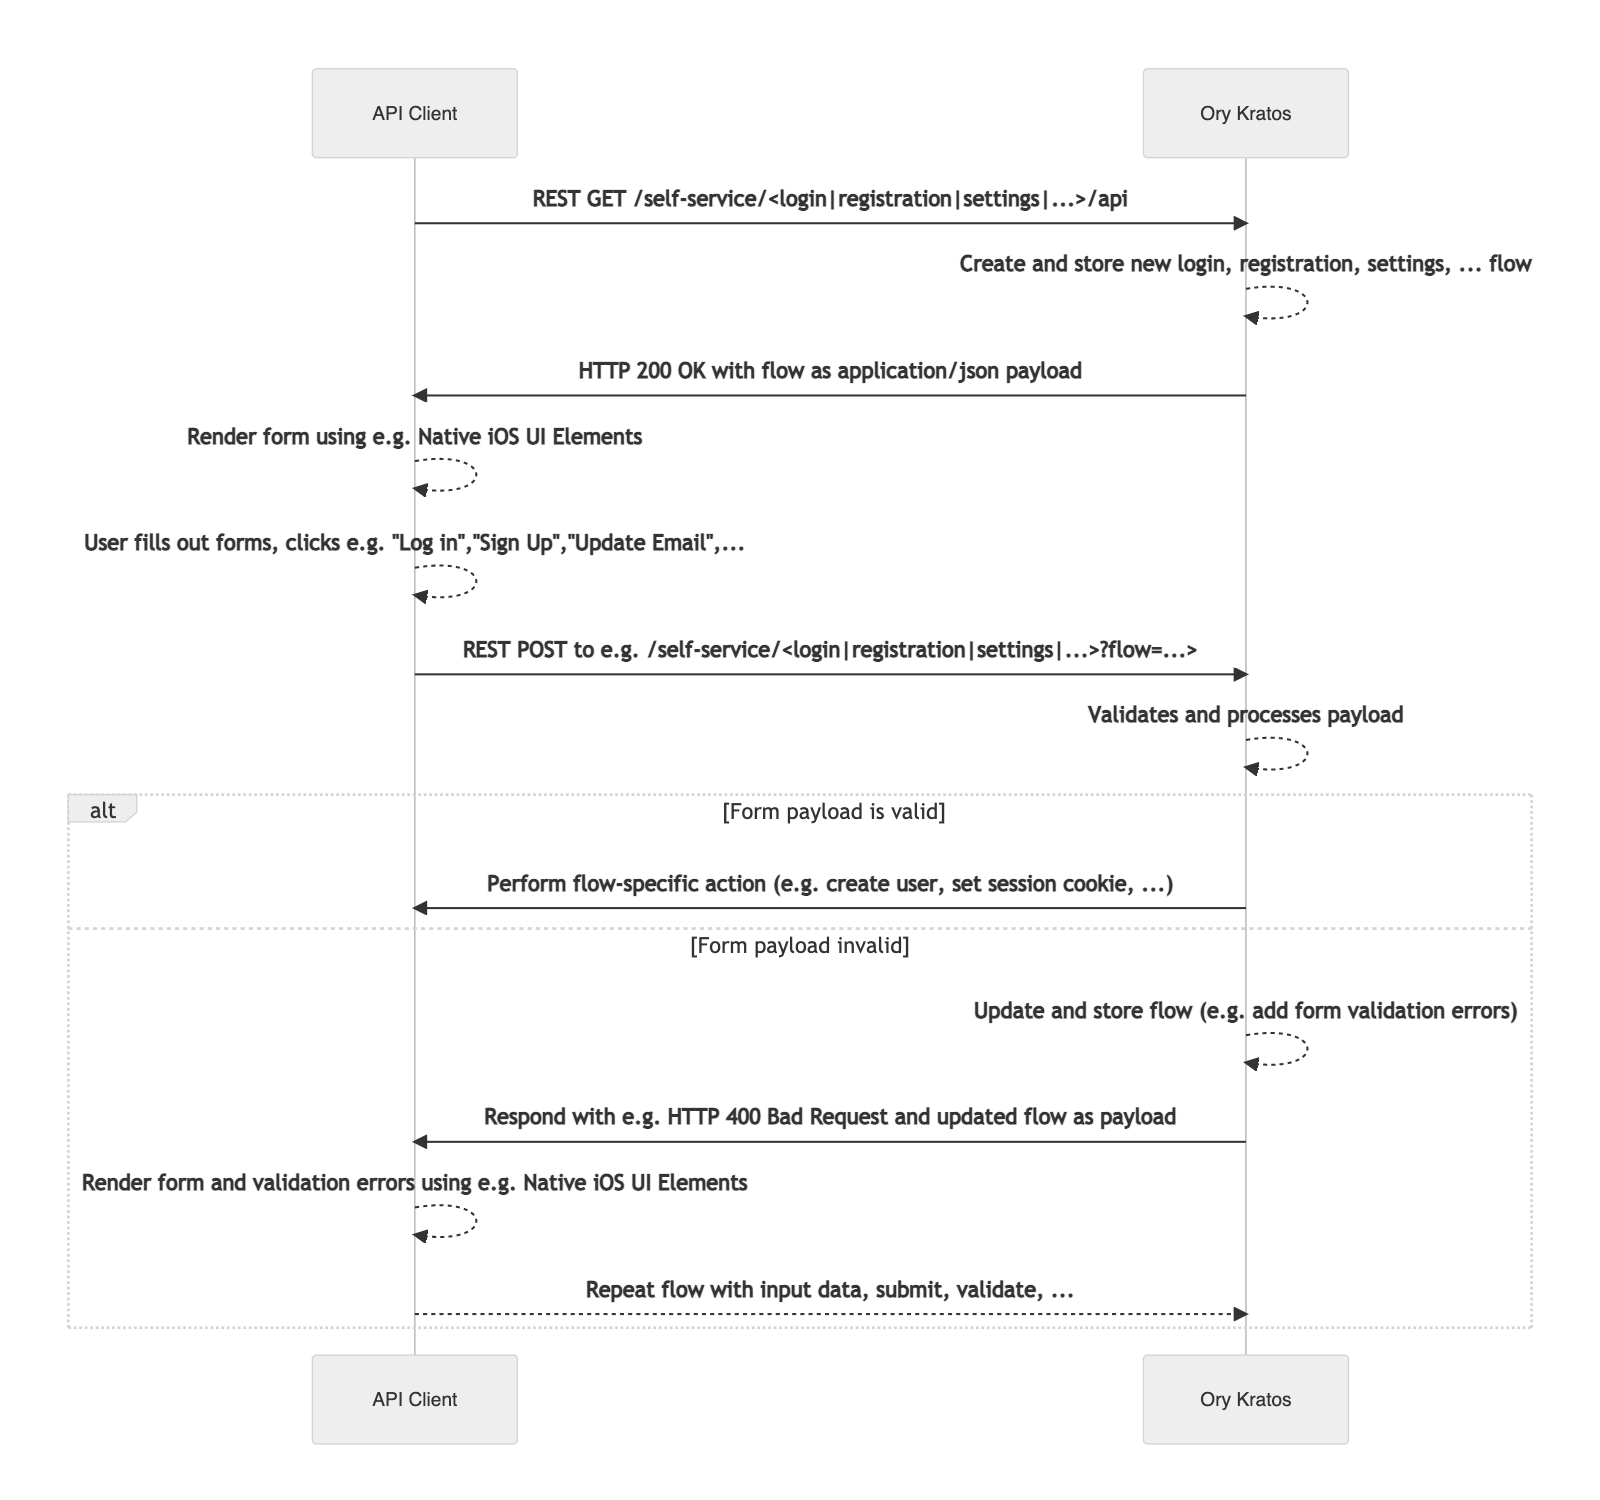
动手配置:Kratos 服务
- Ory Kratos
- Public API (port 4433)
- Admin API (port 4434)
- Postgres DB (port 5432)
- Browser Return URL (port 3000)
- MailSlurper: a development SMTP server
- Server UI (port 4436)
配置文件
- ory-kratos/config/kratos.yml: 配置文件
- ory-kratos/config/identity.schema.json: 认证 JSON 模式
启动文件
- ory-kratos/start.yml: Docker Compose 文件
运行服务
1cd ory-kratos
2docker-compose -f start.yml up --build --force-recreate
如果想运行官方 Self-Service UI 例子,那么:
1docker-compose -f start.yml -f start-ui-node.yml up --build --force-recreate
之后,访问 http://127.0.0.1:3000/ 体验。在 Register new account / Reset password 时,可访问虚拟 SMTP 服务 http://127.0.0.1:4436 接收邮件。
动手实现:浏览器流程
<!-- - [Create React App](https://create-react-app.dev/) -->新建 React 应用
<!-- sudo npm update -g npm npm-check -gu yarn global upgrade yarn global add eslint eslint --init -->1yarn create react-app my-web --template typescript 2cd my-web 3yarn start
访问 http://localhost:3000/ ,可见 React 欢迎页。
引入 AntD
1yarn add antd
修改 src/App.tsx,引入 antd 组件:
1import React, { Component } from 'react'
2import { Button } from 'antd';
3import logo from './logo.svg';
4import './App.css';
5
6class App extends Component {
7  render() {
8    return (
9      <div className="App">
10        <header className="App-header">
11          <img src={logo} className="App-logo" alt="logo" />
12          <Button type="primary">Button</Button>
13        </header>
14      </div>
15    );
16  }
17}
18
19export default App;
修改 src/App.css,引入 antd 样式:
1@import '~antd/dist/antd.css';
可见 antd 蓝色按钮组件。
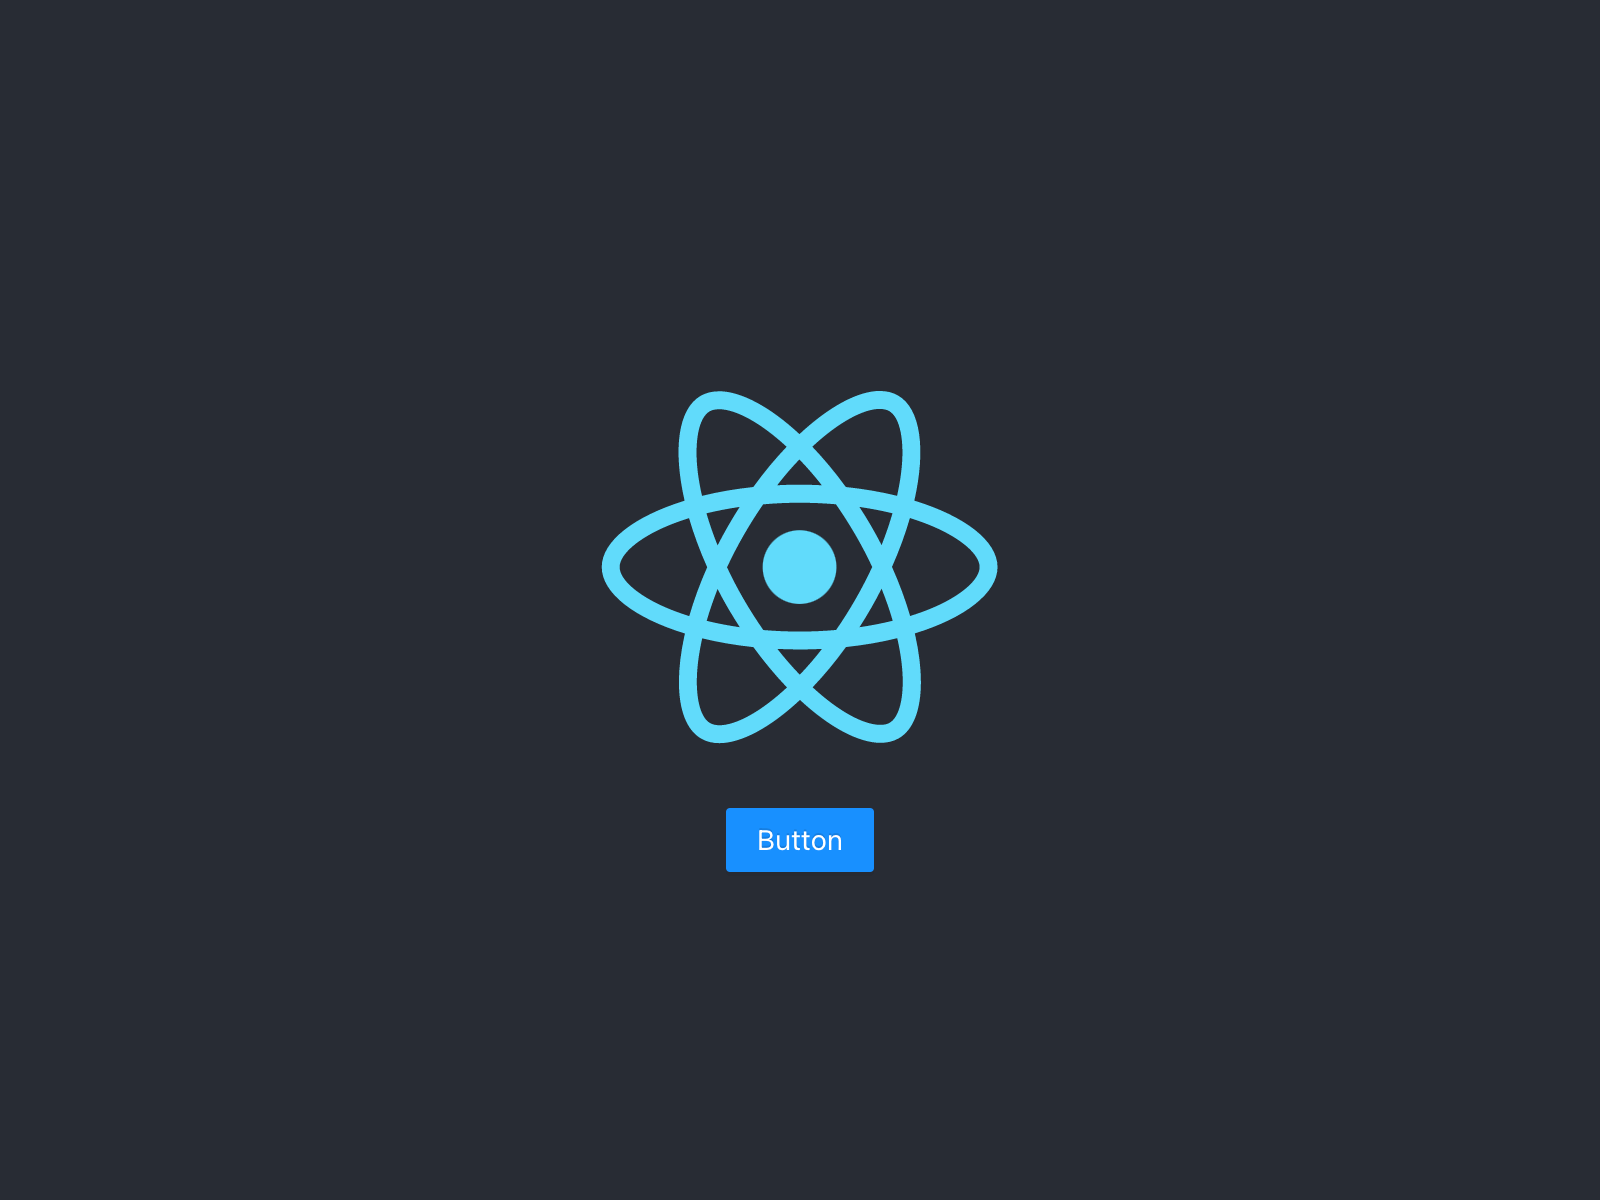
引入 Sass
1yarn add node-sass
后缀 css 改为 scss ,tsx 里的 import 也改下。
引入 Router
1yarn add react-router-dom @types/react-router-dom
于 pages 目录下实现如下页面 UI:
1src/pages               功能        路由
2├── dashboard.tsx       主页        /, /dashboard
3├── error.tsx           错误        /error
4├── login.tsx           登录        /auth/login
5├── recovery.tsx        恢复        /recovery
6├── registration.tsx    注册        /auth/registration
7├── settings.tsx        设置        /settings
8└── verification.tsx    验证        /verify
引入 SDK
1yarn add @ory/kratos-client@0.7.0-alpha.1
注册
APIs:
GET/self-service/registration/browser: 初始化注册流程GET/self-service/registration/flows: 获取注册流程POST/self-service/registration: 提交注册流程
页面加载后的处理流程:
1componentDidMount() {
2  // 获取 flow id 参数
3  const flowId = utils.parseUrlQuery("flow", this.props.location) as string;
4
5  // 没有 flow id,初始化注册流程
6  if (!flowId || !utils.isString(flowId)) {
7    console.log("No flow ID found in URL, initializing registration flow.");
8    utils.redirectToSelfService("/self-service/registration/browser");
9    return;
10  }
11
12  // 根据 flow id,获取注册流程信息
13  authPublicApi
14    .getSelfServiceRegistrationFlow(flowId, undefined, {
15      withCredentials: true,
16    })
17    .then((res: AxiosResponse<SelfServiceRegistrationFlow>) => {
18      if (utils.assertResponse(res)) {
19        utils.redirectToSelfService("/self-service/registration/browser");
20        return;
21      }
22      this.setState({ flowId: flowId, flow: res.data });
23    })
24    .catch(utils.redirectOnError);
25}
流程信息 this.state.flow,如下:
1{
2  "id": "74c643a1-f302-45c9-a760-1ad7b1157e1c",
3  "type": "browser",
4  "expires_at": "2021-07-20T05:22:30.958717Z",
5  "issued_at": "2021-07-20T05:12:30.958717Z",
6  "request_url": "http://127.0.0.1:4433/self-service/registration/browser",
7  "ui": {
8    "action": "http://127.0.0.1:4433/self-service/registration?flow=74c643a1-f302-45c9-a760-1ad7b1157e1c",
9    "method": "POST",
10    "nodes": [{
11      "type": "input",
12      "group": "default",
13      "attributes": {
14        "name": "csrf_token",
15        "type": "hidden",
16        "value": "QQyUDHa4KJ3M6mowHHN4pboN4iaUOZL+4gYVtKYRWzSdWjSNcW5dG/SNzocyqqqAtV48KzQVMIC6X+Pv3tNPNw==",
17        "required": true,
18        "disabled": false
19      },
20      "messages": [],
21      "meta": {}
22    }, {
23      "type": "input",
24      "group": "password",
25      "attributes": {
26        "name": "traits.email",
27        "type": "email",
28        "disabled": false
29      },
30      "messages": [],
31      "meta": {
32        "label": {
33          "id": 1070002,
34          "text": "E-Mail",
35          "type": "info"
36        }
37      }
38    }, {
39    ...
40    }]
41  }
42}
之后,依据流程信息创建表单:
1<Card title="Register new account" bordered={false}>
2  {/* 流程消息展示 */}
3  {this.state.flow.ui.messages &&
4    this.state.flow.ui.messages.map((m: UiText, index) => (
5      <Alert
6        key={index}
7        message={m.text}
8        type={m.type as AlertProps["type"]}
9        style={{ marginBottom: 16 }}
10        showIcon
11      />
12    ))}
13  {/* 流程表单创建 */}
14  <Form
15    name="register"
16    ref={this.formRef}
17    encType="application/x-www-form-urlencoded"
18    action={this.state.flow.ui.action}
19    method={this.state.flow.ui.method}
20    onFinish={onFinish}
21  >
22    {this.state.flow.ui.nodes.map((node, index) => {
23      return React.cloneElement(ui.toUiNodeAntd(node)!, {
24        key: index,
25      });
26    })}
27  </Form>
28</Card>
其中表单 onFinish 里处理提交:
1const onFinish = (values: any) => {
2  // 因 AntD Form 不提交原 HTML form,所以自己创建 from 提交
3  // - 不能直接 find form 提交,此时值已清空
4  // - 创建 from 提交,与 AntD From 相互无影响
5  ui.submitViaForm(this.state.flow!.ui, values);
6
7  // 或者,用 `/self-service/registration/api` 提交
8  // this.submitViaApi(values);
9};
登录
GET/self-service/login/browser: 初始化登录流程GET/self-service/login/flows: 获取登录流程POST/self-service/login: 提交登录流程
与注册流程一样。
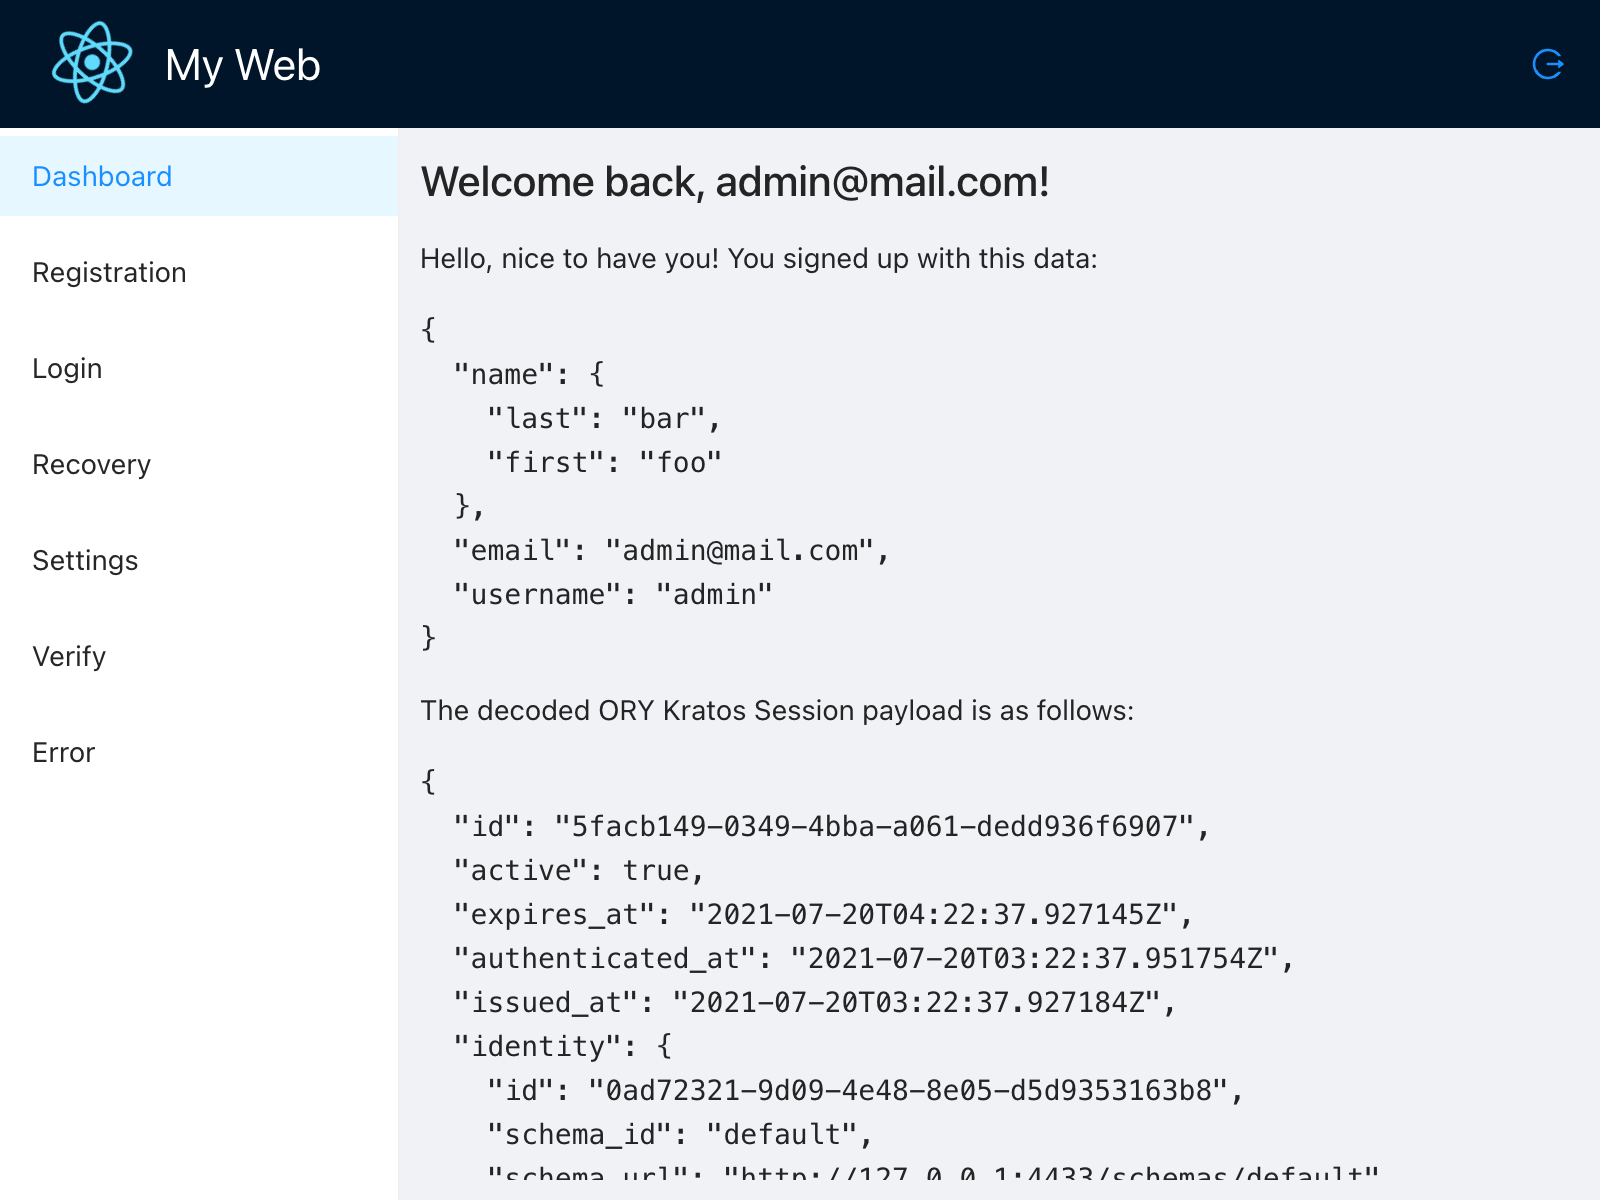
登录后,可通过 whoami 获取授权信息:
GET/sessions/whoami: 获取授权信息
1authPublicApi
2  .toSession(undefined, undefined, {
3    withCredentials: true,
4  })
5  .then((res: AxiosResponse<Session>) => {
6    if (utils.assertResponse(res)) {
7      utils.redirectToSelfService("/self-service/login/browser");
8      return;
9    }
10    this.setState({ session: res.data });
11  })
12  .catch((err: AxiosError) => utils.redirectOnError(err, "/auth/login"));
Dashboard 页展示了授权信息:
验证
GET/self-service/verification/browser: 初始化验证流程GET/self-service/verification/flows: 获取验证流程POST/self-service/verification: 提交验证流程
与注册流程一样。
恢复
GET/self-service/recovery/browser: 初始化恢复流程GET/self-service/recovery/flows: 获取恢复流程POST/self-service/recovery: 提交恢复流程
与注册流程一样。
设置
GET/self-service/settings/browser: 初始化设置流程GET/self-service/settings/flows: 获取设置流程POST/self-service/settings: 完成设置流程
与注册流程一样。
但要注意的是,依据流程信息创建表单时,请区分 group 构建多个表单:
1const nodesGroup: Record<
2  string,
3  {
4    title?: string;
5    nodes?: Array<UiNode>;
6  }
7> = {
8  default: {},
9  profile: { title: "Profile" },
10  password: { title: "Password" },
11  oidc: { title: "Social Sign In" },
12};
13for (const [k, v] of Object.entries(nodesGroup)) {
14  nodesGroup[k] = {
15    title: v.title,
16    nodes: ui.onlyNodes(this.state.flow!.ui.nodes, k),
17  };
18}
1<Card title="Settings" bordered={false}>
2  {this.state.flow.ui.messages &&
3    this.state.flow.ui.messages.map((m: UiText, index) => (
4      <Alert
5        key={index}
6        message={m.text}
7        type={m.type as AlertProps["type"]}
8        style={{ marginBottom: 16 }}
9        showIcon
10      />
11    ))}
12  {/* Split Form by group here. Otherwise, one AntD Form method conflicts. */}
13  {Object.entries(nodesGroup)
14    .filter(([k, v]) => k !== "default" && v && v.nodes!.length > 0)
15    .map(([k, v], index) => (
16      <Form
17        key={index}
18        name={k}
19        encType="application/x-www-form-urlencoded"
20        action={this.state.flow!.ui.action}
21        method={this.state.flow!.ui.method}
22        onFinish={onFinish}
23      >
24        <Form.Item>
25          <div>{v.title}</div>
26        </Form.Item>
27        {v
28          .nodes!.concat(nodesGroup["default"].nodes!)
29          .map((node, index) => {
30            return React.cloneElement(ui.toUiNodeAntd(node)!, {
31              key: index,
32            });
33          })}
34      </Form>
35    ))}
36</Card>
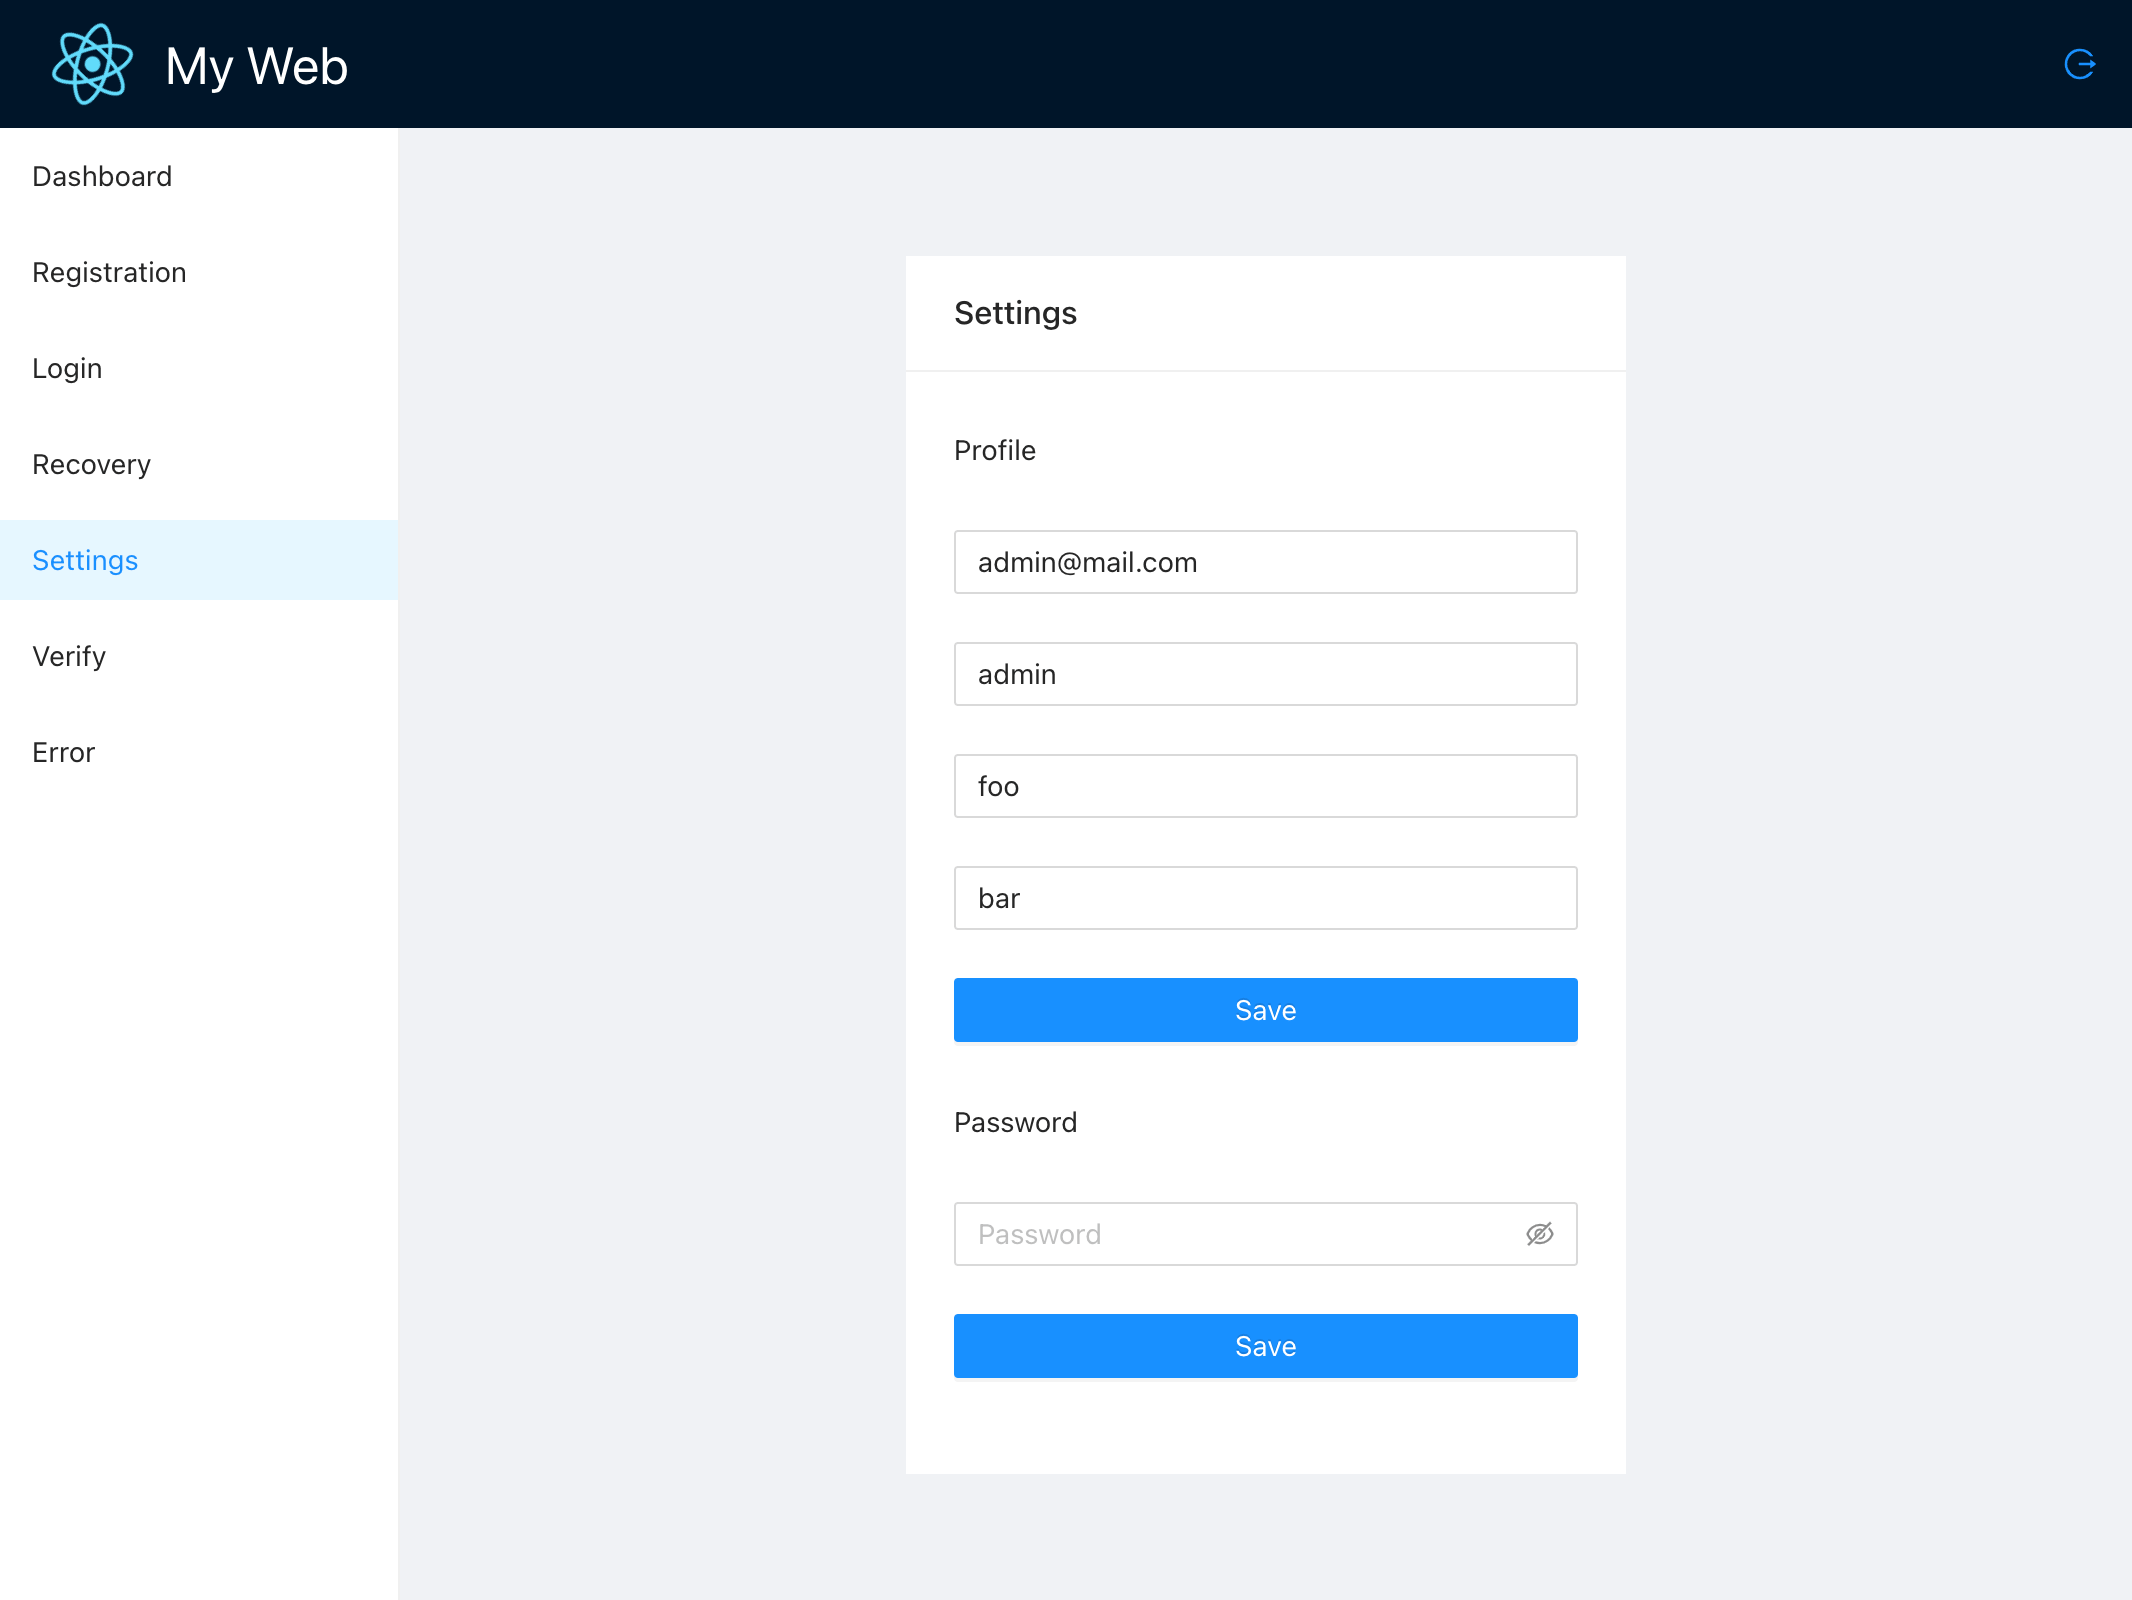
登出
GET/self-service/logout/browser: 创建登出 URLPOST/self-service/logout: 完成登出流程
页面加载后创建登出 URL ,
1authPublicApi
2  .createSelfServiceLogoutFlowUrlForBrowsers(undefined, {
3    withCredentials: true,
4  })
5  .then((res: AxiosResponse<SelfServiceLogoutUrl>) => {
6    this.setState({ logoutUrl: res.data.logout_url });
7  })
8  .catch((err) => {
9    // console.log(err);
10  });
之后,页面加上登出按钮:
1{this.state.logoutUrl && (
2  <Button
3    type="link"
4    shape="circle"
5    href={this.state.logoutUrl}
6    icon={<LogoutOutlined />}
7  />
8)}
参考
GoCoding 个人实践的经验分享,可关注公众号!