
elsampsa/websocket-mse-demo 项目介绍:
It this demo we're streaming live video from an RTSP camera to your HTML5 browser.
Video is streamed as H264 encapsulated in MP4. No transcoding takes place in the stream-to-browser pipeline. No browser-side flash or pure-javascript decoders required.
Video is decoded and presented in the browser using the W3 Media Source Extensions that is well supported by all major browsers by > now.
Only H264 is supported - browser MSE's do not support H246 yet (and neither does libValkka).
实现了浏览器 MSE (Media Source Extensions) 播放相机 RTSP (Real Time Streaming Protocol) 流。动手体验一下咯~
准备
1# 系统 Ubuntu 18
2
3# 如有 conda 虚拟环境,请停用
4# conda deactivate
5
6# 获取代码
7git clone --depth 1 https://github.com/elsampsa/websocket-mse-demo.git
8
9# 安装 libValkka
10sudo apt-add-repository ppa:sampsa-riikonen/valkka
11sudo apt-get update
12sudo apt-get install valkka
13
14# 安装 nginx
15sudo apt-get install nginx
16
17# 安装 python websockets
18pip3 install websockets
19
20# 准备 nginx 用户权限
21sudo addgroup nginx
22sudo adduser $USER nginx
23sudo chgrp -R nginx /var/lib/nginx /var/log/nginx
24sudo chmod -R g+r+w+x /var/lib/nginx /var/log/nginx
25# 切换用户组
26newgrp nginx
27id
28
29# 测试 nginx 工作是否正常(无 Permission denied)
30cd websocket-mse-demo
31nginx -p $PWD -c ./nginx.conf -g 'error_log error.log warn;'
32
33# 设置相机发送 H264(该项目只支持 H264)
使用
发送 RTSP 流:
1sudo snap install vlc
2# allow camera permission
3snap connect vlc:camera :camera
4
5# 发送 ~/Videos/test.mp4 文件(循环)
6#  https://archive.org/download/archive-video-files/test.mp4
7vlc file:///$HOME/Videos/test.mp4 --loop \
8--sout '#gather:transcode{vcodec=h264}:rtp{sdp=rtsp://:8554/test}' \
9--network-caching=1500 --sout-all --sout-keep
10
11# 或,发送 /dev/video0 webcam(实时)
12vlc v4l2:///dev/video0:chroma=yuyv:width=640:height=480:fps=30 \
13--sout '#transcode{vcodec=h264,width=640,height=480}:rtp{sdp=rtsp://:8554/test}'
14
15# 测试接收 RTSP 流
16vlc rtsp://127.0.0.1:8554/test
启动程序:
1killall -9 nginx
2python3 ws_serve_new.py rtsp://127.0.0.1:8554/test
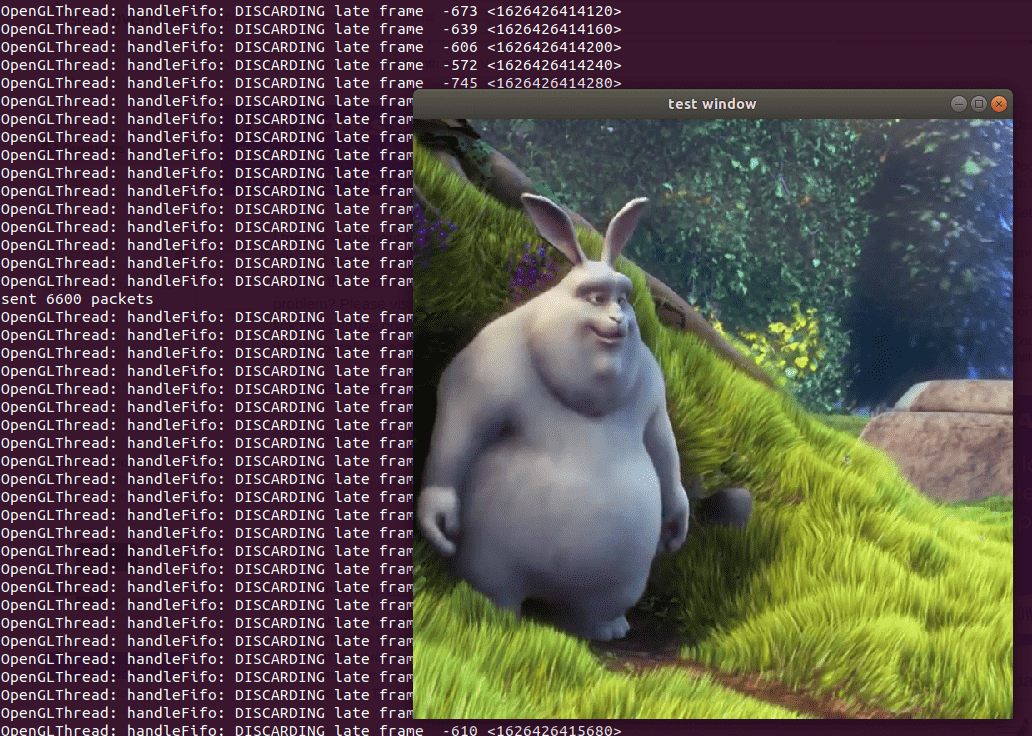
打开浏览器:
1xdg-open http://localhost:8089
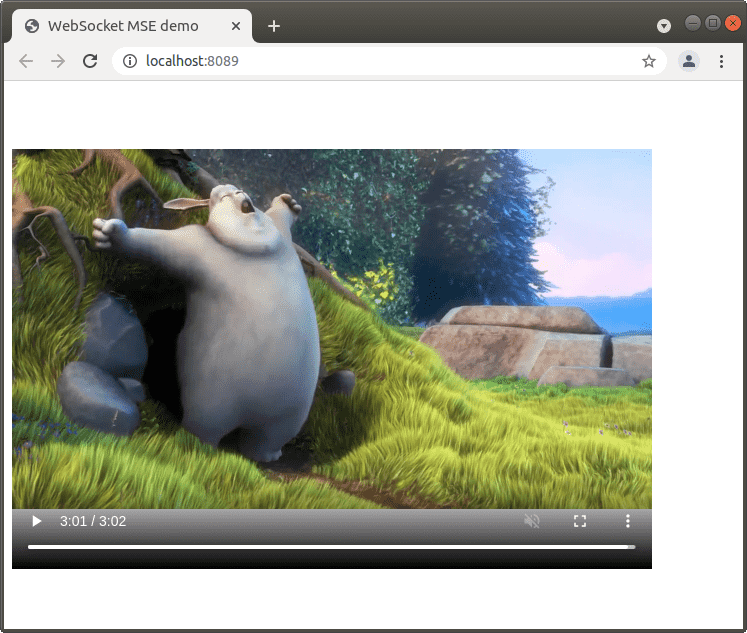
更多
技术:
- WebSocket
- MediaSource: 构建媒体流,供 video/audio 元素播放
- WebRTC: 可直接捕获客户端视频流,并点对点传输、不依赖服务器中转
- WebCodecs: 编解码音视频
- WebAssembly: C/C++/Rust 等编译进前端使用
项目:
- MSE: 需构建流,通常容器格式是 ISO BMFF (Fragmented MP4) = fMP4
- elsampsa/websocket-mse-demo: RTSP > fMP4
- ChihChengYang/wfs.js: H.264 NAL > fMP4
- bilibili/flv.js: FLV > fMP4
- Garefield/RTSP-WS-Proxy: RTSP > fMP4
- Streamedian/html5_rtsp_player: RTSP > fMP4, Proxy 收费
- JS 解码
- phoboslab/jsmpeg: MPEG1 Video & MP2 Audio Decoder
- mbebenita/Broadway: H.264 decoder
- Wasm 解码
- sonysuqin/WasmVideoPlayer: H265 > YUV, WebGL
- wupeng-engineer/decoder_wasm: H264,H265 > YUV, WebGL
- gliese1337/h264decoder: H264 > YUV
- mattdesl/mp4-h264: H264 > YUV/RGB
- mattdesl/mp4-wasm: H264
- 其他
GoCoding 个人实践的经验分享,可关注公众号!