
https://blog.csdn.net/dardgen2015/article/details/51517860
很多时候我们需要把具有相同shader的材质球合并,从而减少drawcall的产生。
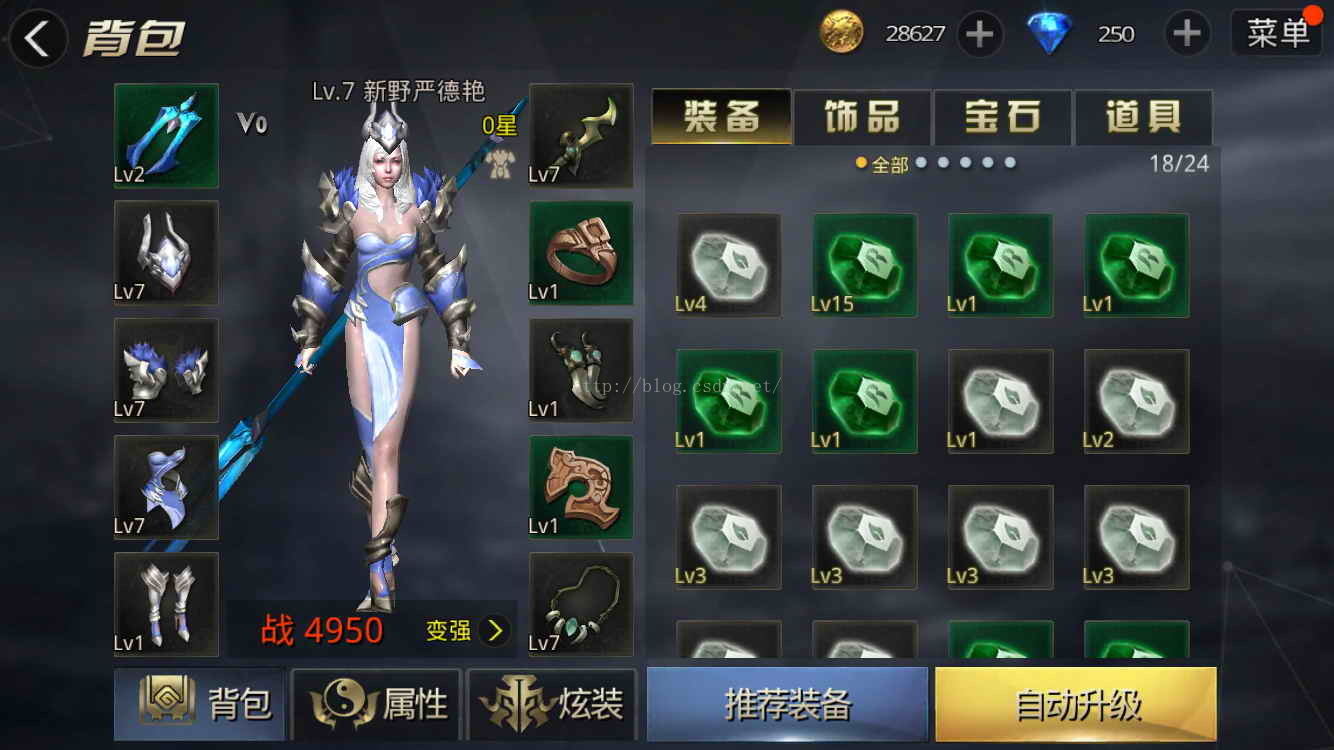
比如九龙战里面,一个人物带有10个部位,10个部位各自来自不同的fbx文件,加上身体,就有11个材质球,占上11个drawcall。如果主城里面跑着10个角色,光人物就占了110个drawcall!所以这种时候材质球合并是必须的。
(下图为九龙战里面的多部位换装效果)
材质球合并,分以下几步走,首先我们讨论普通的MeshRenderer的材质球合并,然后再讨论SkinnedMeshRenderer的材质球合并。
普通的MeshRenderer的材质球合并:
1.合并所有材质球所携带的贴图,新建一个材质球,并把合并好的贴图赋予新的材质球。
2.记录下每个被合并的贴图所处于新贴图的Rect,用一个Rect[]数组存下来。
3.合并网格,并把需要合并的各个网格的uv,根据第2步得到的Rect[]刷一遍。
4.把新的材质球赋予合并好的网格,此时就只占有1个drawcall了。
下面是关键代码:
-
void CombineMesh()
-
{
-
MeshFilter[] mfChildren = GetComponentsInChildren<MeshFilter>();
-
CombineInstance[] combine = new CombineInstance[mfChildren.Length];
-
MeshRenderer[] mrChildren = GetComponentsInChildren<MeshRenderer>();
-
Material[] materials = new Material[mrChildren.Length];
-
MeshRenderer mrSelf = gameObject.AddComponent<MeshRenderer>();
-
MeshFilter mfSelf = gameObject.AddComponent<MeshFilter>();
-
Texture2D[] textures = new Texture2D[mrChildren.Length];
-
for (int i = 0; i < mrChildren.Length; i++)
-
{
-
if (mrChildren[i].transform == transform)
-
{
-
continue;
-
}
-
materials[i] = mrChildren[i].sharedMaterial;
-
Texture2D tx = materials[i].GetTexture( "_MainTex") as Texture2D;
-
Texture2D tx2D = new Texture2D(tx.width, tx.height, TextureFormat.ARGB32, false);
-
tx2D.SetPixels(tx.GetPixels( 0, 0, tx.width, tx.height));
-
tx2D.Apply();
-
textures[i] = tx2D;
-
}
-
Material materialNew = new Material(materials[0].shader);
-
materialNew.CopyPropertiesFromMaterial(materials[ 0]);
-
mrSelf.sharedMaterial = materialNew;
-
Texture2D texture = new Texture2D(1024, 1024);
-
materialNew.SetTexture( "_MainTex", texture);
-
Rect[] rects = texture.PackTextures(textures, 10, 1024);
-
for (int i = 0; i < mfChildren.Length; i++)
-
{
-
if (mfChildren[i].transform == transform)
-
{
-
continue;
-
}
-
Rect rect = rects[i];
-
Mesh meshCombine = mfChildren[i].mesh;
-
Vector2[] uvs = new Vector2[meshCombine.uv.Length];
-
//把网格的uv根据贴图的rect刷一遍
-
for (int j = 0; j < uvs.Length; j++)
-
{
-
uvs[j].x = rect.x + meshCombine.uv[j].x * rect.width;
-
uvs[j].y = rect.y + meshCombine.uv[j].y * rect.height;
-
}
-
meshCombine.uv = uvs;
-
combine[i].mesh = meshCombine;
-
combine[i].transform = mfChildren[i].transform.localToWorldMatrix;
-
mfChildren[i].gameObject.SetActive( false);
-
}
-
Mesh newMesh = new Mesh();
-
newMesh.CombineMeshes(combine, true,true);//合并网格
-
mfSelf.mesh = newMesh;
-
}
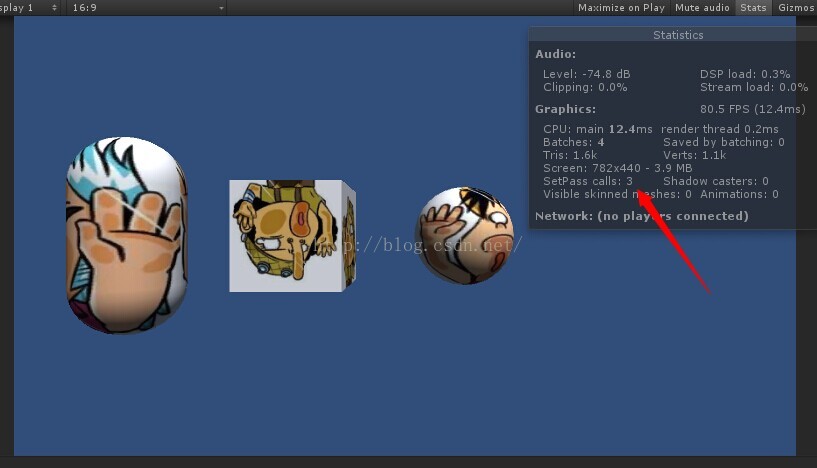
合并前的drawcall:
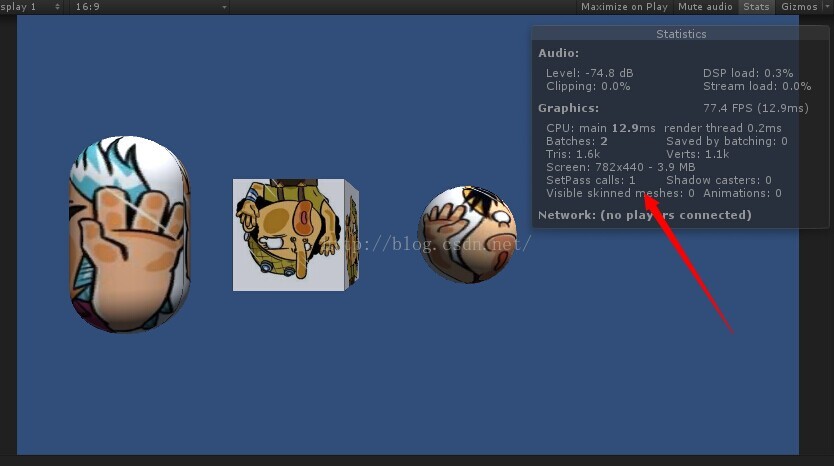
合并后的drawcall:
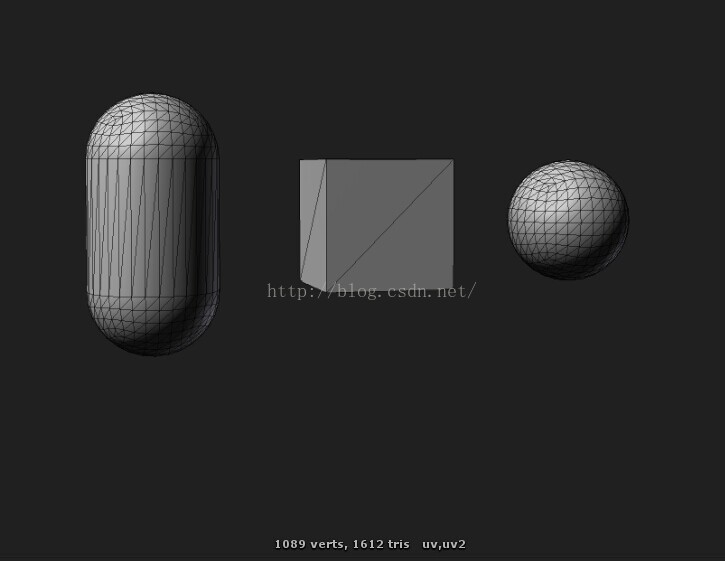
合并好的网格:
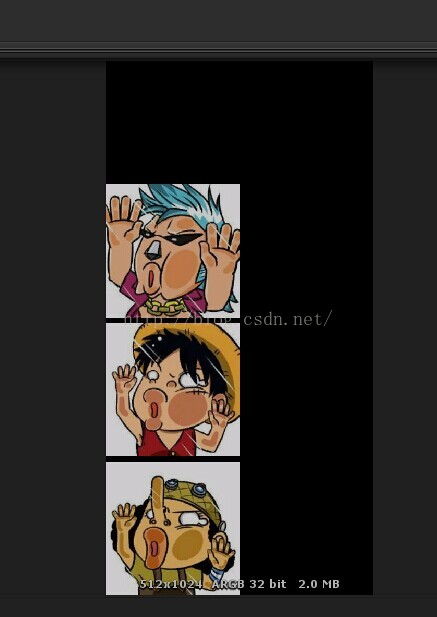
合并好的贴图:
下面我们将讨论SkinnedMeshRenderer的合并。
SkinnedMeshRenderer比MeshRenderer稍微麻烦一点,因为SkinnedMeshRenderer要处理bones。
以下是步骤:
1.合并所有材质球所携带的贴图,新建一个材质球,并把合并好的贴图赋予新的材质球。
2.记录下每个被合并的贴图所处于新贴图的Rect,用一个Rect[]数组存下来。
3.记录下需要合并的SkinnedMeshRenderer的bones。
4.合并网格,并把需要合并的各个网格的uv,根据第2步得到的Rect[]刷一遍。
5.把合并好的网格赋予新的SkinnedMeshRenderer,并把第3步记录下的bones赋予新的SkinnedMeshRenderer。
6.把新的材质球赋予合并好的网格,此时就只占有1个drawcall了。
上面红色部分的步骤就是与MeshRenderer不同之处。
下面是关键代码:
-
void CombineMesh()
-
{
-
SkinnedMeshRenderer[] smrs = GetComponentsInChildren<SkinnedMeshRenderer>();
-
CombineInstance[] combine = new CombineInstance[smrs.Length];
-
Material[] materials = new Material[smrs.Length];
-
Texture2D[] textures = new Texture2D[smrs.Length];
-
SkinnedMeshRenderer smrCombine = combineMesh.gameObject.AddComponent<SkinnedMeshRenderer>();
-
smrCombine.shadowCastingMode = UnityEngine.Rendering.ShadowCastingMode.Off;
-
smrCombine.receiveShadows = false;
-
for (int i = 0; i < smrs.Length; i++)
-
{
-
materials[i] = smrs[i].sharedMaterial;
-
Texture2D tx = materials[i].GetTexture( "_MainTex") as Texture2D;
-
Texture2D tx2D = new Texture2D(tx.width, tx.height, TextureFormat.ARGB32, false);
-
tx2D.SetPixels(tx.GetPixels( 0, 0, tx.width, tx.height));
-
tx2D.Apply();
-
textures[i] = tx2D;
-
}
-
Material materialNew = new Material(materials[0].shader);
-
materialNew.CopyPropertiesFromMaterial(materials[ 0]);
-
Texture2D texture = new Texture2D(1024, 1024);
-
Rect[] rects = texture.PackTextures(textures, 10, 1024);
-
materialNew.SetTexture( "_MainTex", texture);
-
List<Transform> boneTmp = new List<Transform>();
-
for (int i = 0; i < smrs.Length; i++)
-
{
-
if (smrs[i].transform == transform)
-
{
-
continue;
-
}
-
Rect rect = rects[i];
-
Mesh meshCombine = CreatMeshWithMesh(smrs[i].sharedMesh);
-
Vector2[] uvs = new Vector2[meshCombine.uv.Length];
-
for (int j = 0; j < uvs.Length; j++)
-
{
-
uvs[j].x = rect.x + meshCombine.uv[j].x * rect.width;
-
uvs[j].y = rect.y + meshCombine.uv[j].y * rect.height;
-
}
-
boneTmp.AddRange(smrs[i].bones);
-
meshCombine.uv = uvs;
-
combine[i].mesh = meshCombine;
-
combine[i].transform = smrs[i].transform.localToWorldMatrix;
-
GameObject.Destroy(smrs[i].gameObject);
-
}
-
Mesh newMesh = new Mesh();
-
newMesh.CombineMeshes(combine, true, true);
-
smrCombine.bones = boneTmp.ToArray();
-
smrCombine.rootBone = rootBone;
-
smrCombine.sharedMesh = newMesh;
-
smrCombine.sharedMaterial = materialNew;
-
}
-
Mesh CreatMeshWithMesh(Mesh mesh)
-
{
-
Mesh mTmp = new Mesh();
-
mTmp.vertices = mesh.vertices;
-
mTmp.name = mesh.name;
-
mTmp.uv = mesh.uv;
-
mTmp.uv2 = mesh.uv2;
-
mTmp.uv2 = mesh.uv2;
-
mTmp.bindposes = mesh.bindposes;
-
mTmp.boneWeights = mesh.boneWeights;
-
mTmp.bounds = mesh.bounds;
-
mTmp.colors = mesh.colors;
-
mTmp.colors32 = mesh.colors32;
-
mTmp.normals = mesh.normals;
-
mTmp.subMeshCount = mesh.subMeshCount;
-
mTmp.tangents = mesh.tangents;
-
mTmp.triangles = mesh.triangles;
-
return mTmp;
-
}
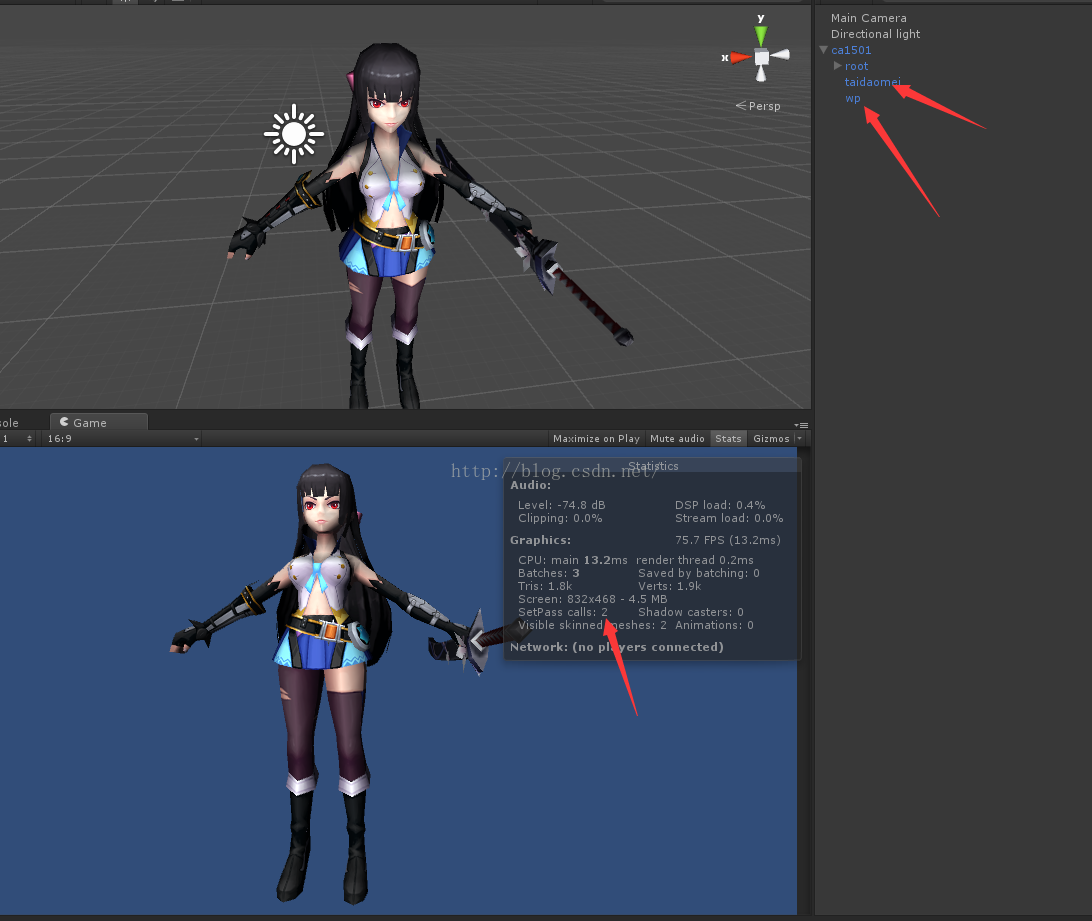
未合并前,有两个网格,占用2drawcall,分别为人物和刀的网格和材质球。
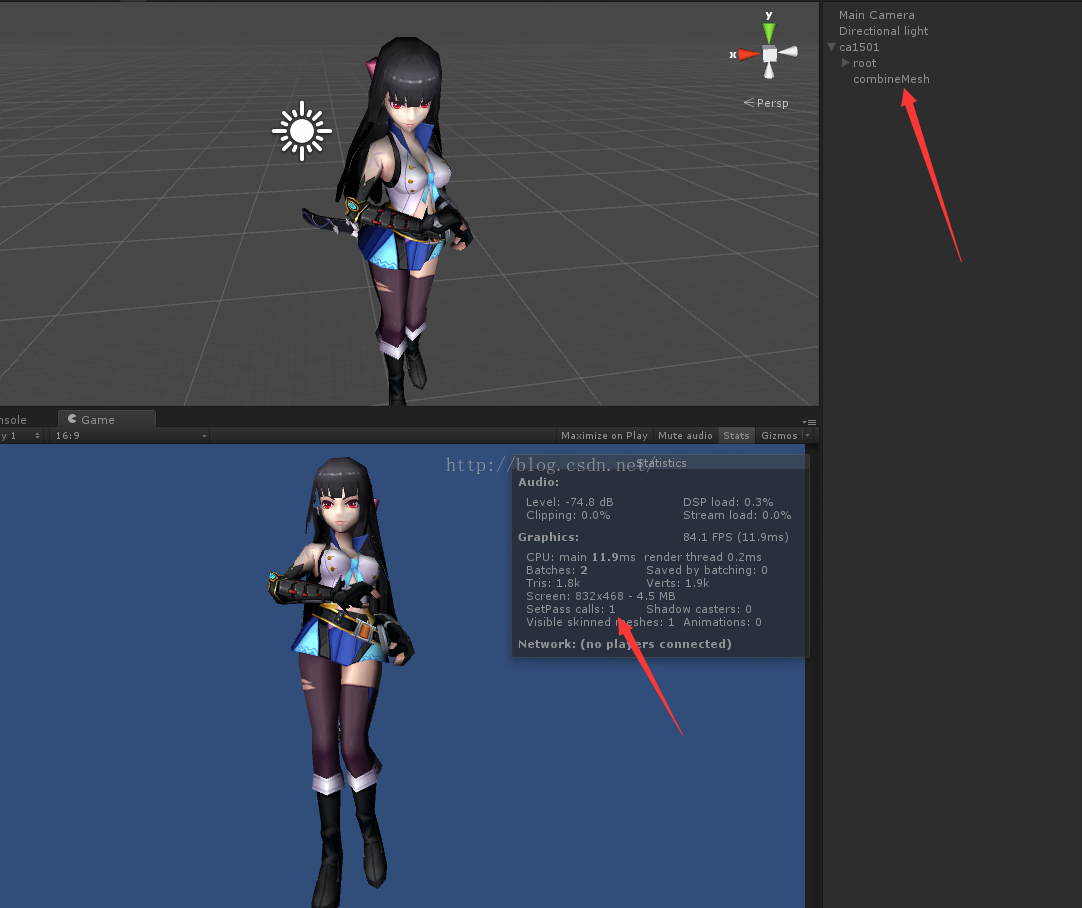
合并后,只占用 1 drawcall了,而且AnimationController以及其动画能够正常工作:
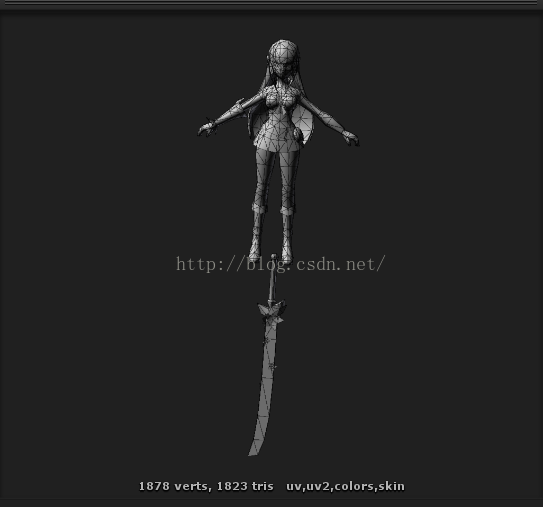
合并好的网格:
合并好的贴图:
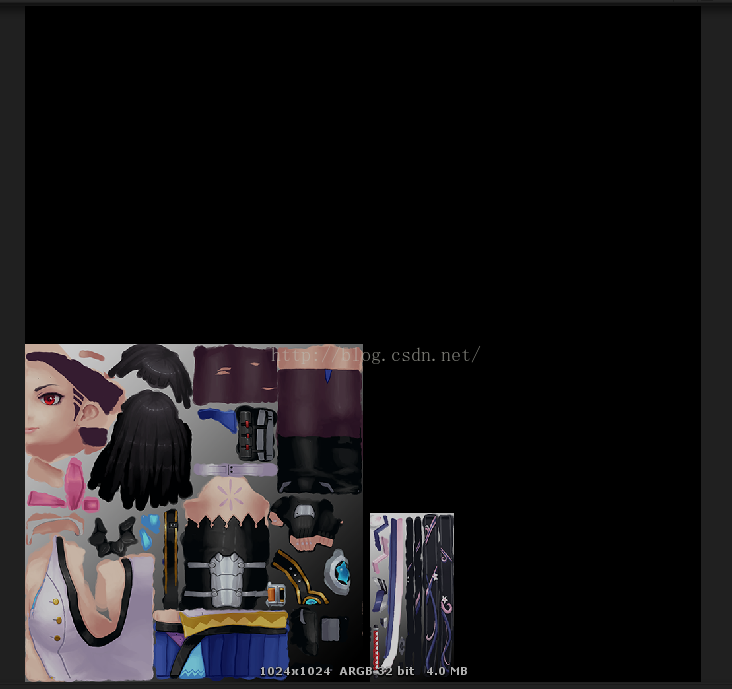
以上便是合并Mesh和Material的内容,目前只关注实现,还可以进一步优化,有以下几点要注意的:
1.合并的材质球需要使用同一个shader,如果多个材质球使用了不同shader,就要做进一步的出分类处理了。
2.材质球所用的Texture文件的Read/Write Enable选项要打上勾。
项目的github地址: https://github.com/arBao/MeshMaterialCombine
原创文章,转载请注明出处: http://blog.csdn.net/dardgen2015/article/details/51517860