

前言
图片压缩对于我们日常生活来讲,是非常实用的一项功能。有时我们会在在线图片压缩网站上进行压缩,有时会在电脑下软件进行压缩。那么我们能不能用前端的知识来自己实现一个图片压缩工具呢?答案是有的。
效果展示
原图片大小:82KB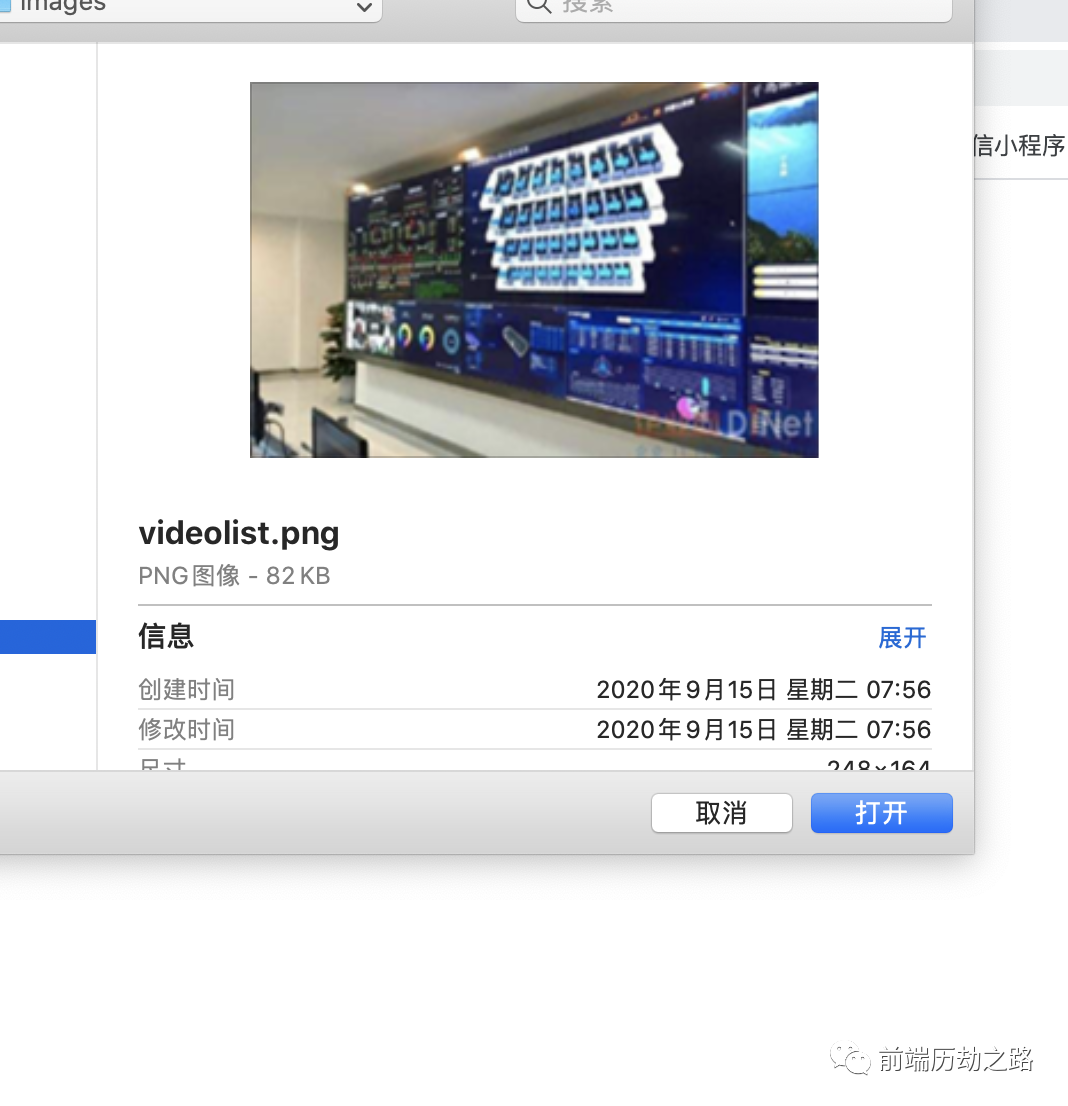 压缩后的图片大小:17KB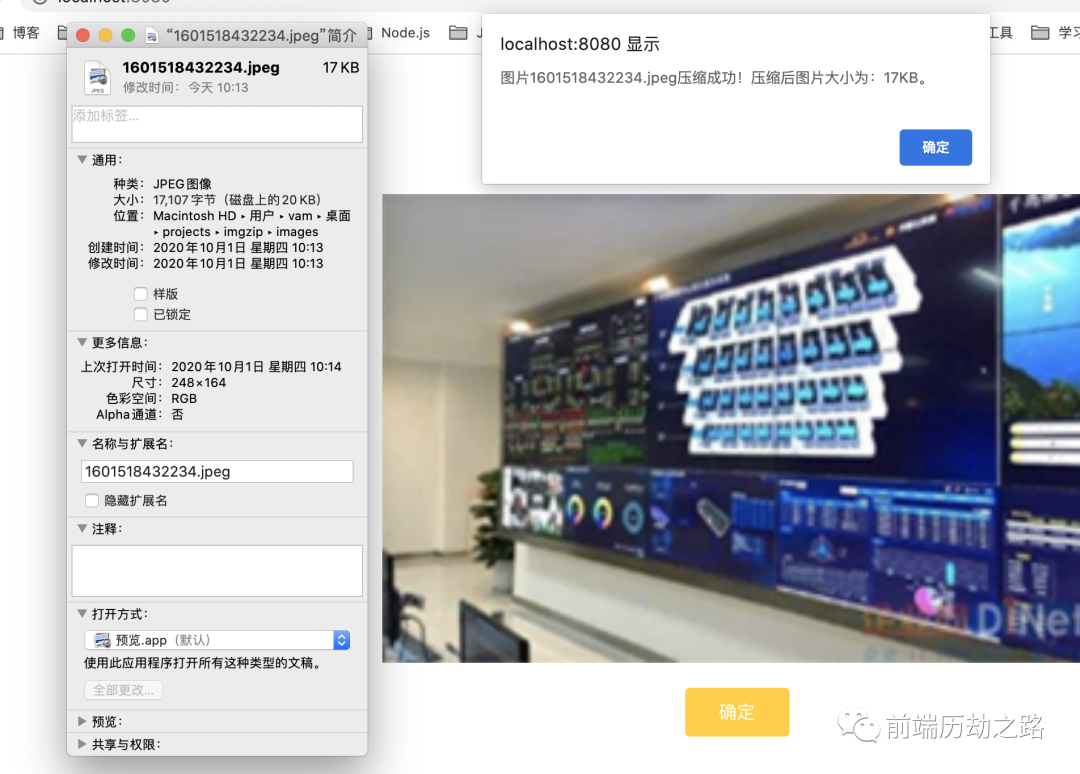
测试
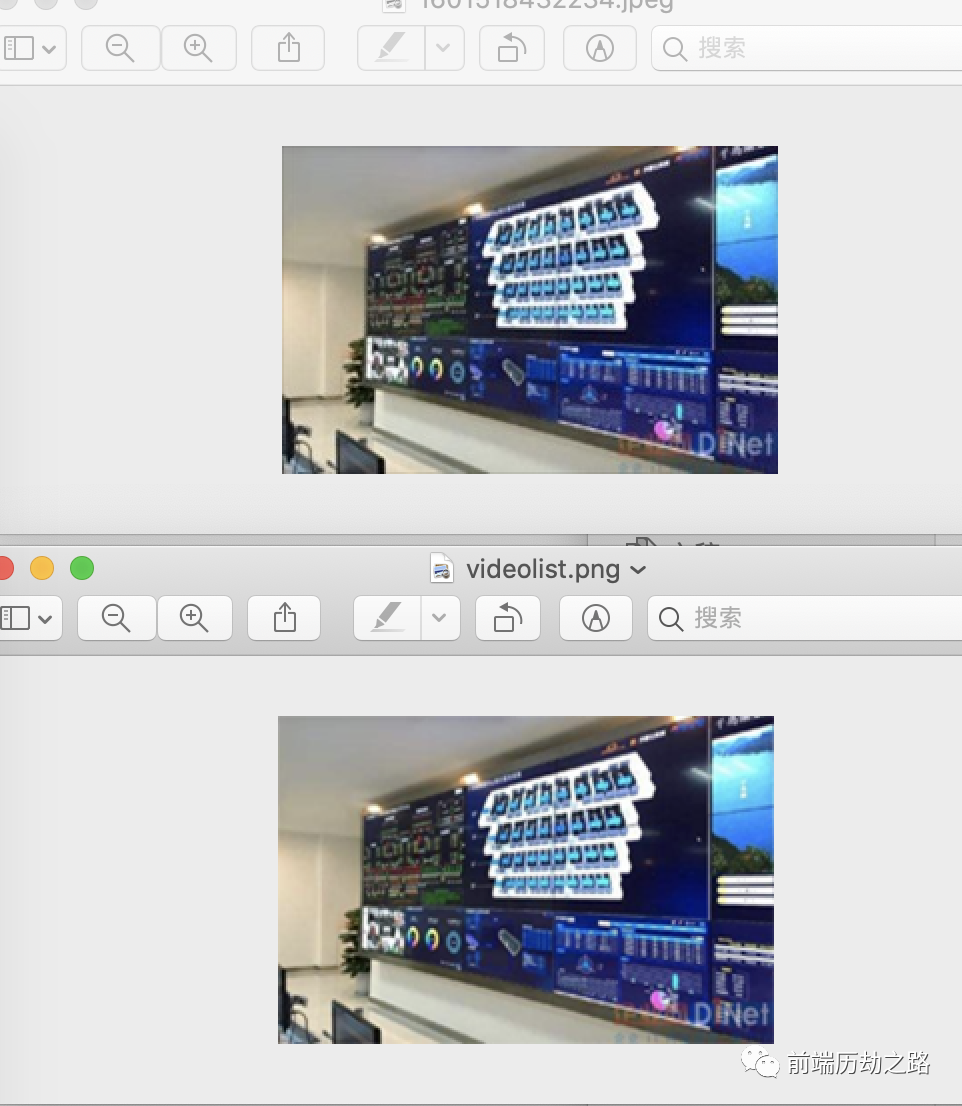
是不是特别good!!!看到上面的压缩后的图片,可能你还会质疑图片的清晰度,那么看下面(第一张图为压缩后的图片):
教程
这么好的工具,那我们来看看怎么用代码实现它。首先你可能需要一些Vue.js和Node.js的基础,另外你可能还需要一点对知识的渴望~ 哈哈哈。
话不多说,我们来上干货。
前台搭建
1<template>
2  <div class="face">
3    <label for="file" class="inputlabelBox">
4      <input
5        type="file"
6        ref="pic"
7        id="file"
8        name="face"
9        accept="image/*"
10        capture="camera"
11        :style="{ display: 'none' }"
12        @change="handleClick"
13      />
14      <div class="upload">上传图片</div>
15    </label>
16    <div class="imgbox" v-show="imgsrc != ''">
17      <img src id="imgs" alt />
18    </div>
19    <div>
20      <p class="upload" @click="keepImg" v-show="imgsrc != ''">确定</p>
21    </div>
22  </div>
23</template>
24<script>
25import EXIF from "exif-js";
26export default {
27  name: "imgzip",
28  data() {
29    return {
30      imgsrc: "",
31    };
32  },
33  methods: {
34    // 上传图片
35    handleClick() {
36      if (this.$refs.pic.files[0]) {
37
38        // this.fileToBase64(this.$refs.pic.files[0]).then((res) => {
39        //   this.imgsrc = res;
40        // });
41
42        this.rotateImg(this.$refs.pic.files[0]).then((res) => {
43          this.imgsrc = res;
44        });
45      }
46    },
47    // 压缩和图片旋转
48    rotateImg(imgFile) {
49      return new Promise((resolve) => {
50        EXIF.getData(imgFile, function () {
51          let exifTags = EXIF.getAllTags(this);
52          let reader = new FileReader();
53          reader.readAsDataURL(imgFile);
54          reader.onload = (e) => {
55            let imgData = e.target.result;
56            document.querySelector("#imgs").src = e.target.result;
57            // 8 表示 顺时针转了90
58            // 3 表示 转了 180
59            // 6 表示 逆时针转了90
60            if (
61              exifTags.Orientation == 8 ||
62              exifTags.Orientation == 3 ||
63              exifTags.Orientation == 6
64            ) {
65              //翻转
66              //获取原始图片大小
67              const img = new Image();
68              img.src = imgData;
69              img.onload = function () {
70                let cvs = document.createElement("canvas");
71                let ctx = cvs.getContext("2d");
72                //如果旋转90
73                if (exifTags.Orientation == 8 || exifTags.Orientation == 6) {
74                  cvs.width = img.height;
75                  cvs.height = img.width;
76                } else {
77                  cvs.width = img.width;
78                  cvs.height = img.height;
79                }
80                if (exifTags.Orientation == 6) {
81                  //原图逆时针转了90, 所以要顺时针旋转90
82                  ctx.rotate((Math.PI / 180) * 90);
83                  ctx.drawImage(
84                    img,
85                    0,
86                    0,
87                    img.width,
88                    img.height,
89                    0,
90                    -img.height,
91                    img.width,
92                    img.height
93                  );
94                }
95                if (exifTags.Orientation == 3) {
96                  //原图逆时针转了180, 所以顺时针旋转180
97                  ctx.rotate((Math.PI / 180) * 180);
98                  ctx.drawImage(
99                    img,
100                    0,
101                    0,
102                    img.width,
103                    img.height,
104                    -img.width,
105                    -img.height,
106                    img.width,
107                    img.height
108                  );
109                }
110                if (exifTags.Orientation == 8) {
111                  //原图顺时针旋转了90, 所以要你时针旋转90
112                  ctx.rotate((Math.PI / 180) * -90);
113                  ctx.drawImage(
114                    img,
115                    0,
116                    0,
117                    img.width,
118                    img.height,
119                    -img.width,
120                    0,
121                    img.width,
122                    img.height
123                  );
124                }
125                let data = cvs.toDataURL("image/jpeg"); // 输出压缩后的base64
126                let arr = data.split(","),
127                  mime = arr[0].match(/:(.*?);/)[1], // 转成blob
128                  bstr = atob(arr[1]),
129                  n = bstr.length,
130                  u8arr = new Uint8Array(n);
131                while (n--) {
132                  u8arr[n] = bstr.charCodeAt(n);
133                }
134                let files = new window.File(
135                  [new Blob([u8arr], { type: mime })],
136                  "test.jpeg",
137                  { type: "image/jpeg" }
138                );
139                resolve(files);
140              };
141            } else {
142              let image = new Image(); //新建一个img标签(还没嵌入DOM节点)
143              image.src = e.target.result;
144              image.onload = function () {
145                let canvas = document.createElement("canvas"), // 新建canvas
146                  context = canvas.getContext("2d"),
147                  imageWidth = image.width, //压缩后图片的大小
148                  imageHeight = image.height,
149                  data = "";
150                canvas.width = imageWidth;
151                canvas.height = imageHeight;
152                context.drawImage(image, 0, 0, imageWidth, imageHeight);
153                data = canvas.toDataURL("image/jpeg"); // 输出压缩后的base64
154                let arr = data.split(","),
155                  mime = arr[0].match(/:(.*?);/)[1], // 转成blob
156                  bstr = atob(arr[1]),
157                  n = bstr.length,
158                  u8arr = new Uint8Array(n);
159                while (n--) {
160                  u8arr[n] = bstr.charCodeAt(n);
161                }
162                let files = new window.File(
163                  [new Blob([u8arr], { type: mime })],
164                  "test.jpeg",
165                  { type: "image/jpeg" }
166                ); // 转成file
167                resolve(files);
168              };
169            }
170          };
171        });
172      });
173    },
174
175    /*
176    fileToBase64(file) {
177      let that = this,
178        reader = new FileReader();
179      reader.readAsDataURL(file);
180      return new Promise((resolve, reject) => {
181        reader.onload = function (e) {
182          //这里是一个异步,所以获取数据不好获取在实际项目中,就用new Promise解决
183          if (this.result) {
184            let image = new Image(); //新建一个img标签(还没嵌入DOM节点)
185            image.src = e.target.result;
186            document.querySelector("#imgs").src = e.target.result;
187            image.onload = function () {
188              let canvas = document.createElement("canvas"), // 新建canvas
189                context = canvas.getContext("2d"),
190                imageWidth = image.width / 2, //压缩后图片的大小
191                imageHeight = image.height / 2,
192                data = "";
193              canvas.width = imageWidth;
194              canvas.height = imageHeight;
195              context.drawImage(image, 0, 0, imageWidth, imageHeight);
196              data = canvas.toDataURL("image/jpeg"); // 输出压缩后的base64
197              let arr = data.split(","),
198                mime = arr[0].match(/:(.*?);/)[1], // 转成blob
199                bstr = atob(arr[1]),
200                n = bstr.length,
201                u8arr = new Uint8Array(n);
202              while (n--) {
203                u8arr[n] = bstr.charCodeAt(n);
204              }
205              let files = new window.File(
206                [new Blob([u8arr], { type: mime })],
207                "test.jpeg",
208                { type: "image/jpeg" }
209              ); // 转成file
210              resolve(files);
211            };
212          } else {
213            reject("err");
214          }
215        };
216      });
217    },
218    */
219
220
221    // 保存图片
222    keepImg() {
223      // this.$emit("canvasToImage", this.imgsrc);
224
225      const fd = new FormData();
226      fd.append("file", this.imgsrc);
227      fetch("http://localhost:6300/upload", {
228        method: "post",
229        mode:"cors",
230        body:fd,
231      })
232        .then((response) => response.json())
233        .then((response) => {
234          if(response.success){
235            console.log(this.imgsrc);
236            const size = this.imgsrc.size<1024?this.imgsrc.size+"字节":Math.round(this.imgsrc.size/1024)+"KB";
237            console.log(size);
238            alert(`图片${response.name}${response.msg}!压缩后图片大小为:${size}。`);
239          }
240        })
241        .catch((err) => {
242          console.log(err);
243        });
244    },
245  },
246};
247</script>
248<style scoped lang="less">
249.upload {
250  display: inline-block;
251  background: #ffb90f;
252  color: white;
253  font-size: 16px;
254  text-align: center;
255  border-radius: 4px;
256  padding: 10px 30px;
257  margin-bottom: 20px;
258}
259.upload:hover {
260  filter: brightness(110%);
261}
262.upload:active {
263  filter: brightness(60%);
264}
265.imgbox {
266  text-align: center;
267  width: 60%;
268  margin: 0 auto;
269  img {
270    width: 100%;
271    height: 60vh;
272    object-fit: contain;
273  }
274}
275.face {
276  margin-top: 30px;
277  .container1 {
278    background: #000;
279    position: relative;
280    width: 580px;
281    height: 436px;
282    margin: 0 auto;
283    #canvas1 {
284      position: absolute;
285    }
286    video,
287    #canvas,
288    #canvas1 {
289      position: absolute;
290      top: 0;
291      left: 0;
292      right: 0;
293      bottom: 0;
294      width: 581px;
295      height: 436px;
296    }
297  }
298  .btns {
299    padding: 10px;
300    button {
301      margin: 20px 20px 20px 0;
302    }
303  }
304  .tips {
305    font-size: 26px;
306    color: #666;
307    margin: 10px 0;
308    line-height: 48px;
309  }
310  .imgs {
311    p {
312      font-size: 28px;
313    }
314  }
315}
316</style>
317
我在这里实现了一个Vue组件(所以你得知道Vue是什么?组件又是什么?)。知道这些还不够,你还要知道怎么从依赖库下载依赖,这里需要另外下载的依赖是exif-js。
一个JavaScript库,用于从图像文件中读取EXIF元数据。您可以通过图像或文件输入元素在浏览器中的图像上使用它。EXIF和IPTC元数据均被检索。该软件包还可以在AMD或CommonJS环境中使用。
备注;使用exif.js依赖的作用是 为了防止在IOS系统中拍照上传图片旋转90度问题。
后台搭建
1const Koa = require('koa');// koa框架
2const Router = require('koa-router');// 接口必备
3const cors = require('koa2-cors'); // 跨域必备
4const fs = require('fs'); // 文件系统
5const koaBody = require('koa-body'); //文件保存库
6const path = require('path'); // 路径
7
8let app = new Koa();
9let router = new Router();
10
11// 跨域
12app.use(cors({
13    origin: function (ctx) {
14        return ctx.header.origin;
15    },
16    exposeHeaders: ['WWW-Authenticate', 'Server-Authorization'],
17    maxAge: 5,
18    credentials: true,
19    withCredentials: true,
20    allowMethods: ['GET', 'POST', 'DELETE'],
21    allowHeaders: ['Content-Type', 'Authorization', 'Accept'],
22}));
23
24//上传文件限制
25app.use(koaBody({
26    multipart: true,
27    formidable: {
28        maxFileSize: 1000 * 1024 * 1024 // 设置上传文件大小最大限制,默认10M
29    }
30}));
31
32// 上传图片
33router.post('/upload', async (ctx, next) => {
34    if (ctx.request.files.file) {
35        var file = ctx.request.files.file;
36        // 创建可读流
37        var reader = fs.createReadStream(file.path);
38        // 修改文件的名称
39        var myDate = new Date();
40        var newFilename = myDate.getTime() + '.' + file.name.split('.')[1];
41        var targetPath = path.join(__dirname, './images/') + `${newFilename}`;
42        //创建可写流
43        var upStream = fs.createWriteStream(targetPath);
44        // 可读流通过管道写入可写流
45        reader.pipe(upStream);
46        ctx.body = {
47            success: true,
48            name: newFilename,
49            msg:"压缩成功"
50        };
51    }
52});
53
54
55app.use(router.routes()).use(router.allowedMethods());
56app.listen(6300)
57console.log('服务器运行中')
58
59
后台的逻辑其实很简单,就是实现一个接口,接收前台发来的文件,保存到本地目录上以及返回给前台状态。
结语
谢谢你的浏览,如果还有需要优化的地方请及时留言哦~
欢迎关注我的公众号「前端历劫之路」
回复关键词「电子书」,即可获取近12本前端热门电子书。
回复关键词「红宝书第4版」,即可获取最新《JavaScript高级程序设计》(第四版)电子书。
你还可以加我微信,我拉拢了很多IT大佬,创建了一个技术交流、文章分享群,欢迎你的加入。
作者:Vam的金豆之路
主要领域:前端开发
我的微信:maomin9761
微信公众号:前端历劫之路

本文转转自微信公众号前端历劫之路原创https://mp.weixin.qq.com/s/HJzN5KVh9tommUYB4-71Uw,如有侵权,请联系删除。