
一、搭建注册中心
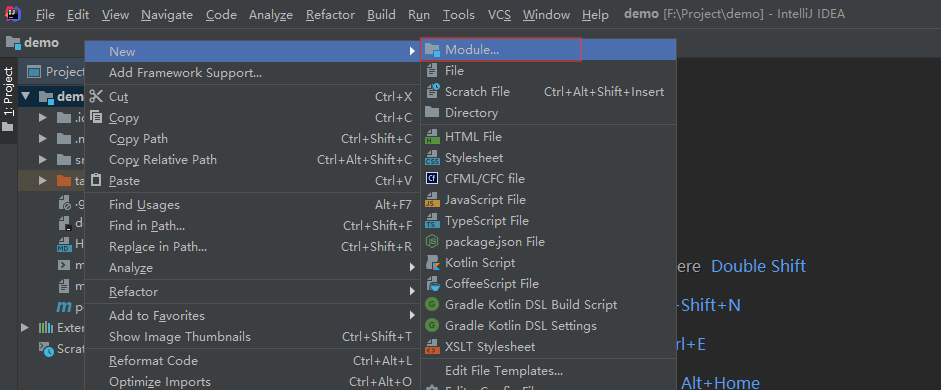
1、创建一个demo项目,demo点击右键创建module
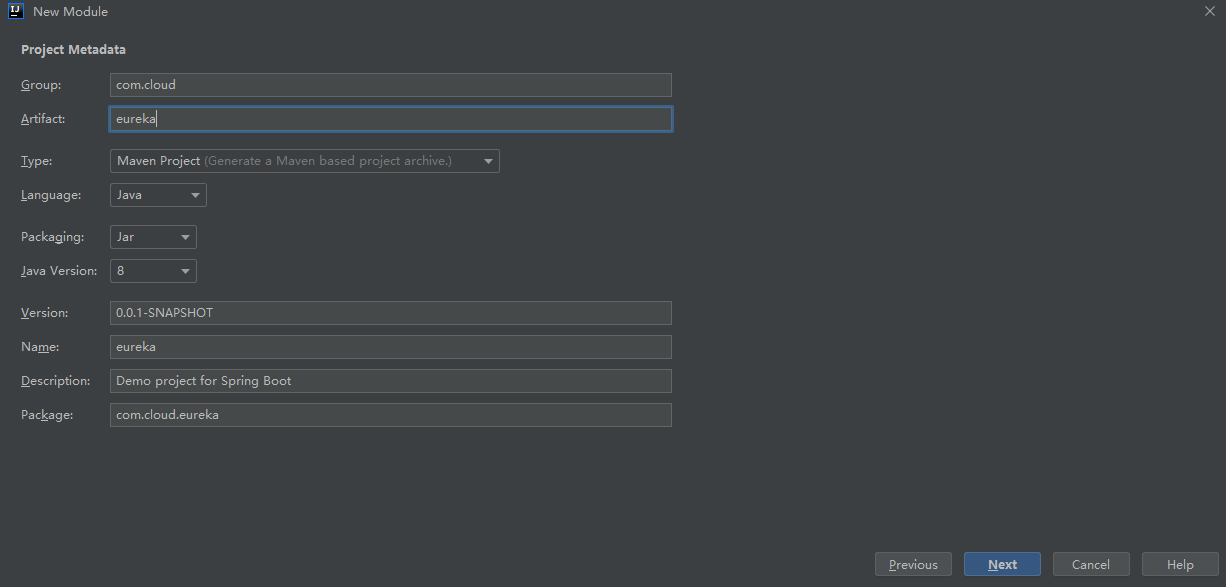
2、设置项目参数
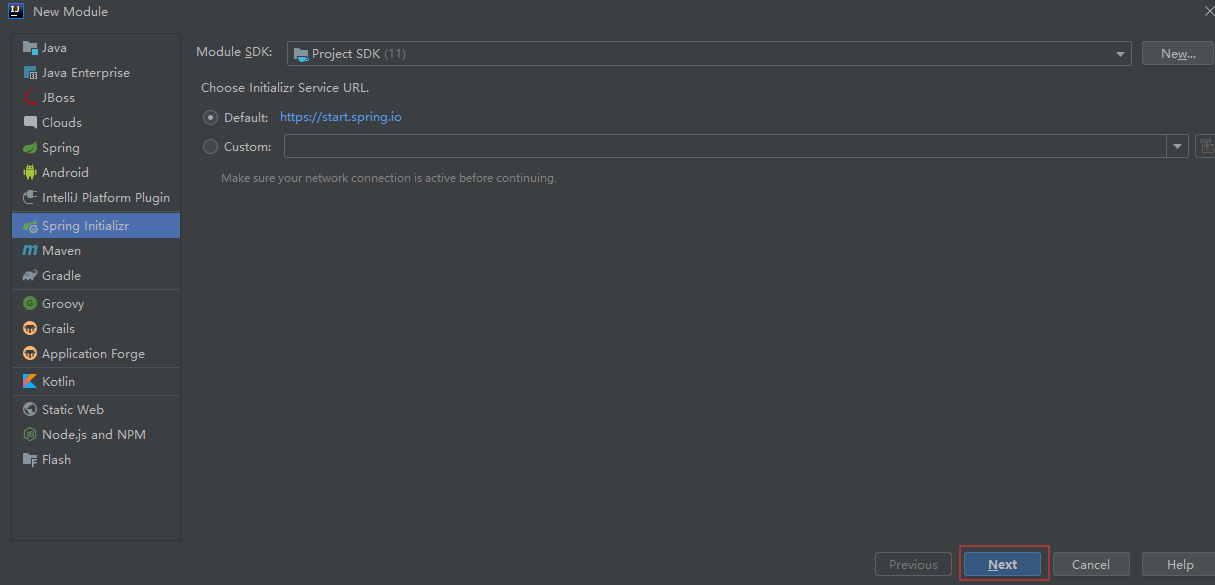
3、选择spring cloud discovery,一直下一步,最后点击完成,创建注册中心

4、将application.properties文件修改为application.yml(格式比较清晰),复制下面参数
1server:
2  port: 8001 # 服务端口
3
4eureka:
5  instance:
6    hostname: localhost # 设置主机名
7  client:
8    registerWithEureka: false # 是否向 Eureka 注册服务。该应用为服务注册中心,不需要自注册,设置为 false
9    fetchRegistry: false # 是否检索服务。该应用为服务注册中心,职责为注册和发现服务,无需检索服务,设置为 false
10    serviceUrl:
11      defaultZone: http://${eureka.instance.hostname}:${server.port}/eureka/ # 注册中心url
12spring:
13  application:
14    name: eurka-server  #服务名称
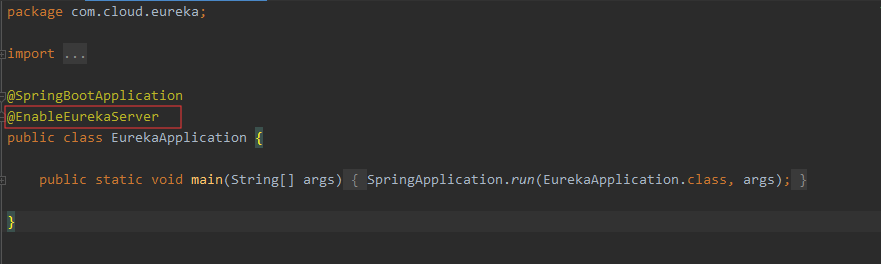
5、在项目启动类中添加@EnableEurekaServer注解
6、启动项目访问http://localhost:8001/,8001是配置文件中设置的端口号
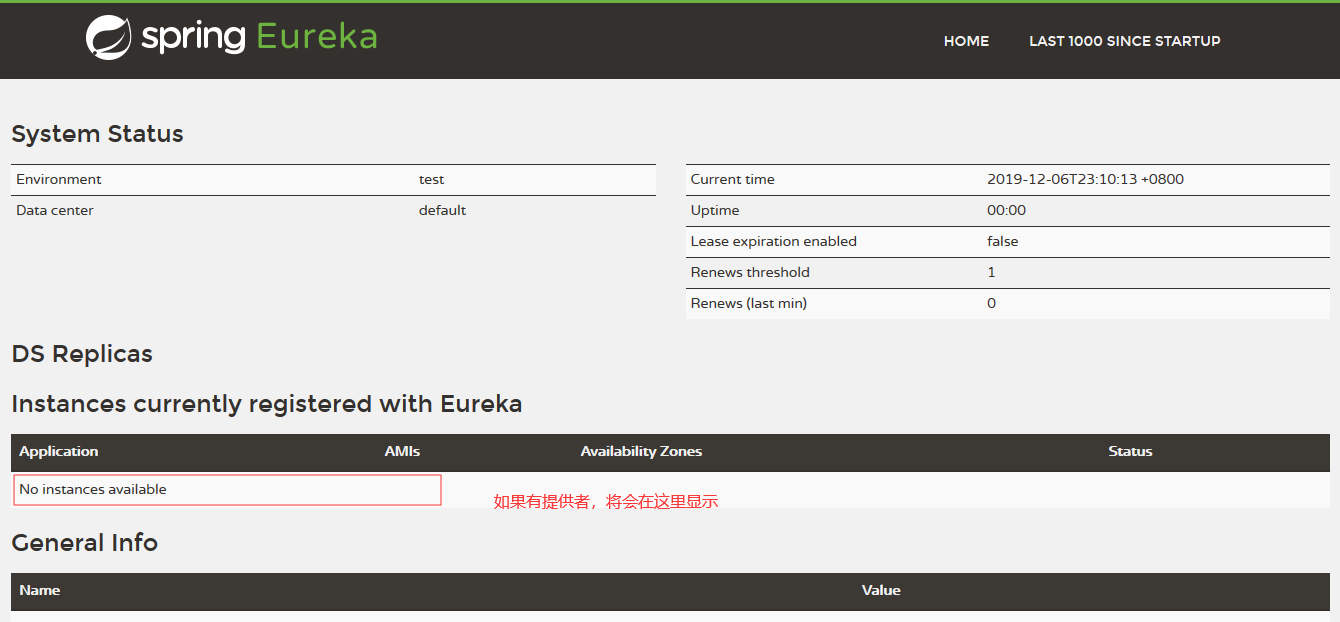
spring cloud的消费者也可以是提供者,二者只有逻辑上的区别,在spring boot中有两种消费方式:rest+ribbon和Feign
二、spring cloud提供者(rest+ribbon)
1、同理,新建module

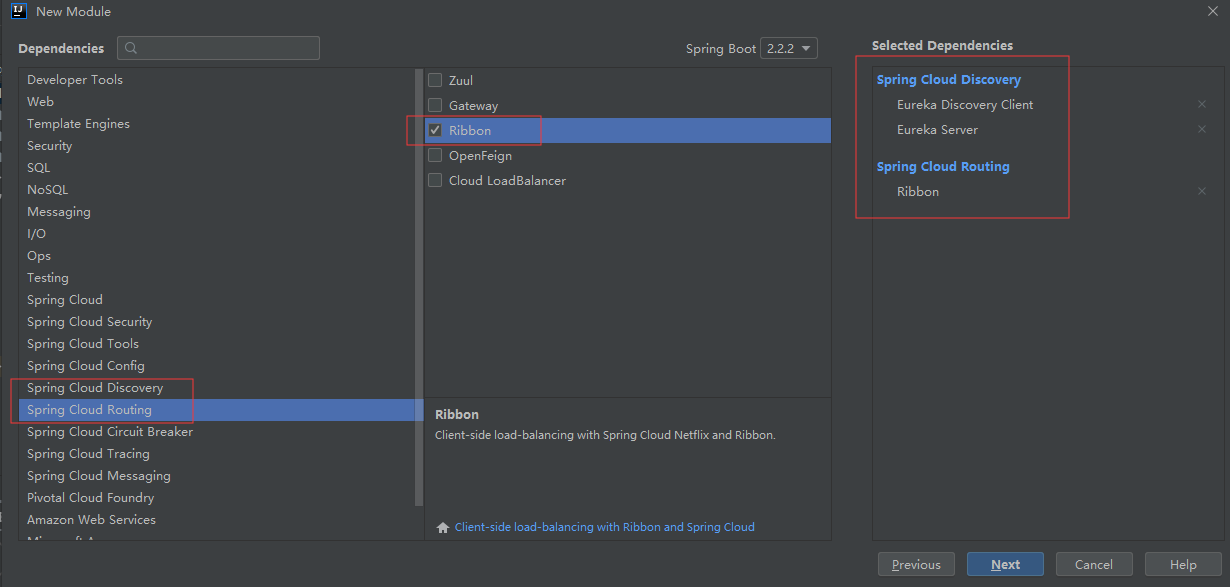
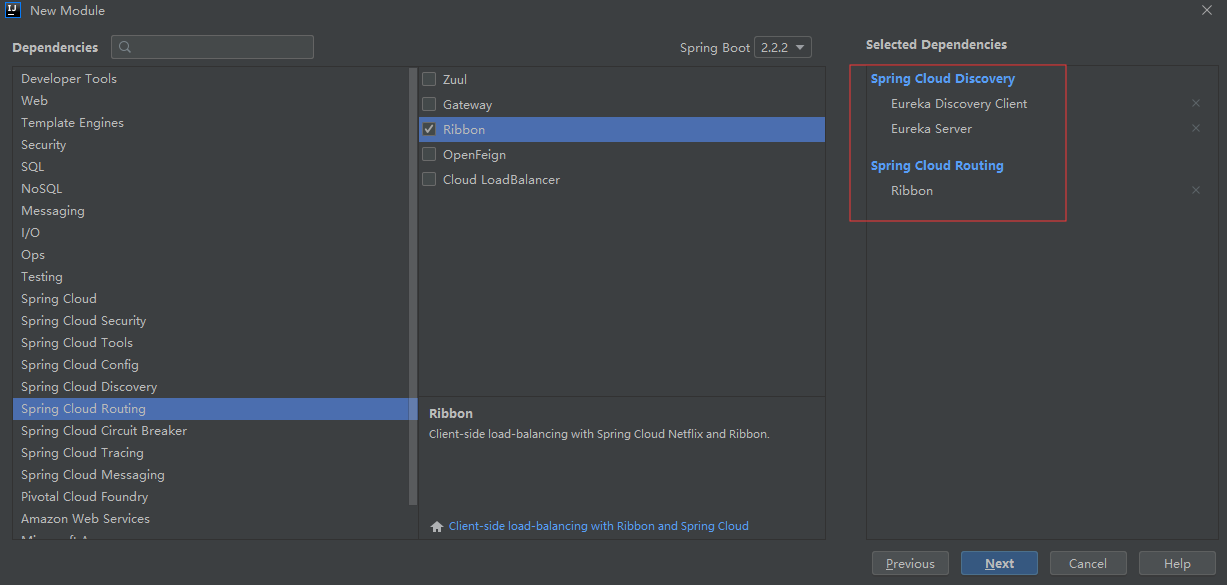
2、创建ribbon,不要忘记将spring cloud discovery也勾选上,否则将缺少jar包,一部分注解不显示
3、application.yml配置文件
1eureka:
2  client:
3    serviceUrl:
4      defaultZone: http://localhost:8001/eureka/
5server:
6  port: 8002
7spring:
8  application:
9    name: ribbon-provider
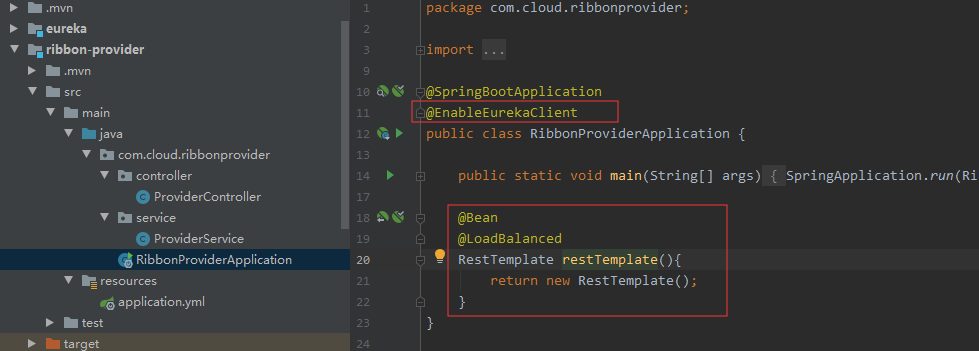
4、启动类添加@EnableEurekaClient注册服务,然后注入RestTemplate对象,@LoadBalanced表示开启负载均衡


1package com.cloud.ribbonprovider;
2
3import org.springframework.boot.SpringApplication;
4import org.springframework.boot.autoconfigure.SpringBootApplication;
5import org.springframework.cloud.client.loadbalancer.LoadBalanced;
6import org.springframework.cloud.netflix.eureka.EnableEurekaClient;
7import org.springframework.context.annotation.Bean;
8import org.springframework.web.client.RestTemplate;
9
10@SpringBootApplication
11@EnableEurekaClient
12public class RibbonProviderApplication {
13
14    public static void main(String[] args) {
15        SpringApplication.run(RibbonProviderApplication.class, args);
16    }
17
18    @Bean
19    @LoadBalanced
20    RestTemplate restTemplate(){
21        return new RestTemplate();
22    }
23}
View Code
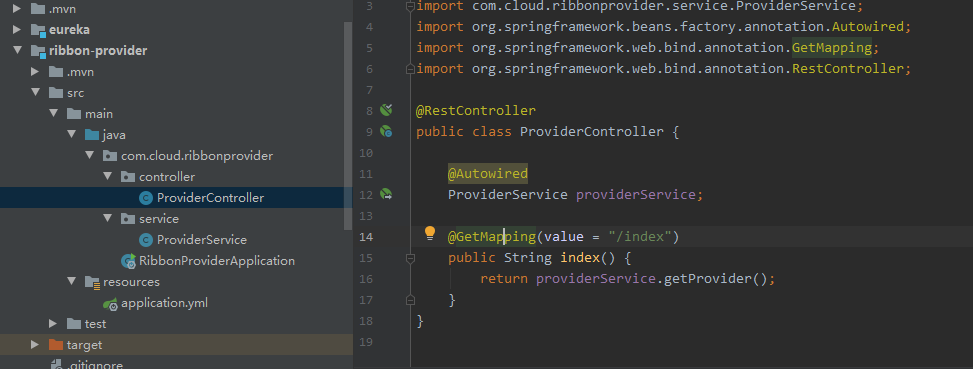
5、创建controller和service


1package com.cloud.ribbonprovider.controller;
2
3import com.cloud.ribbonprovider.service.ProviderService;
4import org.springframework.beans.factory.annotation.Autowired;
5import org.springframework.web.bind.annotation.GetMapping;
6import org.springframework.web.bind.annotation.RestController;
7
8@RestController
9public class ProviderController {
10
11    @Autowired
12    ProviderService providerService;
13
14    @GetMapping(value = "/index")
15    public String index() {
16        return providerService.getProvider();
17    }
18}
View Code
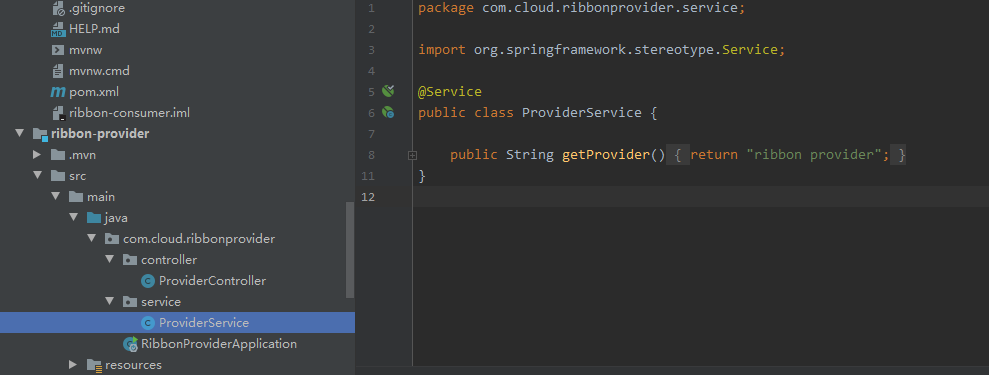


1package com.cloud.ribbonprovider.service;
2
3import org.springframework.stereotype.Service;
4
5@Service
6public class ProviderService {
7
8    public String getProvider() {
9        return "ribbon provider";
10    }
11}
View Code
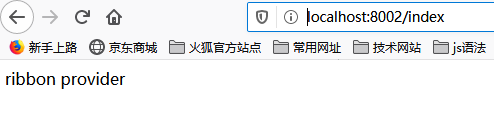
6、启动项目,访问提供者http://localhost:8002/index,可以看到返回结果,接着创建消费者来获取提供者的内容
三、spring cloud消费者(rest+ribbon)
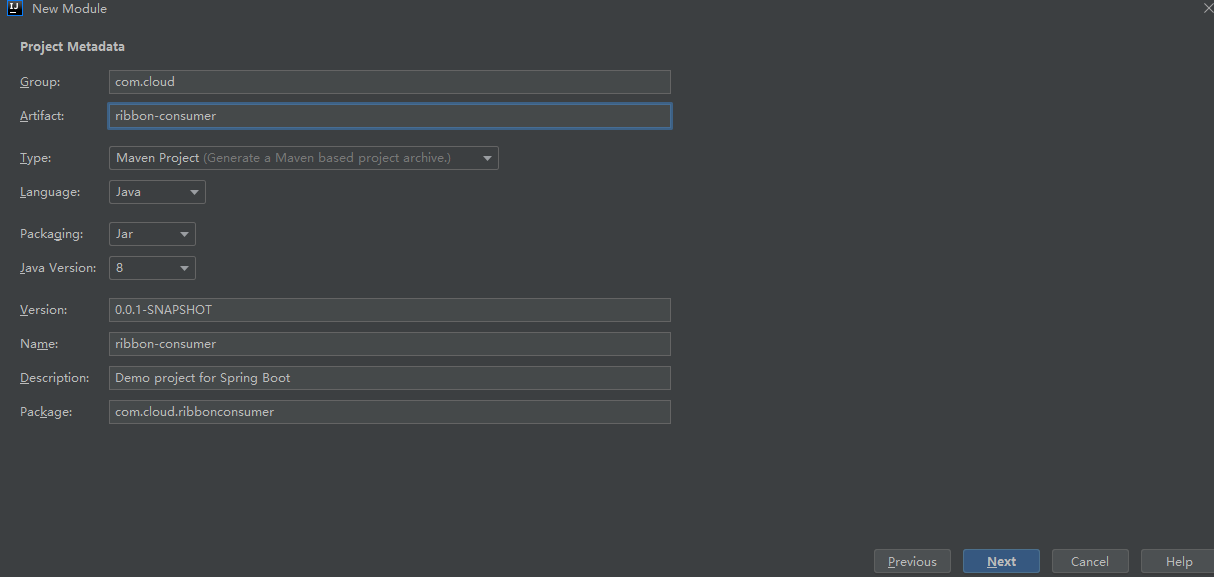
1、新建module
2、勾选ribbon,步骤同提供者
3、application.yml配置文件
1eureka:
2  client:
3    serviceUrl:
4      defaultZone: http://localhost:8001/eureka/
5server:
6  port: 8003
7spring:
8  application:
9    name: ribbon-consumer
4、启动类配置
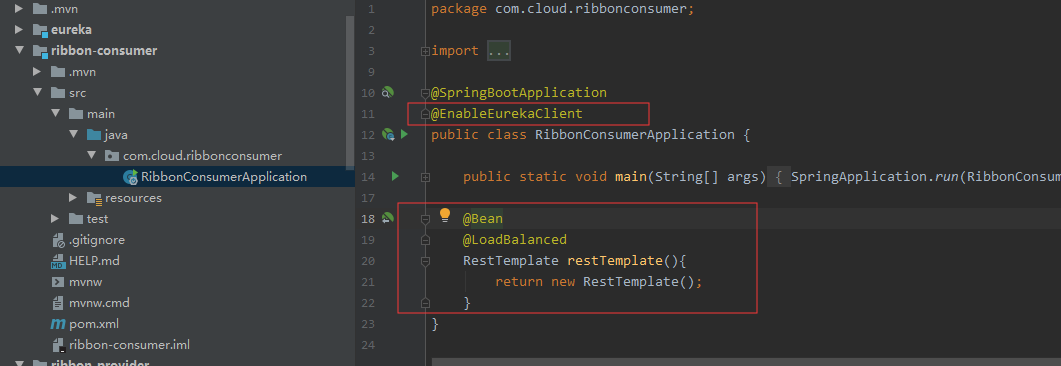


1package com.cloud.ribbonconsumer;
2
3import org.springframework.boot.SpringApplication;
4import org.springframework.boot.autoconfigure.SpringBootApplication;
5import org.springframework.cloud.client.loadbalancer.LoadBalanced;
6import org.springframework.cloud.netflix.eureka.EnableEurekaClient;
7import org.springframework.context.annotation.Bean;
8import org.springframework.web.client.RestTemplate;
9
10@SpringBootApplication
11@EnableEurekaClient
12public class RibbonConsumerApplication {
13
14    public static void main(String[] args) {
15        SpringApplication.run(RibbonConsumerApplication.class, args);
16    }
17
18    @Bean
19    @LoadBalanced
20    RestTemplate restTemplate(){
21        return new RestTemplate();
22    }
23}
View Code
5、controller和service,注意service需要注入RestTemplate,用来访问提供者
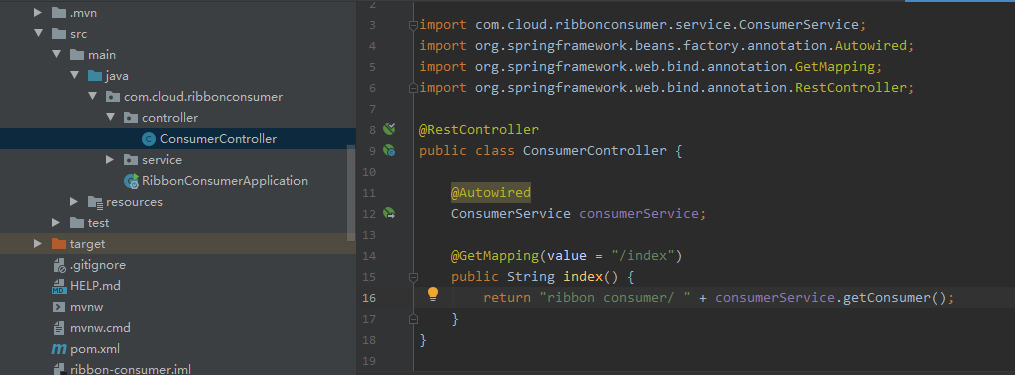


1package com.cloud.ribbonconsumer.controller;
2
3import com.cloud.ribbonconsumer.service.ConsumerService;
4import org.springframework.beans.factory.annotation.Autowired;
5import org.springframework.web.bind.annotation.GetMapping;
6import org.springframework.web.bind.annotation.RestController;
7
8@RestController
9public class ConsumerController {
10
11    @Autowired
12    ConsumerService consumerService;
13
14    @GetMapping(value = "/index")
15    public String index() {
16        return "ribbon consumer/ " + consumerService.getConsumer();
17    }
18}
View Code
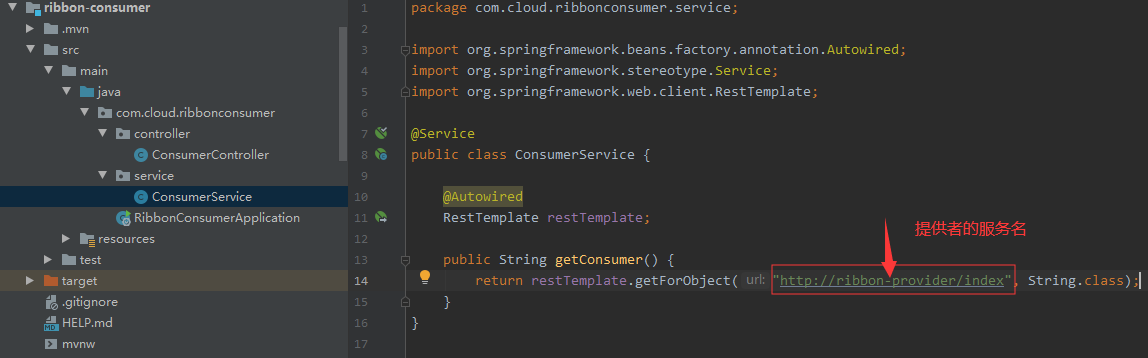


1package com.cloud.ribbonconsumer.service;
2
3import org.springframework.beans.factory.annotation.Autowired;
4import org.springframework.stereotype.Service;
5import org.springframework.web.client.RestTemplate;
6
7@Service
8public class ConsumerService {
9
10    @Autowired
11    RestTemplate restTemplate;
12
13    public String getConsumer() {
14        return restTemplate.getForObject("http://ribbon-provider/index", String.class);
15    }
16}
View Code
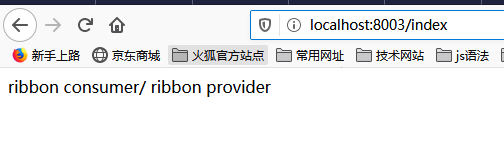
6、启动项目,访问消费者http://localhost:8003/index,在返回的结果中,ribbon consumer/属于消费者自身的信息,ribbon provider属于提供者提供的内容,简单的springcloud搭建成功
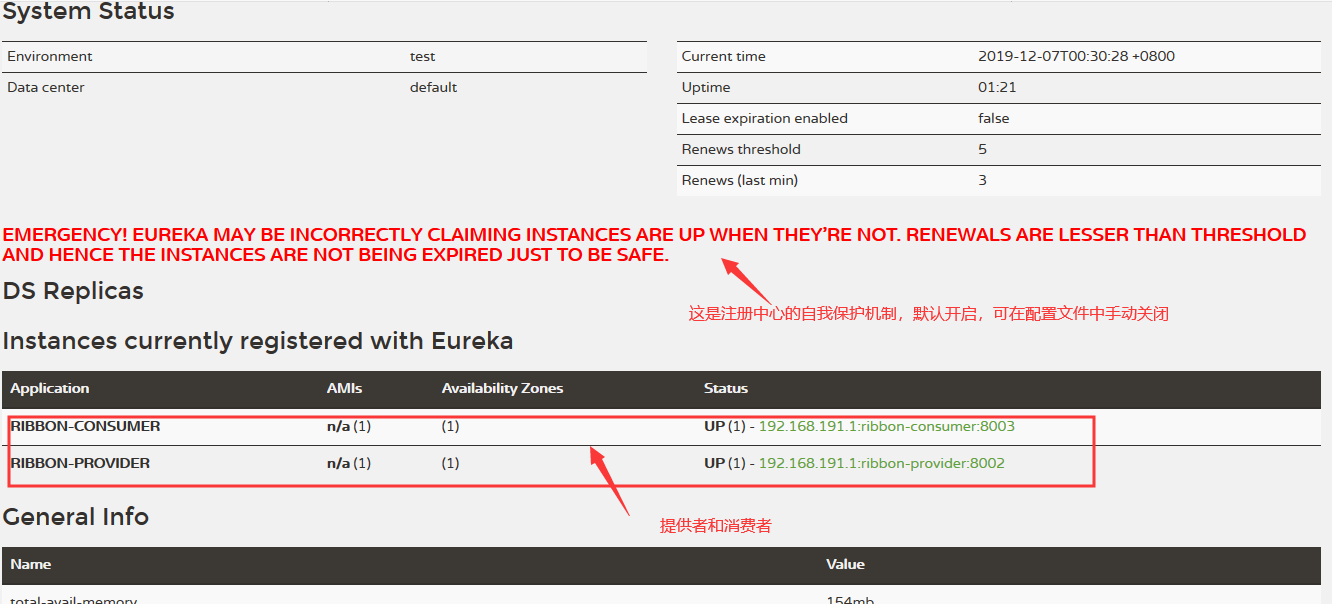
7、访问注册中心http://localhost:8001/,可以看的提供者和消费者都已经注册成功
四、Feign消费
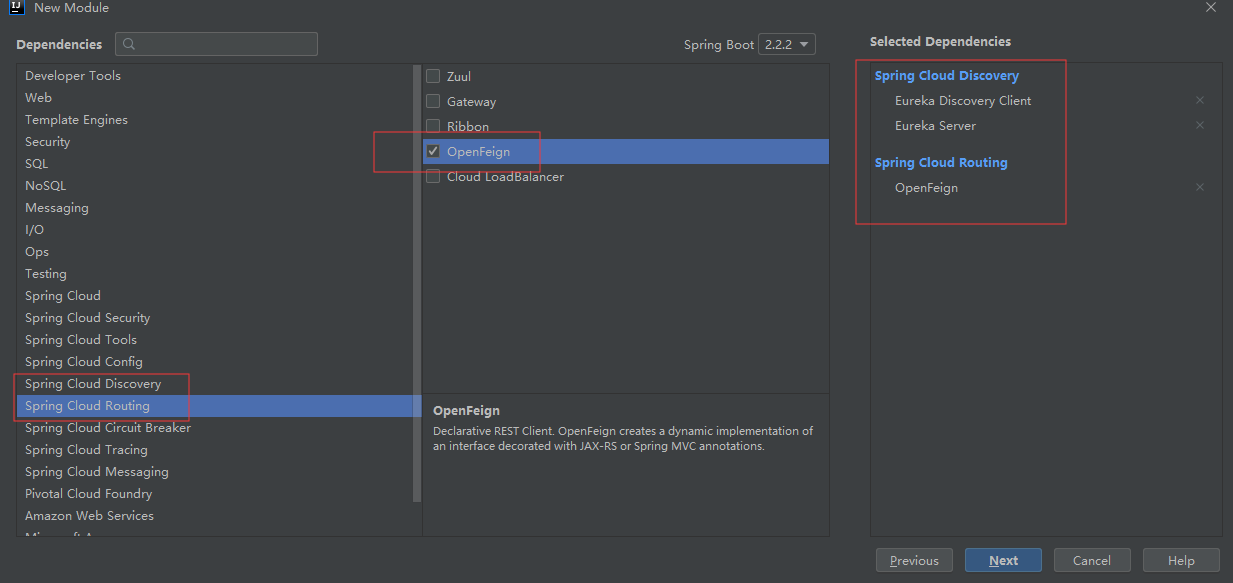
1、新建module,勾选openfeign
2、application.yml配置文件
1eureka:
2  client:
3    serviceUrl:
4      defaultZone: http://localhost:8001/eureka/
5server:
6  port: 8004
7spring:
8  application:
9    name: feign-consumer
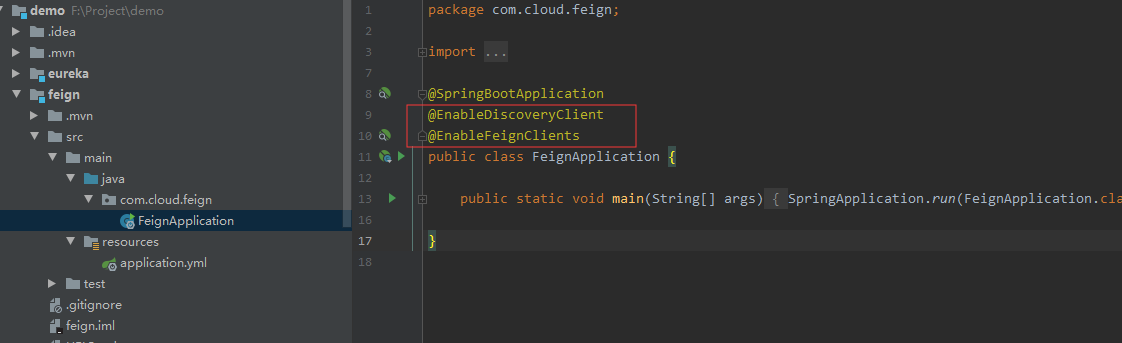
3、启动类添加@EnableDiscoveryClient和@EnableFeignClients注解


1package com.cloud.feign;
2
3import org.springframework.boot.SpringApplication;
4import org.springframework.boot.autoconfigure.SpringBootApplication;
5import org.springframework.cloud.client.discovery.EnableDiscoveryClient;
6import org.springframework.cloud.openfeign.EnableFeignClients;
7
8@SpringBootApplication
9@EnableDiscoveryClient
10@EnableFeignClients
11public class FeignApplication {
12
13    public static void main(String[] args) {
14        SpringApplication.run(FeignApplication.class, args);
15    }
16
17}
View Code
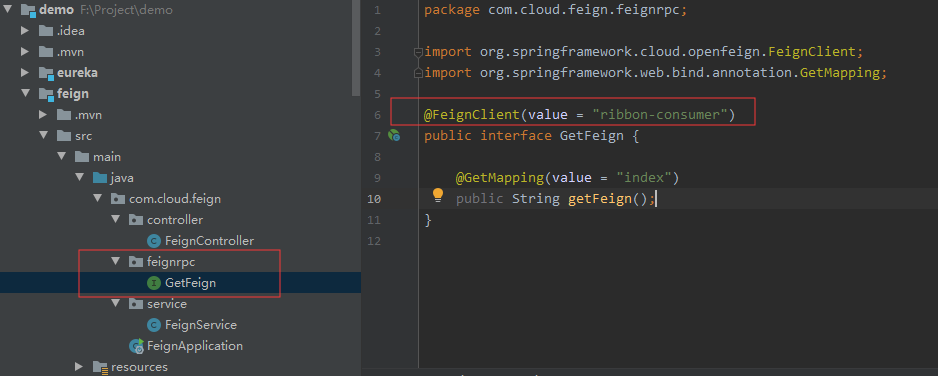
4、使用feign调用ribbon-consumer(既是消费者也是提供者),添加@FeignClient注解即可,value的意思就是目标服务器,可以直接用yml中配置的application名称


1package com.cloud.feign.feignrpc;
2
3import org.springframework.cloud.openfeign.FeignClient;
4import org.springframework.web.bind.annotation.GetMapping;
5
6@FeignClient(value = "ribbon-consumer")
7public interface GetFeign {
8
9    @GetMapping(value = "index")
10    public String getFeign();
11}
View Code
5、创建controller和service,service中注入feign的接口
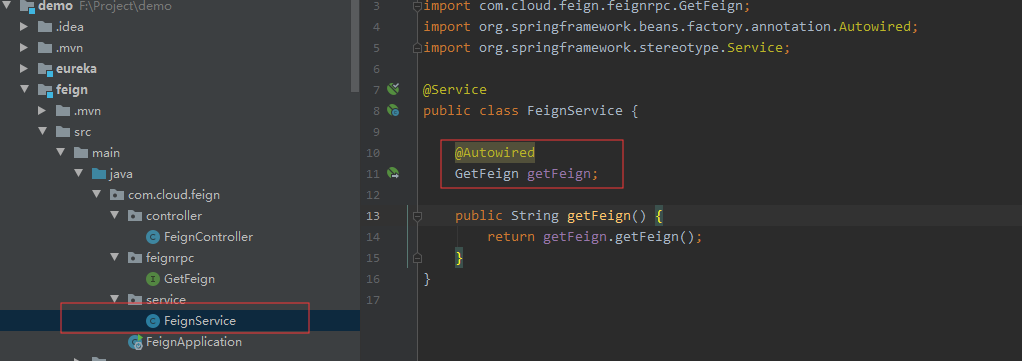


1package com.cloud.feign.service;
2
3import com.cloud.feign.feignrpc.GetFeign;
4import org.springframework.beans.factory.annotation.Autowired;
5import org.springframework.stereotype.Service;
6
7@Service
8public class FeignService {
9
10    @Autowired
11    GetFeign getFeign;
12
13    public String getFeign() {
14        return getFeign.getFeign();
15    }
16}
View Code
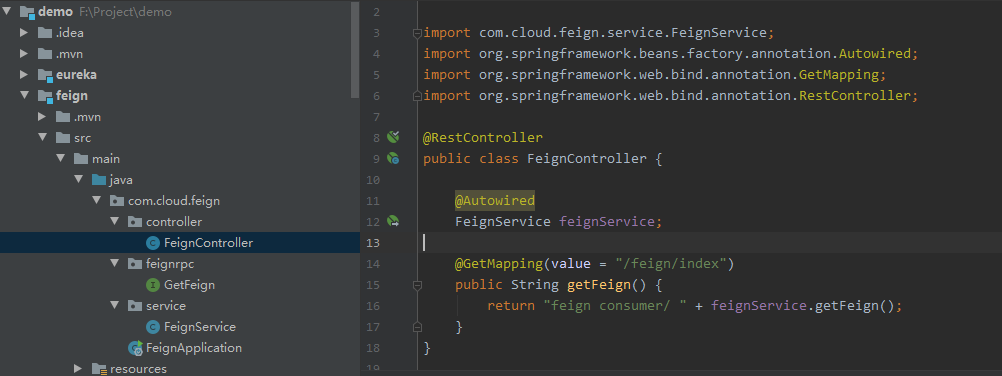


1package com.cloud.feign.controller;
2
3import com.cloud.feign.service.FeignService;
4import org.springframework.beans.factory.annotation.Autowired;
5import org.springframework.web.bind.annotation.GetMapping;
6import org.springframework.web.bind.annotation.RestController;
7
8@RestController
9public class FeignController {
10
11    @Autowired
12    FeignService feignService;
13
14    @GetMapping(value = "/feign/index")
15    public String getFeign() {
16        return "feign consumer/ " + feignService.getFeign();
17    }
18}
View Code
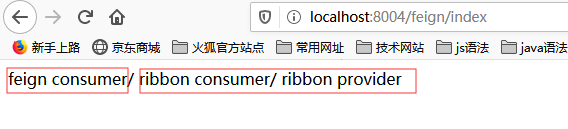
6、启动项目,访问feign消费者http://localhost:8004/feign/index,其中feign consumer/是feign自身提供的信息,ribbon consumer/ ribbon provider是ribbon consumer提供者的信息
7、再次查看注册中心
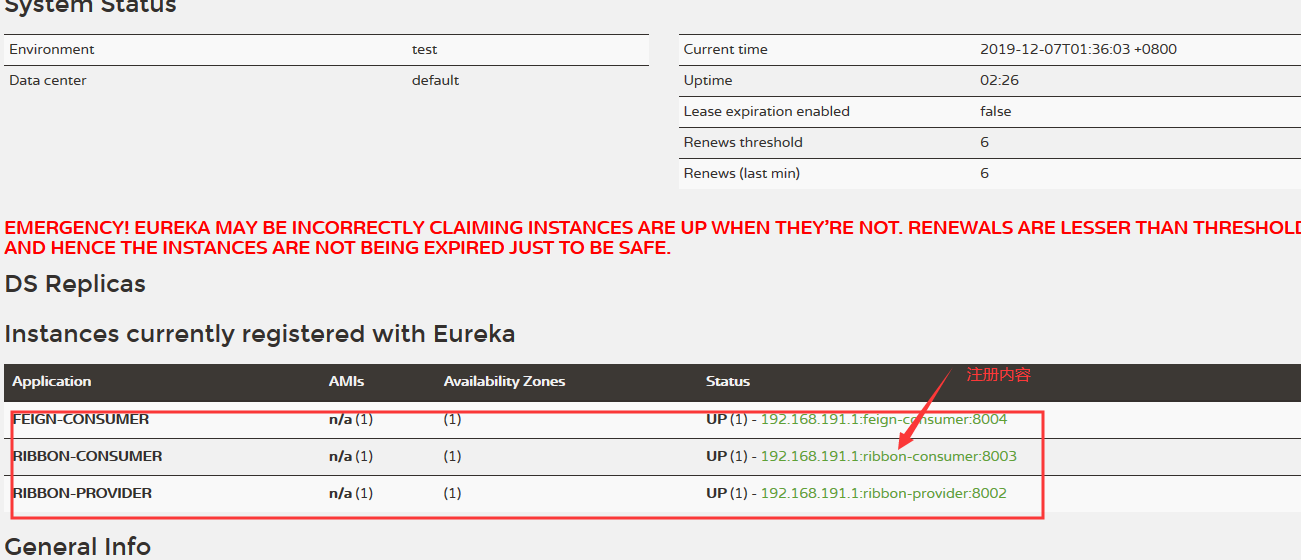
到此,简单的微服务构架搭建完成。