
Portainer是一个轻量级的Docker环境管理UI,可以管理docker host和docker swarm(我主要看中了能管理swarm这个,毕竟市面上能管理swarm的平台不多)。之所以说是轻量级的,是因为部署只有一个container,也可以使用二进制程序直接部署,不像rancher的部署,部署了一大堆container,而且portainer是跨平台的,windows和linux都可以部署,废话不多说,直接开干....
环境
ubuntu16.04-1
swarm manager
portainer
ubuntu16.04-2
swarm works
portainer agent
ubuntu16.04-3
swarm works
portainer agent
ps:环境还是之前文章的swarm集群环境
部署
独立容器启动
docker run -d -p 9000:9000 --name portainer --restart always -v /var/run/docker.sock:/var/run/docker.sock -v /path/on/host/data:/data portainer/portainer
ps:portainer的数据存储在容器内部的/data目录,这样容器重启的时候数据会丢失,所以要确保数据持久化
docker run -d -p 9000:9000 --name portainer --restart always -v portainer_data:/data portainer/portainer -H tcp://<REMOTE_HOST>:<REMOTE_PORT>
ps:-H 后面的remote是你想用portainert管理的docker
stack方式启动
下载启动stack文件
curl -L https://portainer.io/download/portainer-agent-stack.yml -o portainer-agent-stack.yml
以stack方式启动
docker stack deploy --compose-file=portainer-agent-stack.yml portainer
swarm service启动
1docker service create \
2    --name portainer \
3    --publish 9000:9000 \
4    --replicas=1 \
5    --constraint 'node.role == manager' \
6    --mount type=bind,src=//path/on/host/data,dst=/data \
7    portainer/portainer
二进制启动
1wget https://github.com/portainer/portainer/releases/download/1.19.2/portainer-1.19.2-linux-amd64.tar.gz
2tar xvpfz portainer-1.19.2-linux-amd64.tar.gz
3cd /opt/portainer
4./portainer --template-file "${PWD}/templates.json"
ps:模板文件的内容下面会详细解释
1[
2 {
3    "type": 1,
4    "title": "Registry",
5    "description": "Docker image registry",
6    "categories": ["docker"],
7    "platform": "linux",
8    "logo": "https://portainer.io/images/logos/registry.png",
9    "image": "registry:latest",
10    "ports": [
11      "5000/tcp"
12    ],
13    "volumes": [{ "container": "/var/lib/registry"}]
14  },
15]
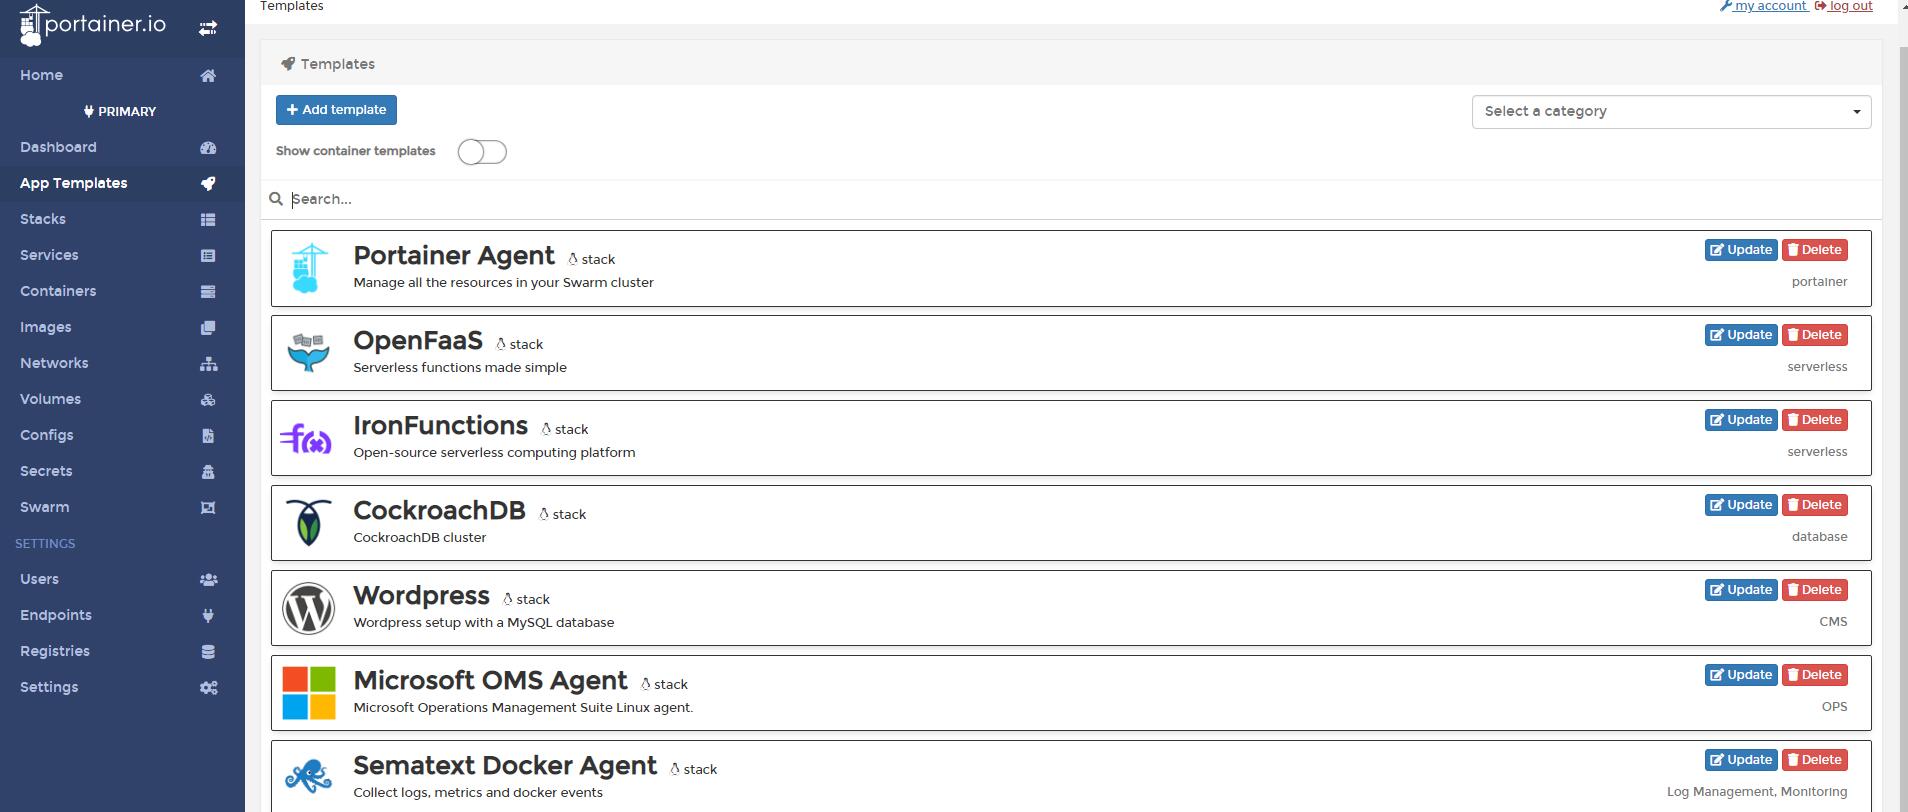
验证
访问
http://172.31.68.241:9000/
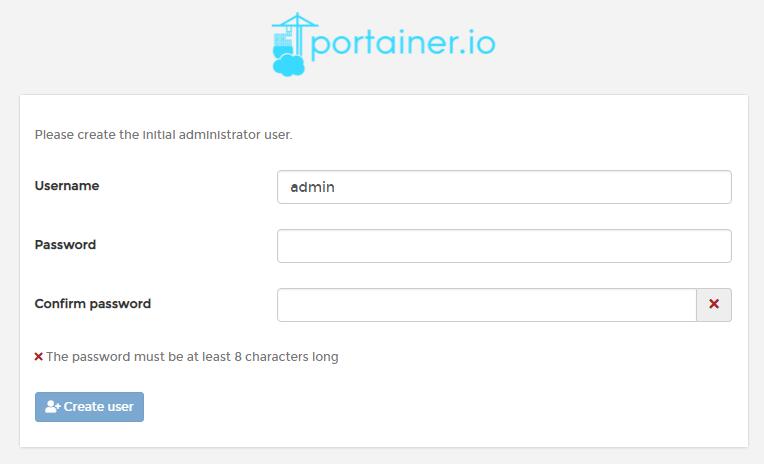
登录
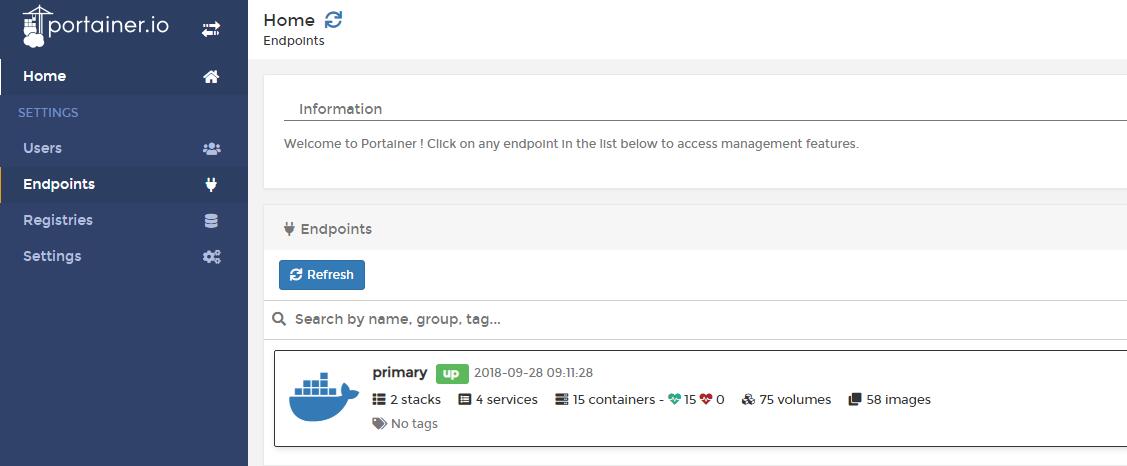
查看
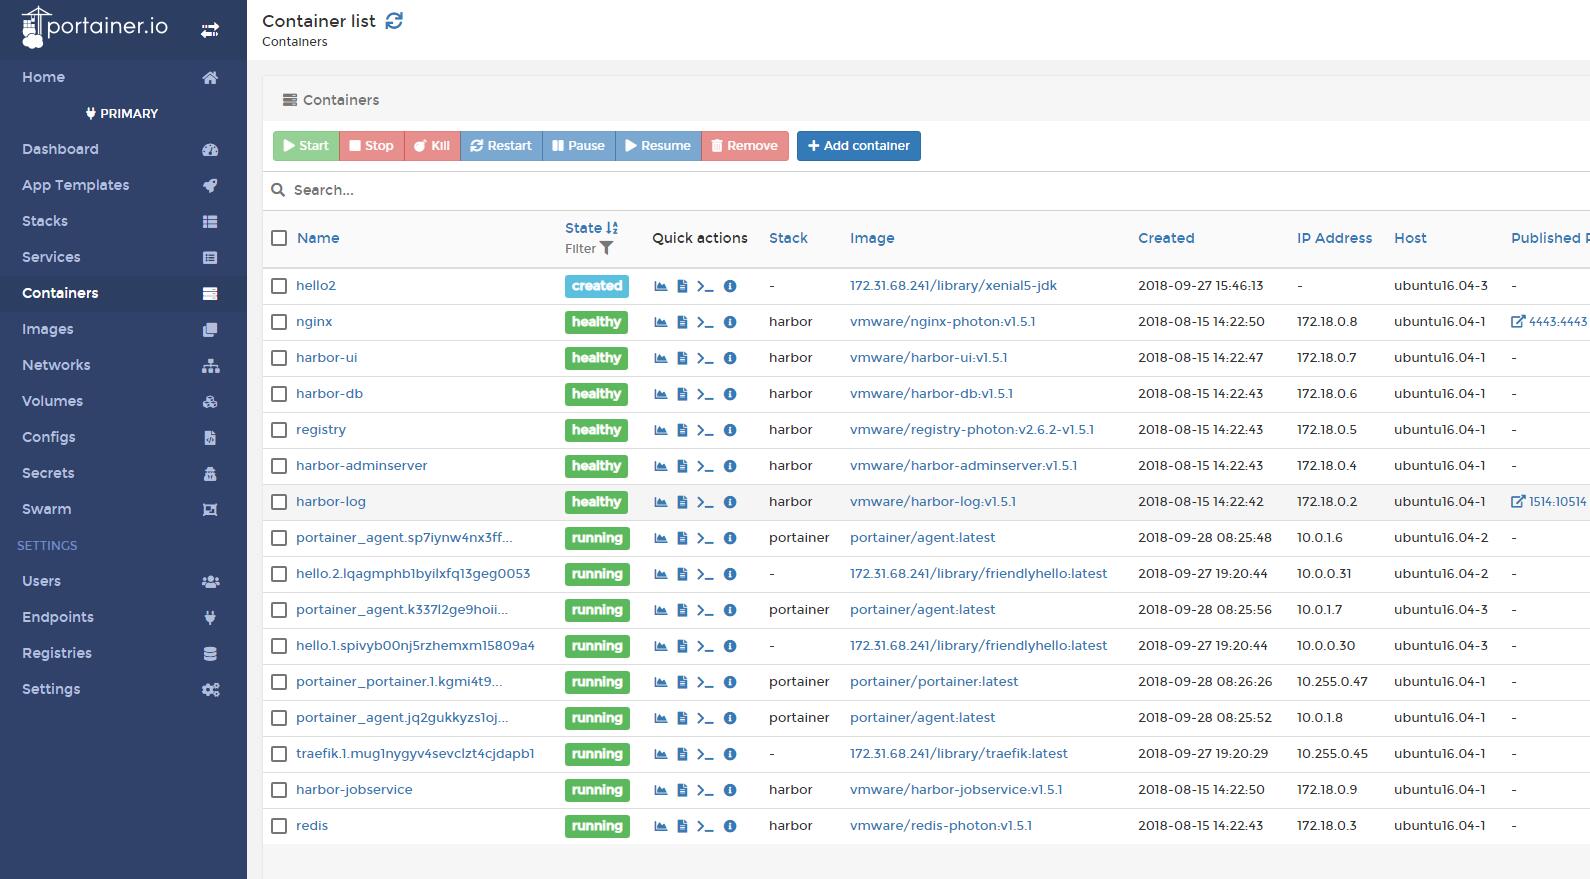
容器信息
配置
之前说过portainer可以以二进制程序直接部署,也可以在启动容器的时候直接在CLI设置参数,来修改portainer的默认行为,可使用的参数主要有如下:
1      --help                     帮助
2      --version                  查看版本信息
3  -p, --bind=":9000"             指定portainer监听的地址和端口
4  -a, --assets="./"              Path to the assets
5  -d, --data="/data"             指定data数据目录
6  -H, --host=HOST                Endpoint URL
7      --external-endpoints=EXTERNAL-ENDPOINTS
8                                 定义外部的endpoints
9      --no-auth                  禁止portainer的认证
10      --no-analytics             Disable Analytics in app
11      --tlsverify                TLS support
12      --tlsskipverify            Disable TLS server verification
13      --tlscacert="/certs/ca.pem"
14                                 Path to the CA
15      --tlscert="/certs/cert.pem"
16                                 Path to the TLS certificate file
17      --tlskey="/certs/key.pem"  Path to the TLS key
18      --ssl                      Secure Portainer instance using SSL
19      --sslcert="/certs/portainer.crt"
20                                 Path to the SSL certificate used to secure the Portainer instance
21      --sslkey="/certs/portainer.key"
22                                 Path to the SSL key used to secure the Portainer instance
23      --sync-interval="60s"      Duration between each synchronization via the external endpoints source
24      --snapshot                 Start a background job to create endpoint snapshots
25      --snapshot-interval="5m"   Duration between each endpoint snapshot job
26      --admin-password=ADMIN-PASSWORD
27                                 指定admin的password,是加密过后的,可以由htpasswd产生
28      --admin-password-file=ADMIN-PASSWORD-FILE
29                                 如果怕泄密,可以把密码写在一个文件中,这个里面是原始密码
30  -l, --hide-label=HIDE-LABEL ...
31                                 隐藏具有某些标签的容器,-l可以多次使用
32      --logo=LOGO                使用你自己的logo
33  -t, --templates=TEMPLATES      或者直接指定一个url
34      --template-file="/templates.json"
35                                 使用你自己的模板文件,默认的莫办文件位置在/templates.json
ps:关于admin密码,有的同学觉得cli和文件都不保险,则可以把密码设置在docker的secret中,如下:
1$ echo -n mypassword | docker secret create portainer-pass -
2$ docker service create \
3  --name portainer \
4  --secret portainer-pass \
5  --publish 9000:9000 \
6  --replicas=1 \
7  --constraint 'node.role == manager' \
8  --mount type=bind,src=/var/run/docker.sock,dst=/var/run/docker.sock \
9  portainer/portainer \
10  --admin-password-file '/run/secrets/portainer-pass' \
11  -H unix:///var/run/docker.sock
模板
portainer中可以自定义一些模板,然后在portainer中创建容器的时候使用这些模块快速的创建,模板是json格式的,包含一些必选项和可选项。
Container template definition format
样例
1{
2  "type": 1,
3  "title": "Nginx",
4  "description": "High performance web server",
5  "logo": "https://cloudinovasi.id/assets/img/logos/nginx.png",
6  "image": "nginx:latest",
7  "ports": [
8    "8080:80/tcp",
9    "443/tcp"
10  ]
11}
解释
1type	必选项,1表示container,2表示swarm stack,3表示compose stack
2title   必选项
3description		必选项
4image	必选项,该应用使用的docker镜像
5administrator_only	可选项,是否只有管理员可用模板
6name	可选项,该模板在管理界面中显示的名称
7log		可选项,自定义的logo
8registry	可选项,docker镜像的仓库,默认是Dockerhub
9command		可选项,容器里面运行的命令,如果没有指定,则默认运行dockerfile的command
10network		可选项,模板使用的网络
11volumes		可选项,模板使用的volume
12ports    可选项,模板exposed的端口
13labels    可选项,模板上定义的labels
14privileged    可选项,容器是否能在超级权限启动
15interactive    可选项,容器启动时是否是交互模式,即添加-i -t
16restart_policy    可选项,容器的重启策略
17hostname    可选项,容器的主机名
18note    可选项,关于模板的信息
19platform    可选项,支持的平台,一般是linux或者windows
20categories    可选项,模板的类别,可以在UI上通过category来过滤
Stack template definition format
样例
1{
2  "type": 2,
3  "title": "CockroachDB",
4  "description": "CockroachDB cluster",
5  "note": "Deploys an insecure CockroachDB cluster, please refer to <a href=\"https://www.cockroachlabs.com/docs/stable/orchestrate-cockroachdb-with-docker-swarm.html\" target=\"_blank\">CockroachDB documentation</a> for production deployments.",
6  "categories": ["database"],
7  "platform": "linux",
8  "logo": "https://cloudinovasi.id/assets/img/logos/cockroachdb.png",
9  "repository": {
10    "url": "https://github.com/portainer/templates",
11    "stackfile": "stacks/cockroachdb/docker-stack.yml"
12  }
13}
解释
1type	必选项,1表示container,2表示swarm stack,3表示compose stack
2title   必选项
3description		必选项
4registry	可选项,docker镜像的仓库,默认是Dockerhub
5administrator_only	可选项,是否只有管理员可用模板
6name	可选项,该模板在管理界面中显示的名称
7logo		可选项,自定义的logo
8env	     可选项,定义模板的变量
9note    可选项,关于模板的信息
10platform    可选项,支持的平台,一般是linux或者windows
11categories    可选项,模板的类别,可以在UI上通过category来过滤