学习使用nomad
- 上期consul搭建完成以后,就可以根据这期的内容,部署nomad服务,nomad会自动找到本机的8500consul端口,主动去注册服务。
启动服务器
第一步是为服务器创建配置文件。无论是从下载的文件github,或粘贴到一个名为server.hcl:
1vim server.hcl
2# Increase log verbosity
3log_level = "DEBUG"
4
5# Setup data dir
6data_dir = "/tmp/server1"
7
8# Enable the server
9server {
10enabled = true
11
12# Self-elect, should be 3 or 5 for production
13bootstrap_expect = 1}
这是一个相当最小的服务器配置文件,但只能以仅服务器方式启动代理,并将其选为leader。应该对生产进行的主要变化是运行多台服务器,并更改相应的bootstrap_expect值。 创建文件后,在新选项卡中启动代理:
1$ sudo nomad agent -config server.hcl
2==> WARNING: Bootstrap mode enabled! Potentially unsafe operation.
3==> Starting Nomad agent...
4==> Nomad agent configuration:
5
6Client: false
7Log Level: DEBUG
8Region: global (DC: dc1)
9Server: true
10Version: 0.6.0
11
12==> Nomad agent started! Log data will stream in below:
13
14[INFO] serf: EventMemberJoin: nomad.global 127.0.0.1
15[INFO] nomad: starting 4 scheduling worker(s) for [service batch _core]
16[INFO] raft: Node at 127.0.0.1:4647 [Follower] entering Follower state
17[INFO] nomad: adding server nomad.global (Addr: 127.0.0.1:4647) (DC: dc1)
18[WARN] raft: Heartbeat timeout reached, starting election
19[INFO] raft: Node at 127.0.0.1:4647 [Candidate] entering Candidate state
20[DEBUG] raft: Votes needed: 1
21[DEBUG] raft: Vote granted. Tally: 1
22[INFO] raft: Election won. Tally: 1
23[INFO] raft: Node at 127.0.0.1:4647 [Leader] entering Leader state
24[INFO] nomad: cluster leadership acquired
25[INFO] raft: Disabling EnableSingleNode (bootstrap)
26[DEBUG] raft: Node 127.0.0.1:4647 updated peer set (2): [127.0.0.1:4647]
我们可以看到,客户端模式被禁用,我们只是作为服务器运行。这意味着该服务器将管理状态并进行调度决策,但不会执行任何任务。现在我们需要一些代理来运行任务!
启动客户端
与服务器类似,我们必须先配置客户端。请从github下载client1和client2的配置 ,或将以下内容粘贴到client1.hcl:
1# Increase log verbosity
2log_level = "DEBUG"
3
4# Setup data dir
5data_dir = "/tmp/client1"
6
7# Enable the client
8client {
9enabled = true
10
11# For demo assume we are talking to server1. For production,
12# this should be like "nomad.service.consul:4647" and a system
13# like Consul used for service discovery.
14servers = ["127.0.0.1:4647"]
15}
16
17# Modify our port to avoid a collision with server1
18ports {
19http = 5656
20}
将该文件复制client2.hcl并更改data_dir为“/ tmp / httpclient2 ”并将端口更改为5657.一旦创建了这两个文件,client1.hcl并client2.hcl打开每个选项卡并启动代理程序:
1$ sudo nomad agent -config client1.hcl
2==> Starting Nomad agent...
3==> Nomad agent configuration:
4
5Client: true
6Log Level: DEBUG
7Region: global (DC: dc1)
8Server: false
9Version: 0.6.0
10
11==> Nomad agent started! Log data will stream in below:
12
13[DEBUG] client: applied fingerprints [host memory storage arch cpu]
14[DEBUG] client: available drivers [docker exec]
15[DEBUG] client: node registration complete
16...
在输出中,我们可以看到代理仅在客户端模式下运行。该代理将可用于运行任务,但不会参与管理集群或做出调度决策。 使用node-status命令 我们应该看到ready状态中的两个节点:
1$ nomad node-status
2ID Datacenter Name Class Drain Status
3fca62612 dc1 nomad <none> false ready
4c887deef dc1 nomad <none> false ready
我们现在有一个简单的三节点集群运行。演示和完整生产集群之间的唯一区别是,我们运行的是单个服务器,而不是三个或五个。
提交工作
现在我们有一个简单的集群,我们可以用它来安排一个工作。我们还应该拥有example.nomad之前的作业文件,但是确认count仍然设置为3。 然后,使用run命令提交作业:
1$ nomad init
2$ nomad run example.nomad
3==> Monitoring evaluation "8e0a7cf9"
4Evaluation triggered by job "example"
5Evaluation within deployment: "0917b771"
6Allocation "501154ac" created: node "c887deef", group "cache"
7Allocation "7e2b3900" created: node "fca62612", group "cache"
8Allocation "9c66fcaf" created: node "c887deef", group "cache"
9Evaluation status changed: "pending" -> "complete"
10==> Evaluation "8e0a7cf9" finished with status "complete"
我们可以在输出中看到调度程序为其中一个客户机节点分配了两个任务,剩下的任务分配给第二个客户端。 我们可以再次使用status命令验证:
1$ nomad status example
2ID = example
3Name = example
4Submit Date = 07/26/17 16:34:58 UTC
5Type = service
6Priority = 50
7Datacenters = dc1
8Status = running
9Periodic = false
10Parameterized = false
11
12Summary
13Task Group Queued Starting Running Failed Complete Lost
14cache 0 0 3 0 0 0
15
16Latest Deployment
17ID = fc49bd6c
18Status = running
19Description = Deployment is running
20
21Deployed
22Task Group Desired Placed Healthy Unhealthy
23cache 3 3 0 0
24
25Allocations
26ID Eval ID Node ID Task Group Desired Status Created At
27501154ac 8e0a7cf9 c887deef cache run running 08/08/16 21:03:19 CDT
287e2b3900 8e0a7cf9 fca62612 cache run running 08/08/16 21:03:19 CDT
299c66fcaf 8e0a7cf9 c887deef cache run running 08/08/16 21:03:19 CDT
我们可以看到我们的所有任务已经分配并正在运行。一旦我们对我们的工作感到满意,我们就可以把它删掉了nomad stop。
使用nomad UI
在nomad官方文档上,nomad UI似乎没能很好的实现,虽然官方说0.7版本以后,ui被集成了,但是在我的本地环境中,浏览器访问nomadIP:4646,会出现404错误,鉴于我一直没有解决这个404问题。我找到并使用github上一位大牛制作的UI,https://github.com/jippi/hashi-ui。
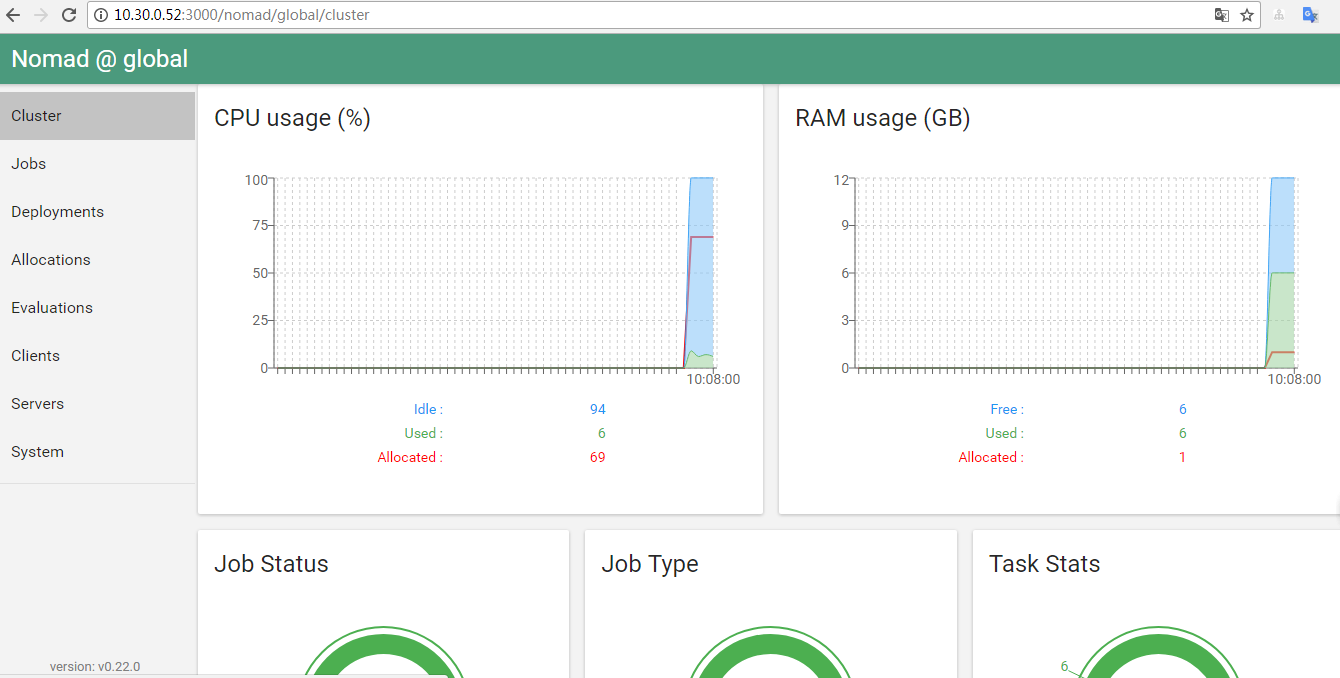
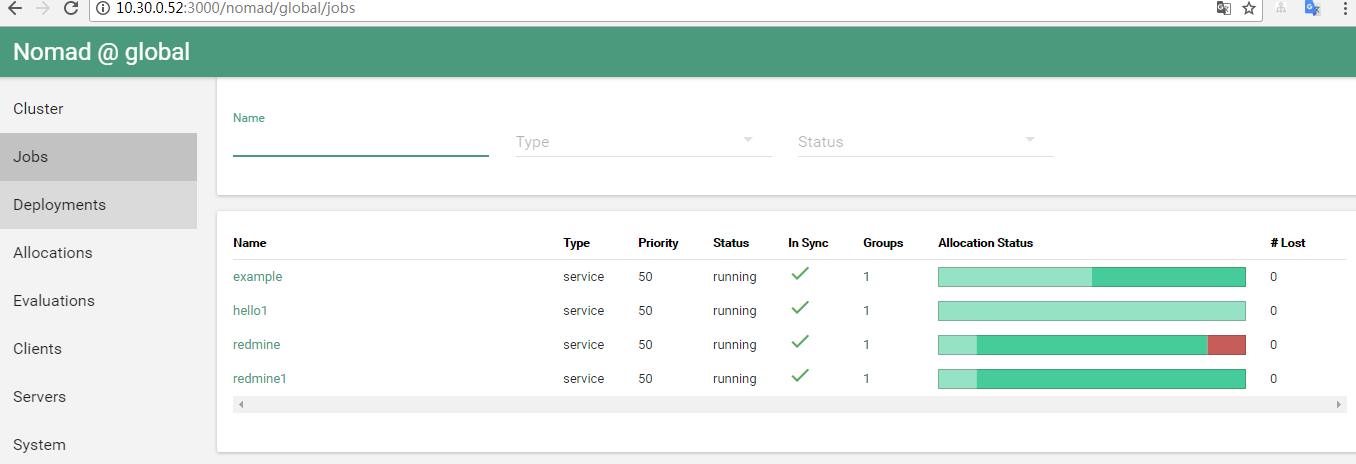
UI更新
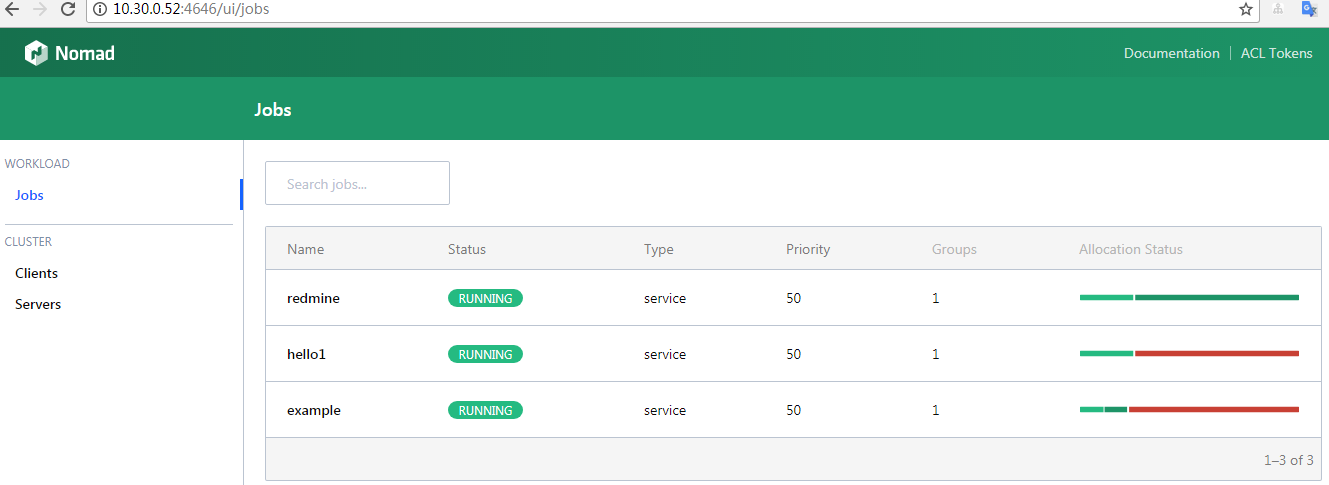
- 今天更新了nomad 0.7版本,在github上下载nomad,可以使用官方的UI。
- 这里是github上nomad项目的ui目录,https://github.com/hashicorp/nomad/tree/master/ui
- 按照readme提示,安装依赖,即可! 如果你想要使用自定义的地址访问,使用这条命令:ember serve --proxy http://10.30.0.52:4646 (10.30.0.52换成你的外网IP,4646换成你自定义的端口)