配置TCP远程连接(docker-maven-plugin插件连接的地址)
1# 加上红色标识的部分[root@localhost admin]# vim /lib/systemd/system/docker.service
2
3[Unit]
4Description=Docker Application Container Engine
5Documentation=https://docs.docker.com
6BindsTo=containerd.service
7After=network-online.target firewalld.service containerd.service
8Wants=network-online.target
9Requires=docker.socket
10
11[Service]
12Type=notify
13# the default is not to use systemd for cgroups because the delegate issues still
14# exists and systemd currently does not support the cgroup feature set required
15# for containers run by docker
16ExecStart=/usr/bin/dockerd -H fd:// --containerd=/run/containerd/containerd.sock -H unix:///var/run/docker.sock -H tcp://0.0.0.0:2375
17ExecReload=/bin/kill -s HUP $MAINPID
18TimeoutSec=0
19RestartSec=2
20Restart=always
21
22# Note that StartLimit* options were moved from "Service" to "Unit" in systemd 229.
23# Both the old, and new location are accepted by systemd 229 and up, so using the old location
24# to make them work for either version of systemd.
25StartLimitBurst=3
26
27# Note that StartLimitInterval was renamed to StartLimitIntervalSec in systemd 230.
28# Both the old, and new name are accepted by systemd 230 and up, so using the old name to make
29# this option work for either version of systemd.
30StartLimitInterval=60s
31
32# Having non-zero Limit*s causes performance problems due to accounting overhead
33# in the kernel. We recommend using cgroups to do container-local accounting.
34LimitNOFILE=infinity
35LimitNPROC=infinity
36LimitCORE=infinity
37
38# Comment TasksMax if your systemd version does not support it.
39# Only systemd 226 and above support this option.
40TasksMax=infinity
41
42# set delegate yes so that systemd does not reset the cgroups of docker containers
43Delegate=yes
44
45# kill only the docker process, not all processes in the cgroup
46KillMode=process
47
48[Install]
49WantedBy=multi-user.target
开放2375端口
1# 开启防火墙端口
2firewall-cmd --zone=public --add-port=2375/tcp --permanent
3systemctl restart firewalld
配置私有仓库
配置daemon.json文件
1[root@localhost admin]# vim /etc/docker/daemon.json
2
3{
4  "insecure-registries":["192.168.192.128:443"]
5}

1# 重启服务
2systemctl daemon-reload
3systemctl restart docker
然后下载registry镜像
1[root@localhost admin]# docker pull registry
2[root@localhost admin]# mkdir /usr/docker_registry_data
3[root@localhost admin]# docker run -d -p 443:5000 -v /usr/docker_registry_data:/var/lib/registry registry
4
5# 开启防火墙端口
6firewall-cmd --zone=public --add-port=443/tcp --permanent
7systemctl restart firewalld

新建SpringBoot工程
1<build>
2        <plugins>
3            <plugin>
4                <groupId>org.springframework.boot</groupId>
5                <artifactId>spring-boot-maven-plugin</artifactId>
6            </plugin>
7            <plugin>
8                <groupId>com.spotify</groupId>
9                <artifactId>docker-maven-plugin</artifactId>
10                <version>1.2.0</version>
11                <configuration>
12                    <!--Docker要求推送的映像名称以仓库的主机名和端口为前缀。例如,要推送my-image到registry.example.com,镜像需要标记为registry.example.com/my-image-->
13                    <imageName>192.168.192.128:443/hello</imageName>
14                    <!--基础镜像-->
15                    <baseImage>java</baseImage>
16                    <entryPoint>["java", "-jar", "/${project.build.finalName}.jar"]</entryPoint>
17                    <!-- copy the service's jar file from target into the root directory of the image -->
18                    <resources>
19                        <resource>
20                            <targetPath>/</targetPath>
21                            <directory>${project.build.directory}</directory>
22                            <include>${project.build.finalName}.jar</include>
23                        </resource>
24                    </resources>
25                    <forceTags>true</forceTags>
26                    <imageTags>
27                        <imageTag>latest</imageTag>
28                    </imageTags>
29                </configuration>
30            </plugin>
31        </plugins>
32    </build>
打包(注意,要保证服务器的Registry容器开启)
1SET DOCKER_HOST=tcp://192.168.192.128:2375
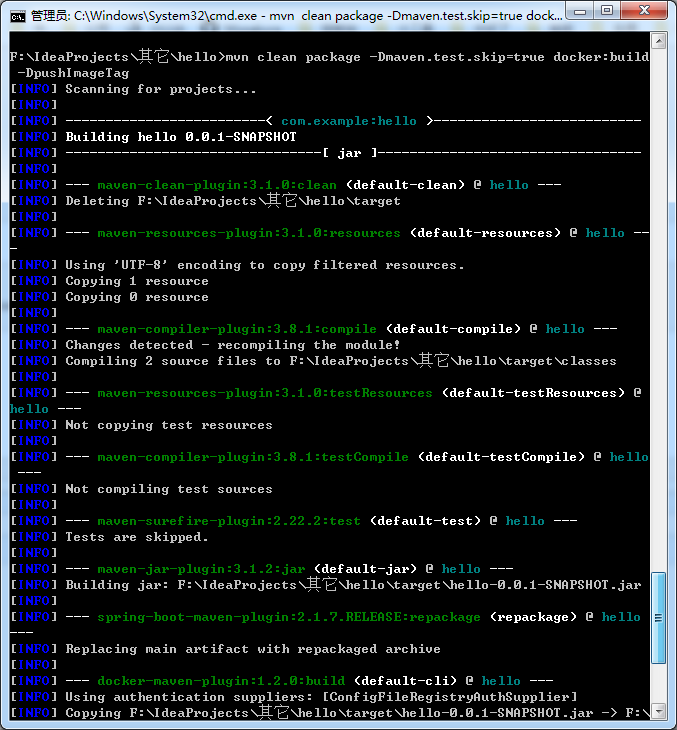
2mvn clean package -Dmaven.test.skip=true docker:build -DpushImageTag
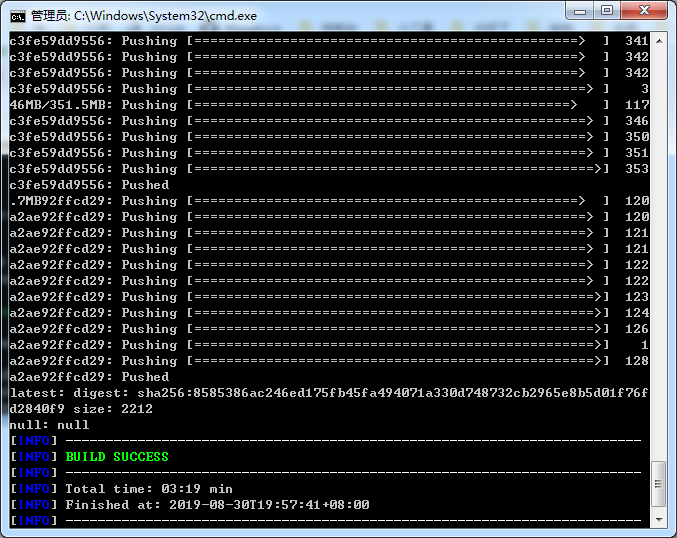
成功
现在回来看镜像

启动(后台启动加上-d)
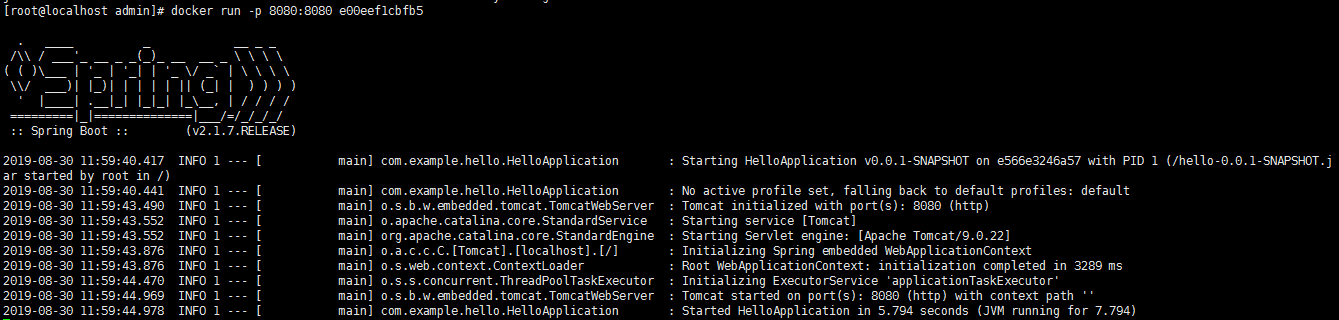
访问
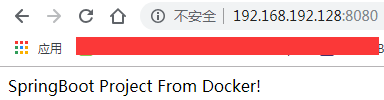
另一种方式:Dockerfile
在src/main下新建一个docker目录
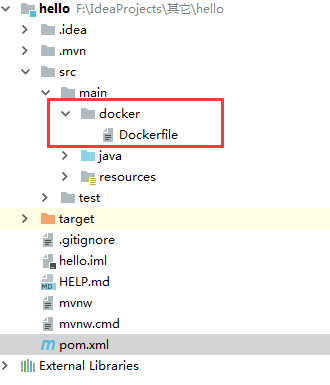
Dockerfile内容
1# 基础镜像
2FROM java:8
3# 打包jar去向
4ADD /hello-0.0.1-SNAPSHOT.jar /app.jar
5# 暴露端口
6EXPOSE 8081
7# 启动命令
8ENTRYPOINT ["java", "-jar", "/app.jar"]
pom文件修改如下:
1<build>
2        <plugins>
3            <plugin>
4                <groupId>org.springframework.boot</groupId>
5                <artifactId>spring-boot-maven-plugin</artifactId>
6            </plugin>
7            <plugin>
8                <groupId>com.spotify</groupId>
9                <artifactId>docker-maven-plugin</artifactId>
10                <version>1.2.0</version>
11                <configuration>
12                    <!--Docker要求推送的映像名称以注册表的主机名和端口为前缀。例如,要推送my-image到registry.example.com,镜像需要标记为registry.example.com/my-image-->
13                    <imageName>192.168.192.128:443/hello-2</imageName>
14                    <dockerDirectory>src/main/docker</dockerDirectory>
15                    <resources>
16                        <resource>
17                            <targetPath>/</targetPath>
18                            <directory>${project.build.directory}</directory>
19                            <include>${project.build.finalName}.jar</include>
20                        </resource>
21                    </resources>
22                    <forceTags>true</forceTags>
23                    <imageTags>
24                        <imageTag>latest</imageTag>
25                    </imageTags>
26                </configuration>
27            </plugin>
28        </plugins>
29    </build>
打包推送
1SET DOCKER_HOST=tcp://192.168.192.128:2375
2mvn clean package -Dmaven.test.skip=true docker:build -DpushImageTag
运行结果
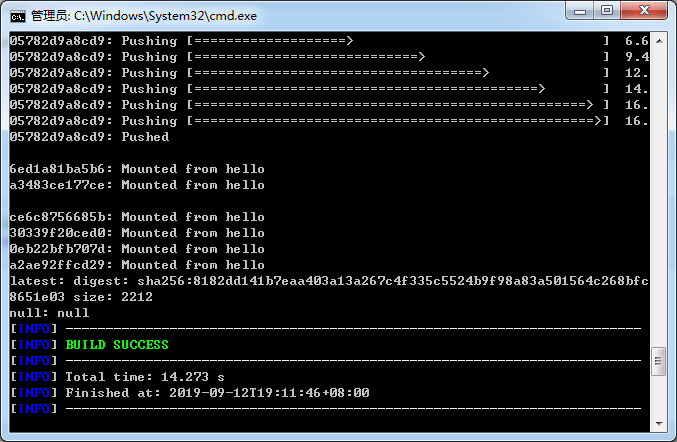
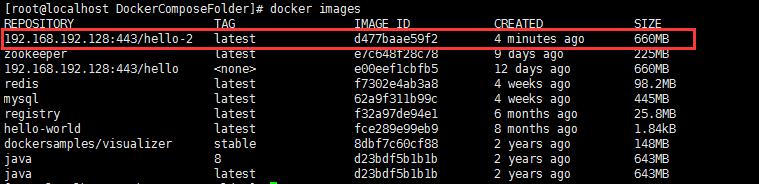
查看镜像