
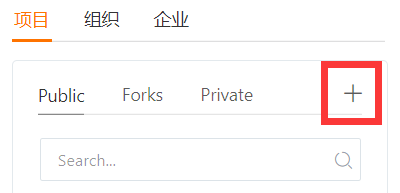
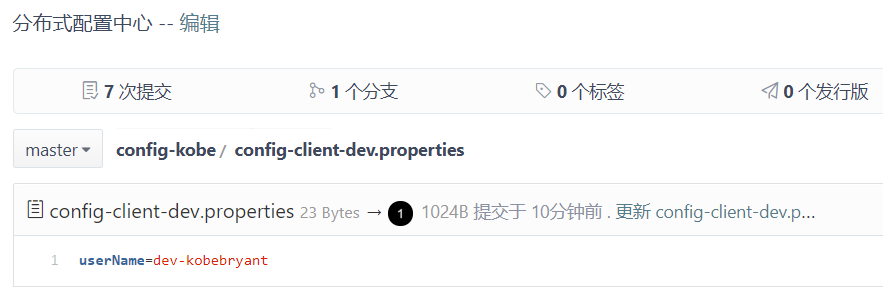
1、在仓库新建一个配置文件,可以在本地搭建git 仓库,或者我用开源中国的码云测试
2、新建config-server 端 maven项目
添加依赖
1		<dependency>
2			<groupId>org.springframework.cloud</groupId>
3			<artifactId>spring-cloud-config-server</artifactId>
4		</dependency>
5		<dependency>
6			<groupId>org.springframework.boot</groupId>
7			<artifactId>spring-boot-starter-test</artifactId>
8			<scope>test</scope>
9		</dependency>
10		<dependency>
11			<groupId>org.springframework.cloud</groupId>
12			<artifactId>spring-cloud-starter-eureka</artifactId>
13		</dependency>
3、新建配置文件application.properties
1spring.application.name=config-server
2server.port=8889
3spring.cloud.config.server.git.uri=https://gitee.com/git.123.net/config-123.git
4spring.cloud.config.server.git.search-paths=respo
5spring.cloud.config.label=master
6spring.cloud.config.server.git.username=
7spring.cloud.config.server.git.password=
8#公开仓库 可以不填用户名密码
4、启动类加上注解
@EnableConfigServer
5、启动
访问 http://localhost:8889/foo/dev 查看效果

6、新建config-client项目 maven项目
7、添加依赖
1        <dependency>
2            <groupId>org.springframework.cloud</groupId>
3            <artifactId>spring-cloud-starter-config</artifactId>
4        </dependency>
5        <dependency>
6            <groupId>org.springframework.boot</groupId>
7            <artifactId>spring-boot-starter-test</artifactId>
8            <scope>test</scope>
9        </dependency>
10        <dependency>
11            <groupId>org.springframework.boot</groupId>
12            <artifactId>spring-boot-starter-web</artifactId>
13        </dependency>
8、新建配置文件 bootstrap.properties
1spring.application.name=config-client
2spring.cloud.config.label=master
3spring.cloud.config.profile=dev
4spring.cloud.config.uri= http://localhost:8889/
5server.port=8881
9、新建TestController @Value("${userName}") 获取远程配置文件的值
1package com.kobe;
2
3import org.springframework.beans.factory.annotation.Value;
4import org.springframework.web.bind.annotation.RequestMapping;
5import org.springframework.web.bind.annotation.RestController;
6
7@RestController
8public class TestController {
9
10    @Value("${userName}")
11    private String userName;
12
13    @RequestMapping("/getUserName")
14    public String getUserName(){
15        return userName;
16    }
17
18}
10、启动
11、访问 http://localhost:8881/getUserName
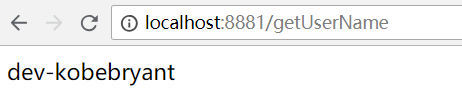
获取到了远程仓库的配置文件的值
12、修改远程配置文件后,重启 config-client 读取到的值是最新的
13、修改远程配置文件后,重启config-server 读取到的值还是原来的
未完待续......