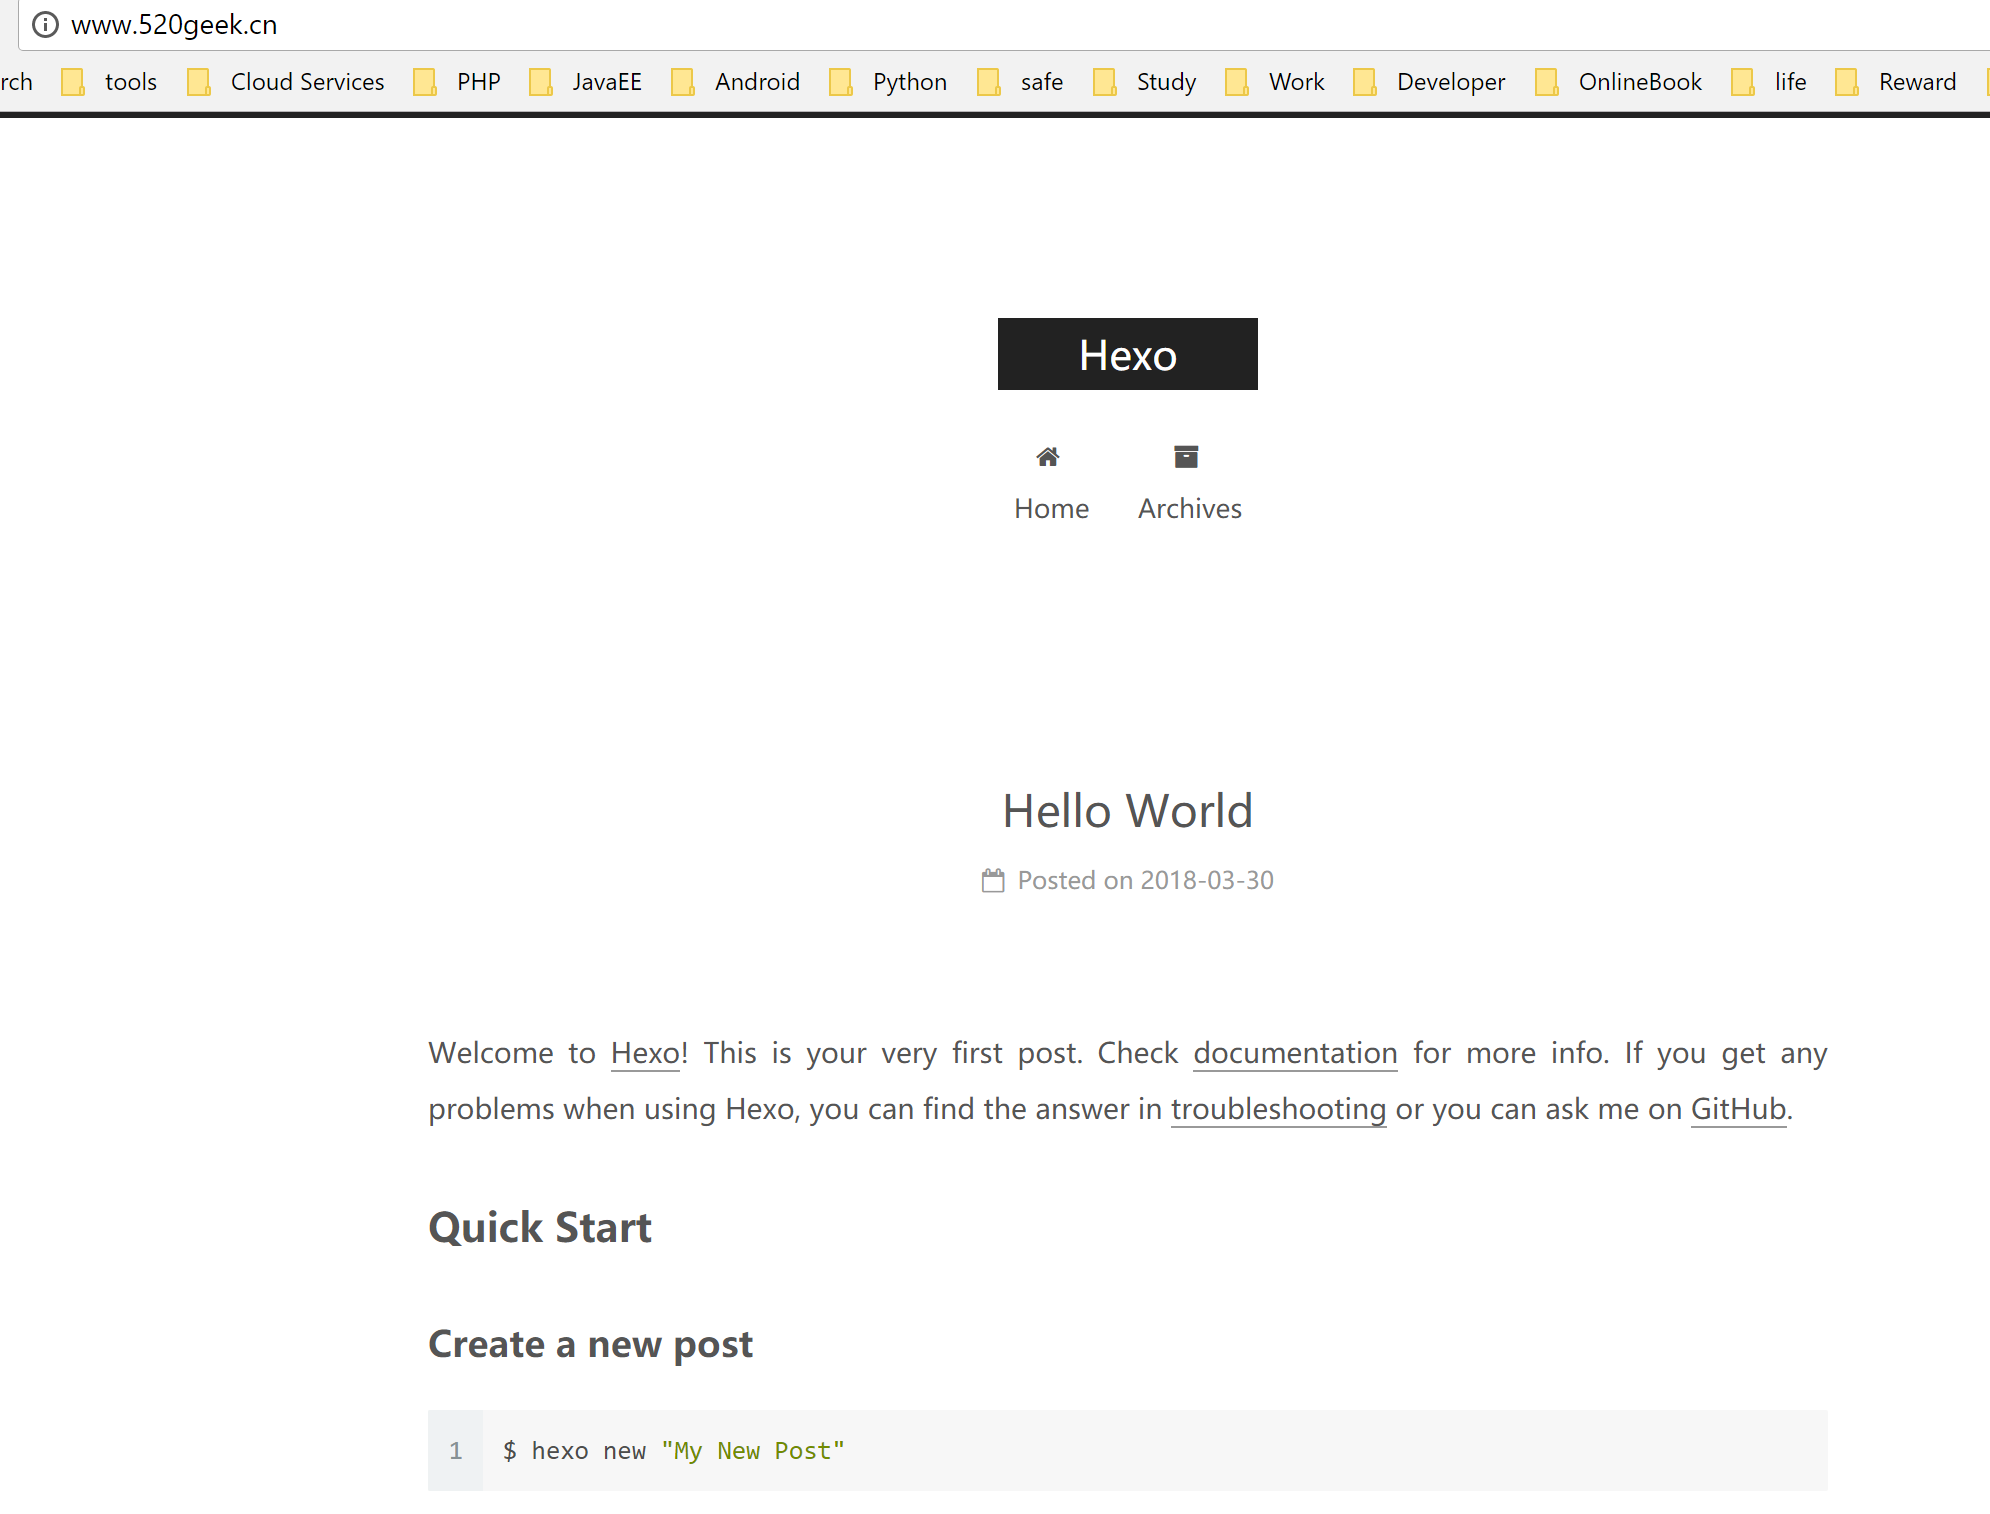
上篇文章 Hexo 博客框架NexT主题搭建指南
我们已经在本地搭建好了Hexo博客框架NexT 主题的博客程序,但是这感觉还是远远不够。
我们还想把它部署到我们的Github上,让其他人可以看到我们的博客。
那么这节课就跟我一起来学习吧~
0x01 准备工作
一个Github帐号
一个域名
一个Hexo NexT主题的博客程序
0x02 开始操作
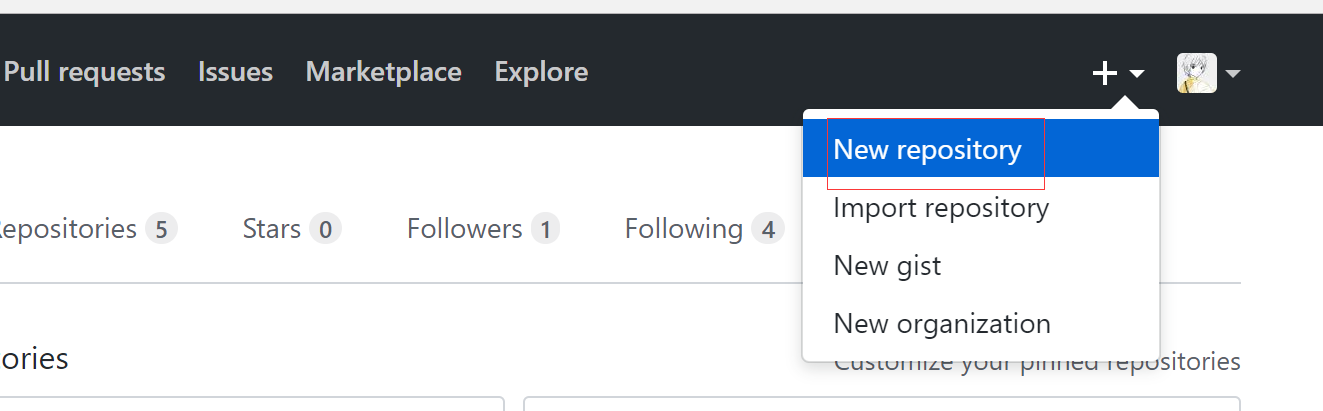
1. 点击 'New repository',创建一个版本仓库
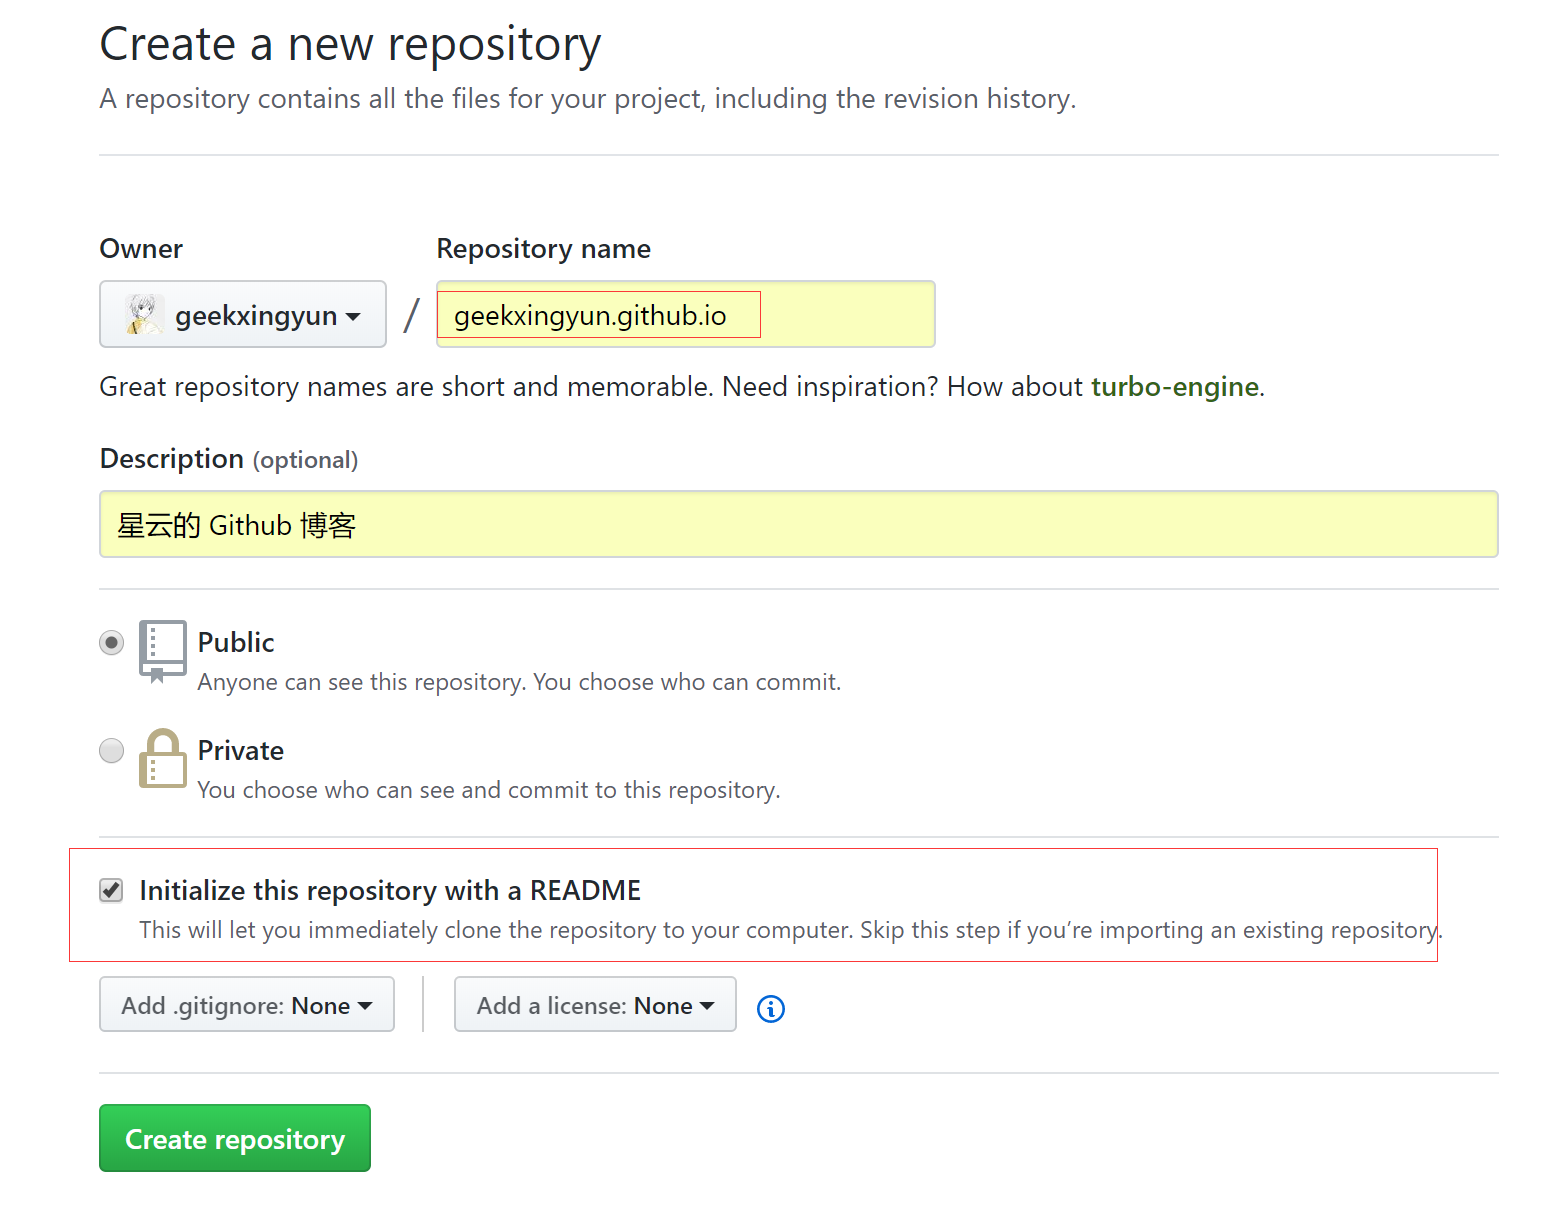
2. 设置仓库名称时有两个注意的地方
比如比如我的GitHub 地址: https://github.com/geekxingyun
那么名称必须是geekxingyun,后缀必须是github.io
最后全称: geekxingyun.github.io
页面访问到这个地址,我们记录下
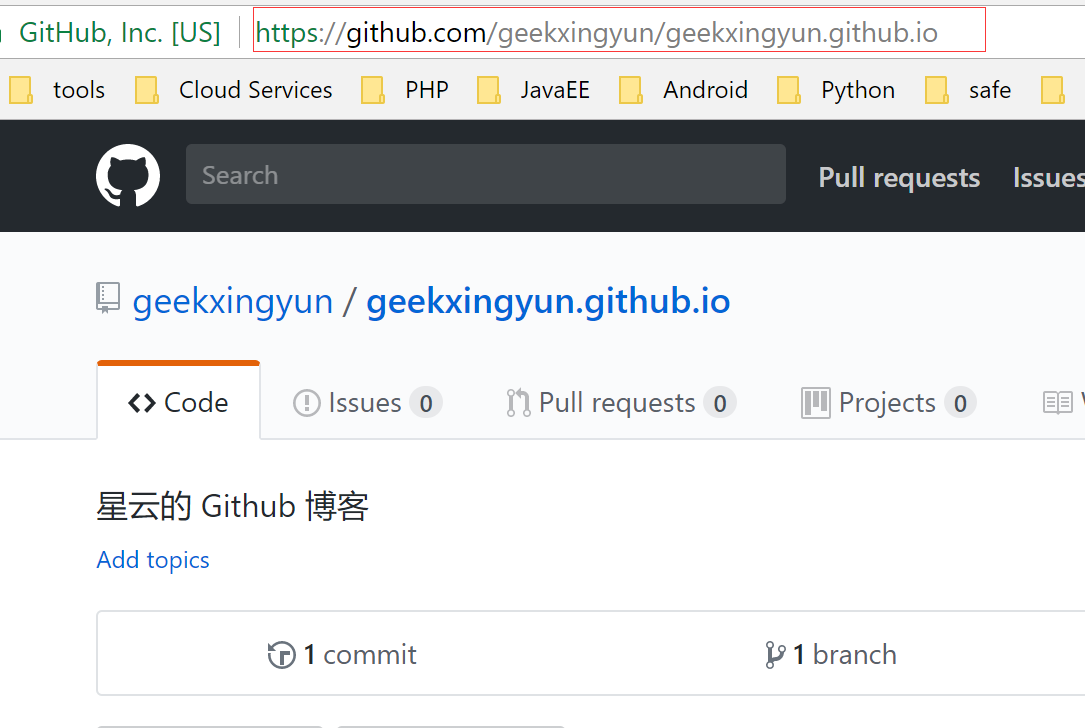
把这个git地址处理记录下,待会要用
https://github.com/geekxingyun/geekxingyun.github.io.git
3. 我之前已经购买了阿里云域名,这里配置下解析
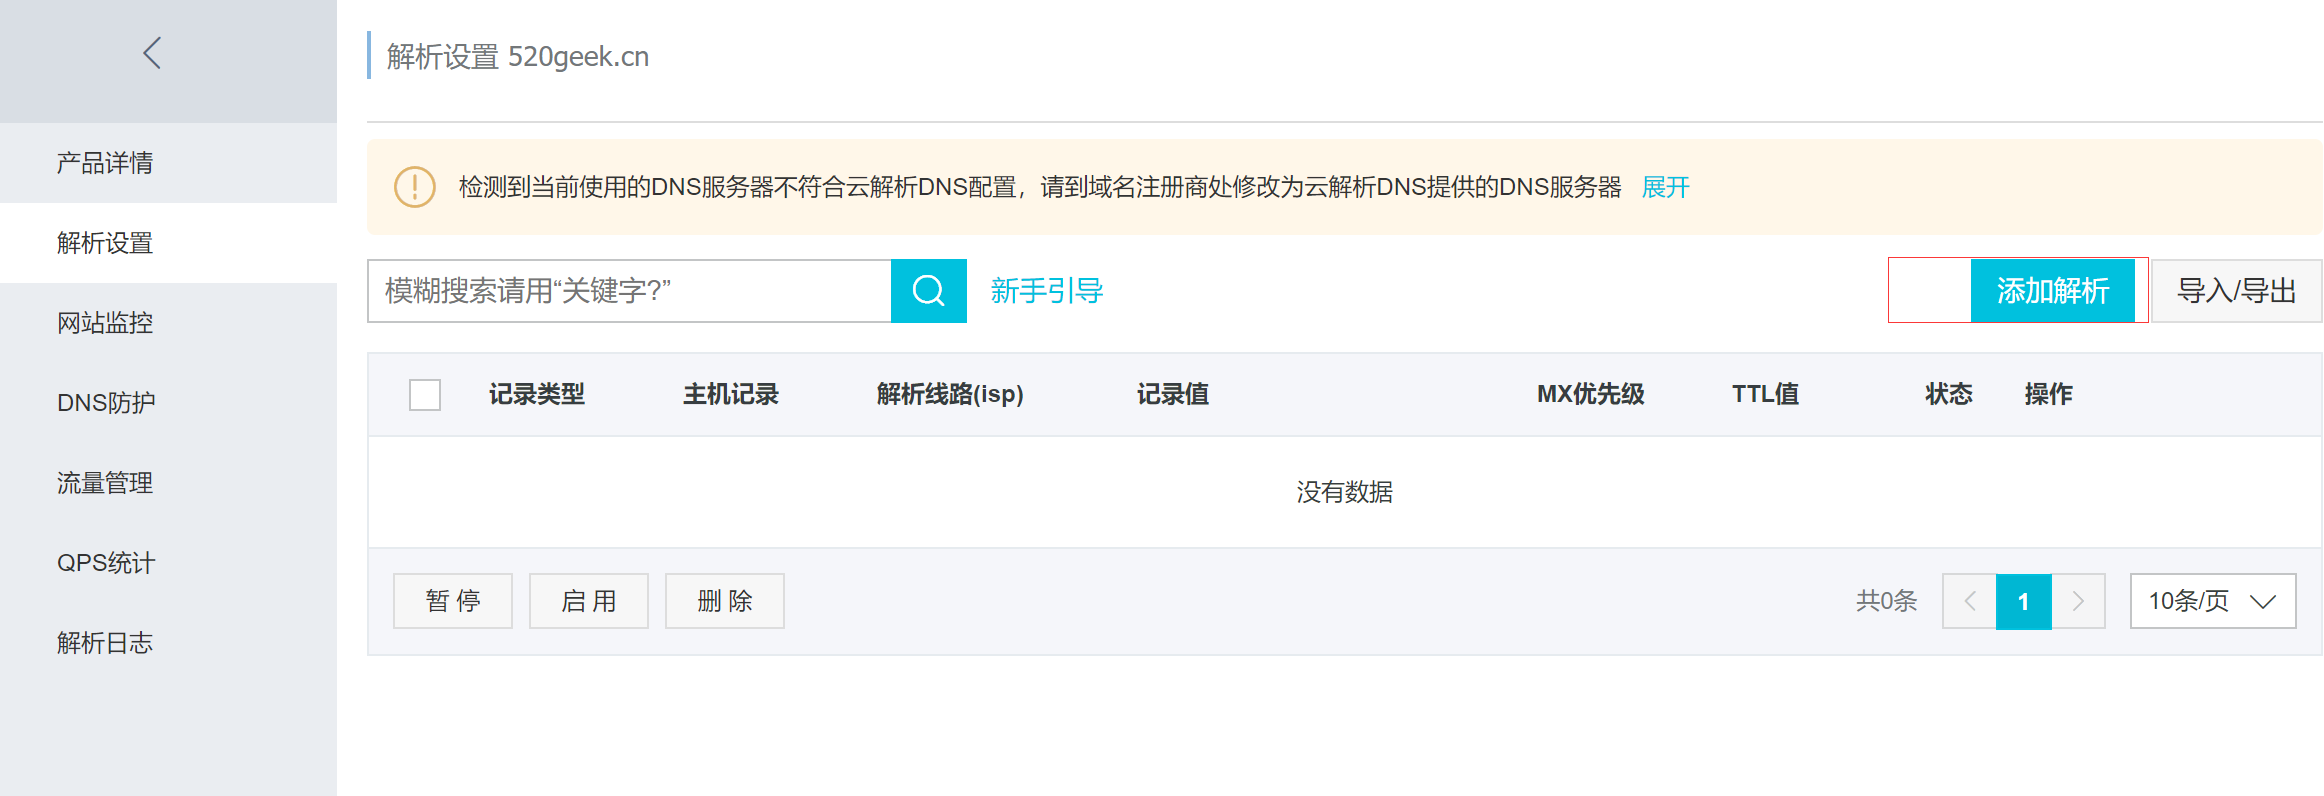
这里记录类型我们选择CNAME,因为这种类型可以将我们的域名指向另外一个域名。
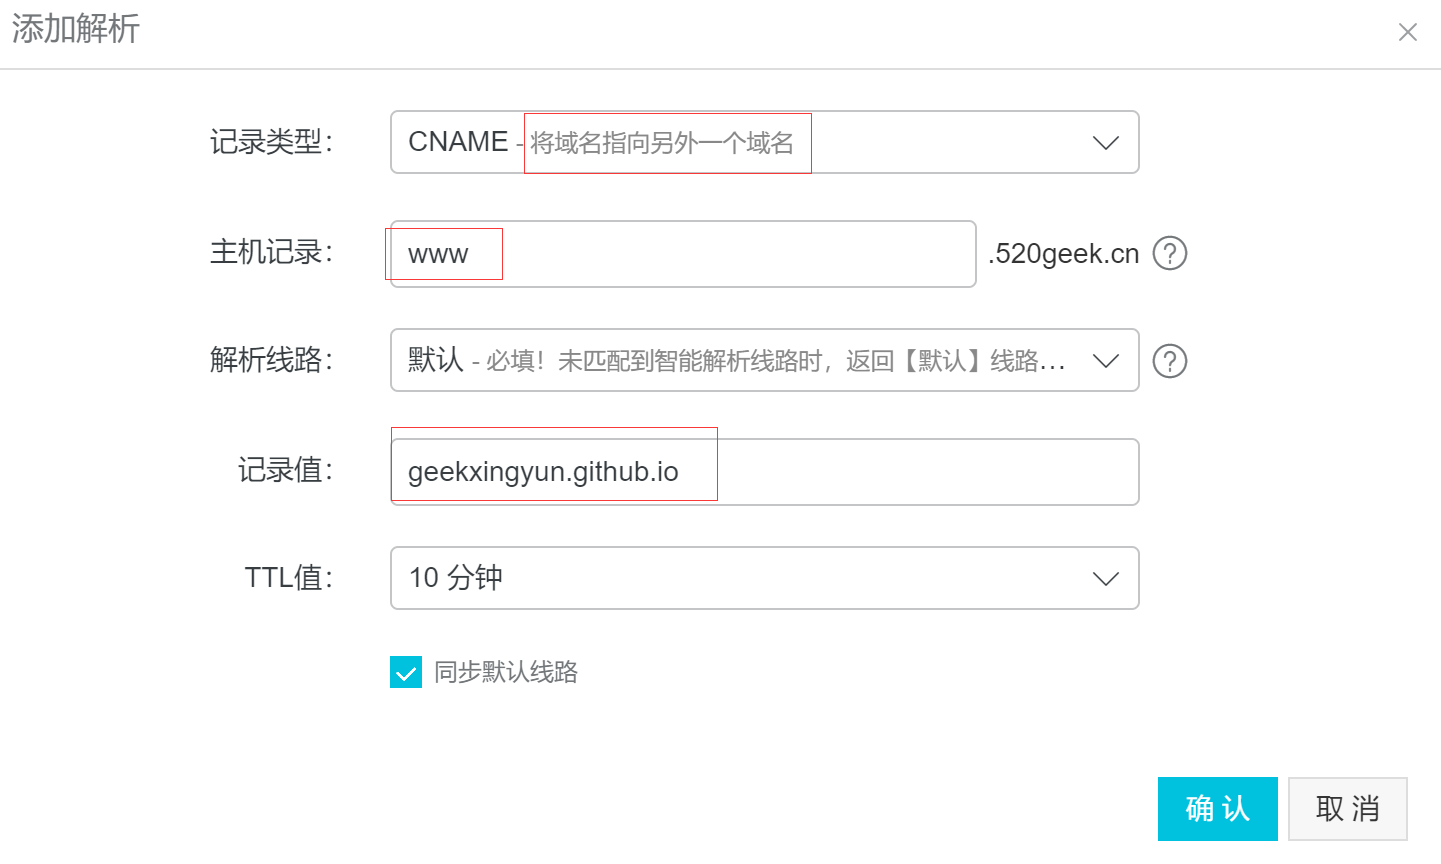
4. Github 配置
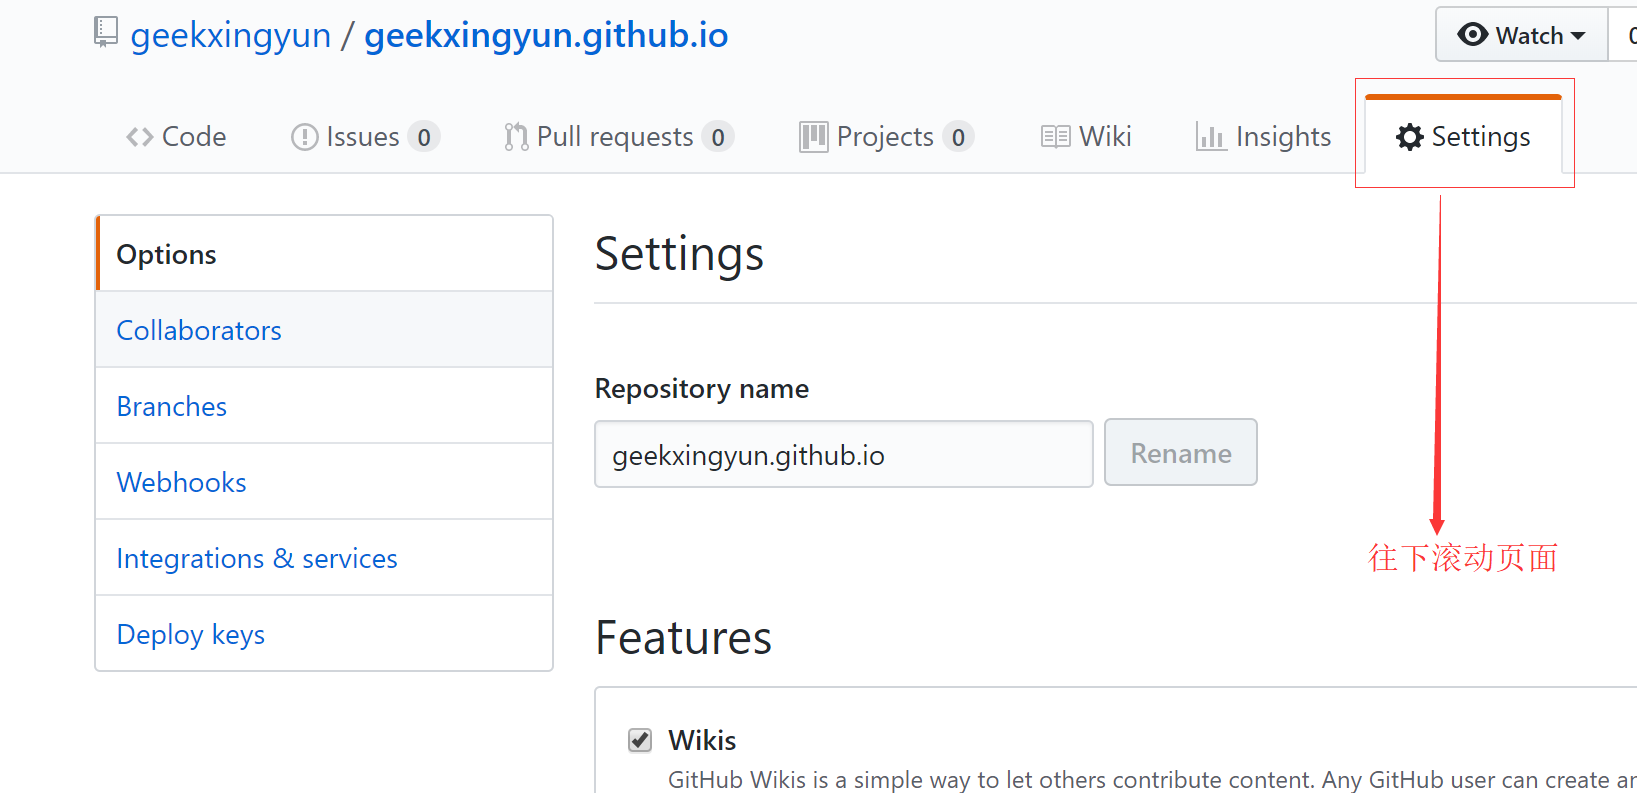
往下滚动到最下面我们可以看到这个
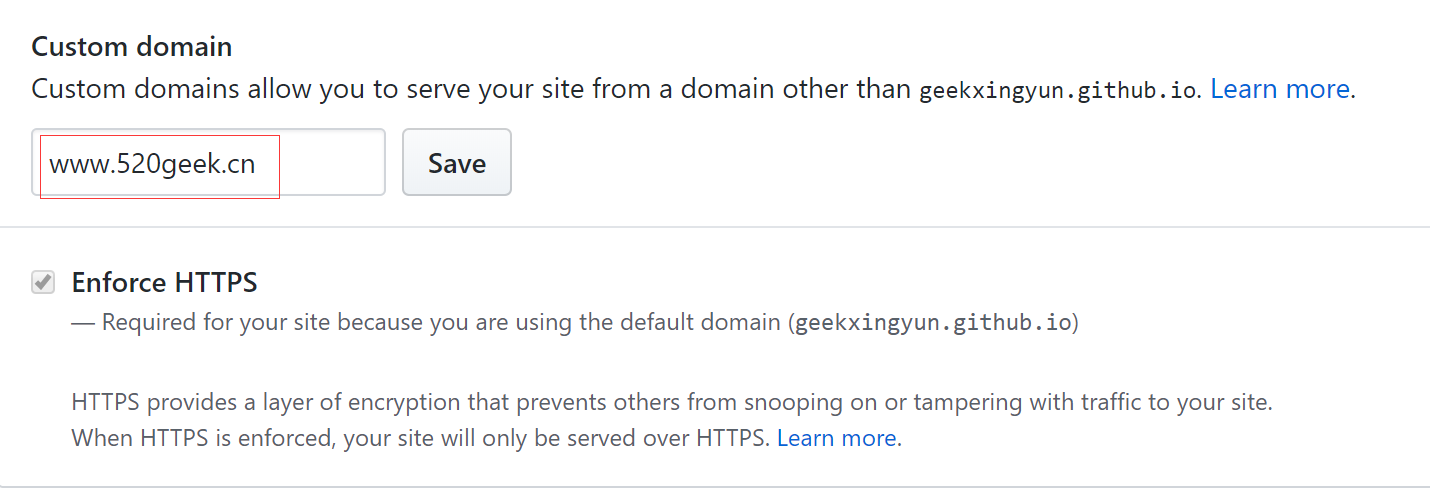
输入自定义域名后,点击Save 之后你会看到下面这样

到这里我忍不住点击打开了下,发现这个
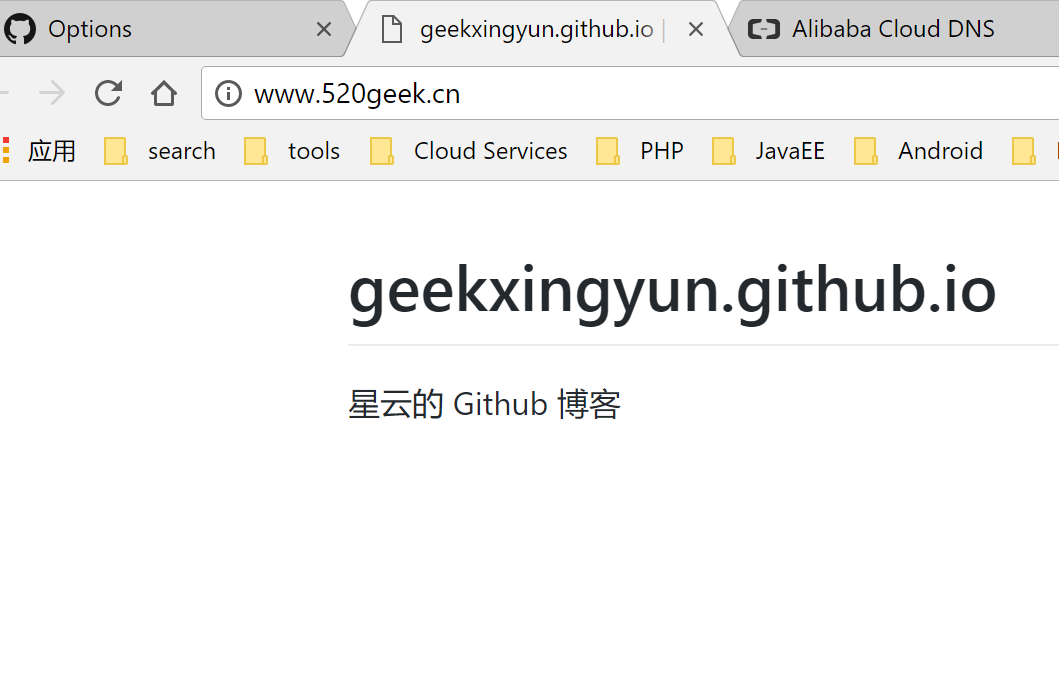
到这里我们已经成功了一半了,我们还需要将代码部署到我们的GitHub 上
5. 修改博客配置文件
修改_config.yml,在文件最底部添加如下代码
1# Deployment
2## Docs: https://hexo.io/docs/deployment.html
3deploy:
4  type: git
5  repository: ssh://git@github.com/geekxingyun/geekxingyun.github.io.git
6  branch: master
Tips:这里有个坑,我开始前缀用的https://github.com,结果后面一直部署失败,必须改成下面这种才行
repository: ssh://git@github.com/geekxingyun/geekxingyun.github.io.git
完整配置文件:


1# Hexo Configuration
2## Docs: https://hexo.io/docs/configuration.html
3## Source: https://github.com/hexojs/hexo/
4
5# Site
6title: Hexo
7subtitle:
8description:
9keywords:
10author: John Doe
11language:
12timezone:
13
14# URL
15## If your site is put in a subdirectory, set url as 'http://yoursite.com/child' and root as '/child/'
16url: http://yoursite.com
17root: /
18permalink: :year/:month/:day/:title/
19permalink_defaults:
20
21# Directory
22source_dir: source
23public_dir: public
24tag_dir: tags
25archive_dir: archives
26category_dir: categories
27code_dir: downloads/code
28i18n_dir: :lang
29skip_render:
30
31# Writing
32new_post_name: :title.md # File name of new posts
33default_layout: post
34titlecase: false # Transform title into titlecase
35external_link: true # Open external links in new tab
36filename_case: 0
37render_drafts: false
38post_asset_folder: false
39relative_link: false
40future: true
41highlight:
42  enable: true
43  line_number: true
44  auto_detect: false
45  tab_replace:
46
47# Home page setting
48# path: Root path for your blogs index page. (default = '')
49# per_page: Posts displayed per page. (0 = disable pagination)
50# order_by: Posts order. (Order by date descending by default)
51index_generator:
52  path: ''
53  per_page: 10
54  order_by: -date
55
56# Category & Tag
57default_category: uncategorized
58category_map:
59tag_map:
60
61# Date / Time format
62## Hexo uses Moment.js to parse and display date
63## You can customize the date format as defined in
64## http://momentjs.com/docs/#/displaying/format/
65date_format: YYYY-MM-DD
66time_format: HH:mm:ss
67
68# Pagination
69## Set per_page to 0 to disable pagination
70per_page: 10
71pagination_dir: page
72
73# Extensions
74## Plugins: https://hexo.io/plugins/
75## Themes: https://hexo.io/themes/
76theme: next
77
78# Deployment
79## Docs: https://hexo.io/docs/deployment.html
80deploy:
81  type: git
82  repository: ssh://git@github.com/geekxingyun/geekxingyun.github.io.git
83  branch: master
View Code
6. 初始化自己的帐号和密码
这一步骤是为了以后我们用git命令提交不再需要繁琐的输入我们的Github帐号和密码。
在C:\Users\fairy\Documents\HexoBlog 目录下,执行下列命令配置你的用户名
git config --global user.name "geekxingyun"
配置邮箱
git config --global user.email "fairy_xingyun@hotmail.com"
执行结果如图所示:

进入.ssh 隐藏文件夹
cd ~/.ssh
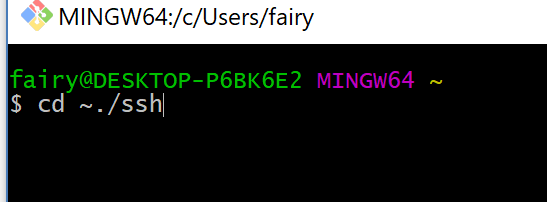
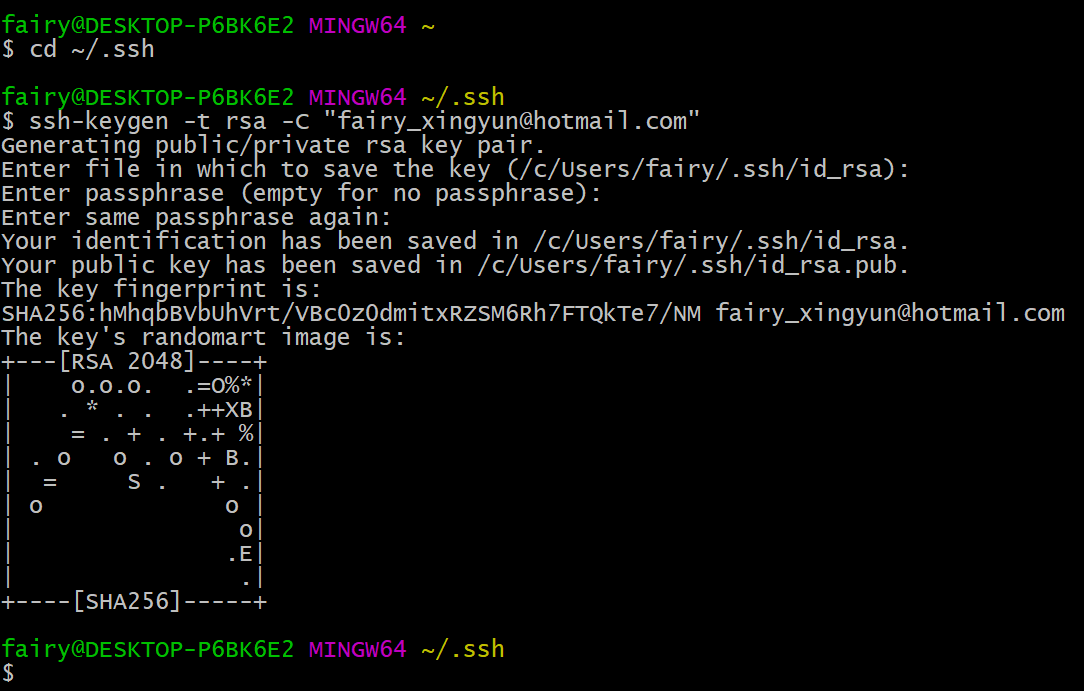
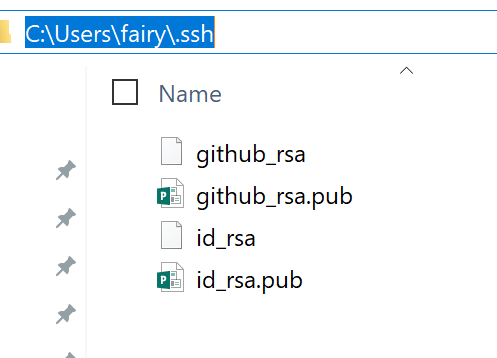
连续三个回车,生成密钥,最后得到了两个文件:id_rsa和id_rsa.pub
ssh-keygen -t rsa -C "fairy_xingyun@hotmail.com"
生成文件默认路径
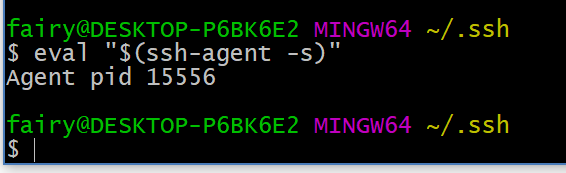
输入eval "$(ssh-agent -s)",添加密钥到ssh-agent
eval "$(ssh-agent -s)"
结果会像这样:
再次输入命令
ssh-add ~/.ssh/id_rsa

7. 添加帐号SSH Keys
登录Github,点击头像下的settings,添加ssh
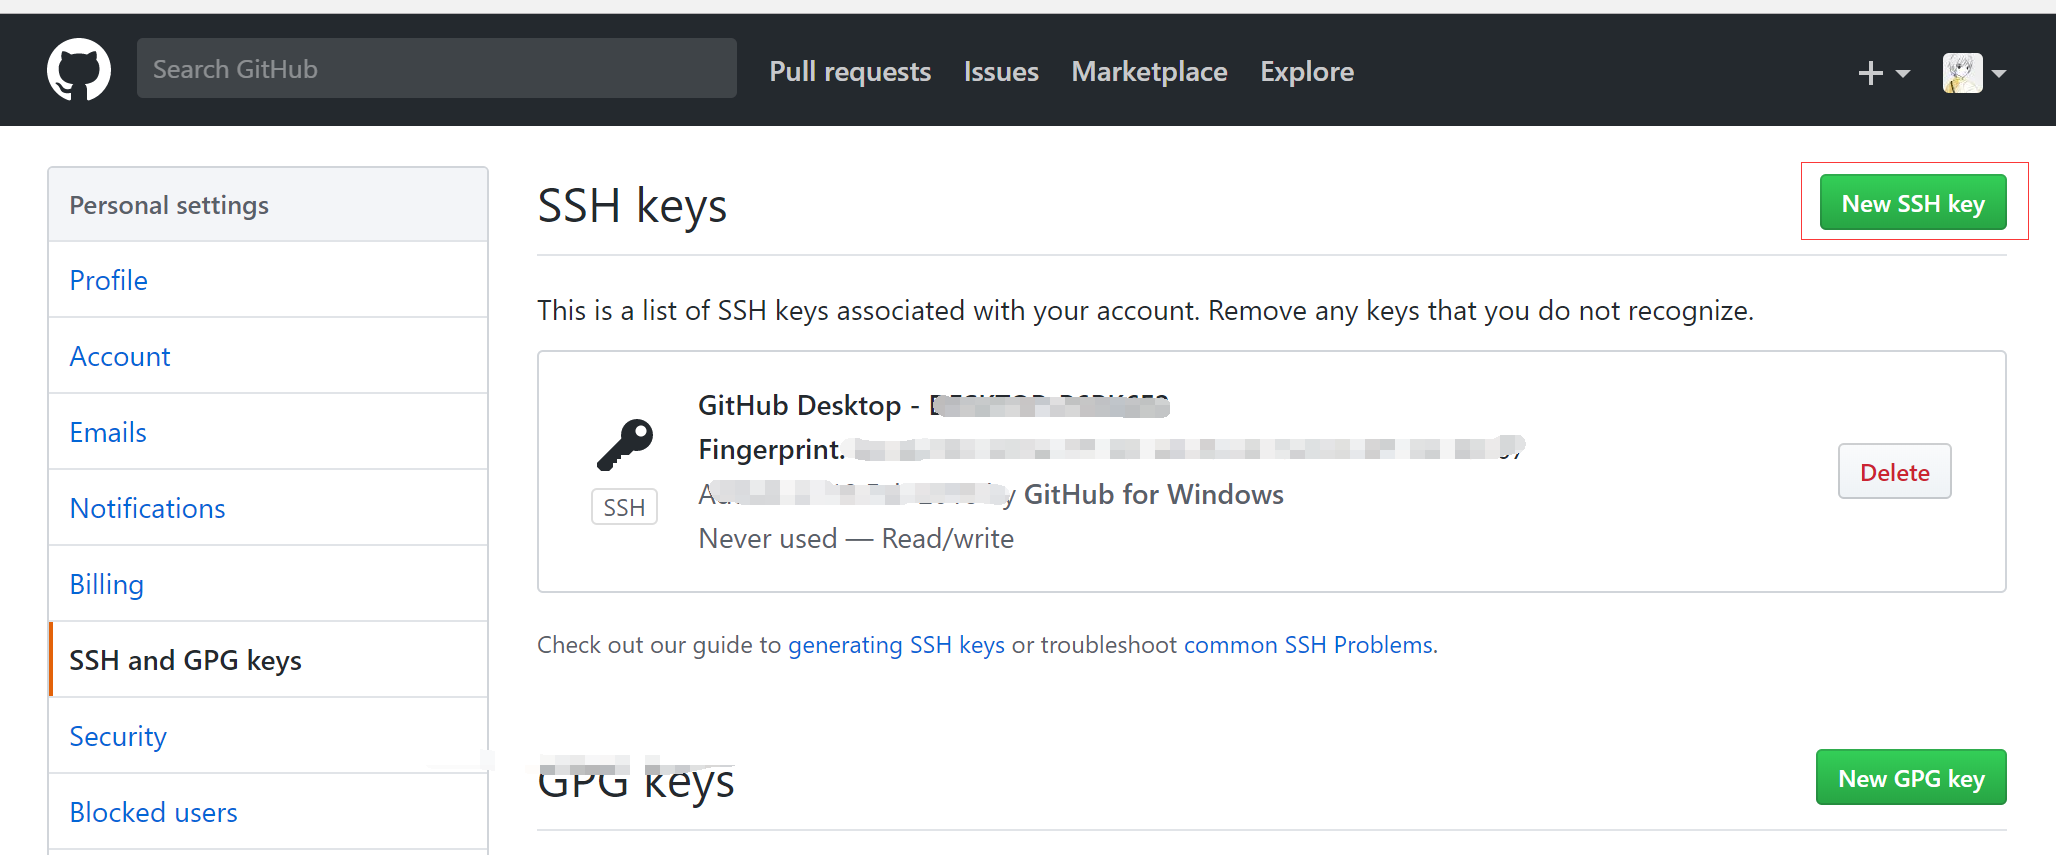
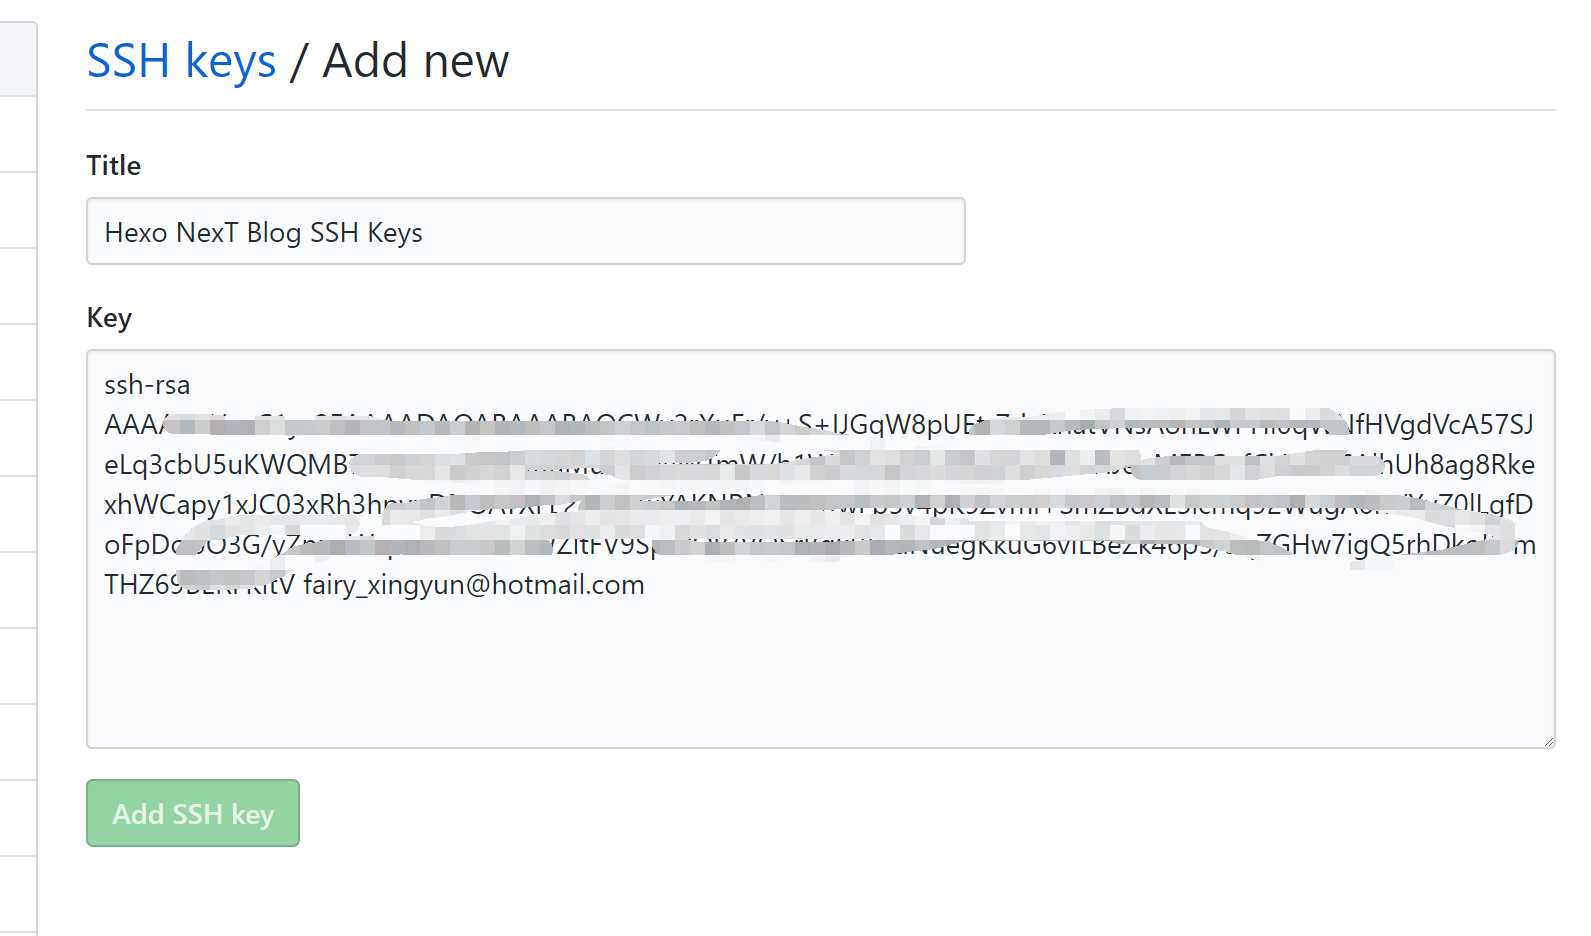
新建一个new ssh key,将id_rsa.pub文件里的内容复制上去
输入下列命令进行验证是否成功
ssh -T git@github.com
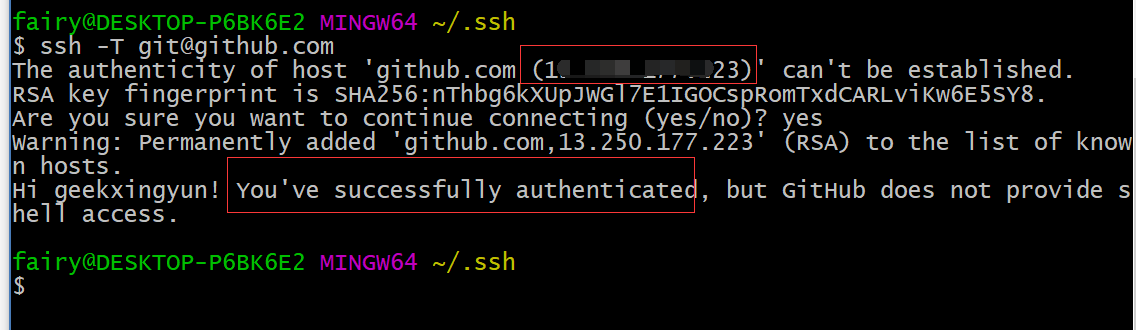
Tips:出现上述字样说明连接成功。
0x03 部署项目
这里需要补充点部署方面的知识:https://hexo.io/docs/deployment.html
需要安装一个Hexo插件
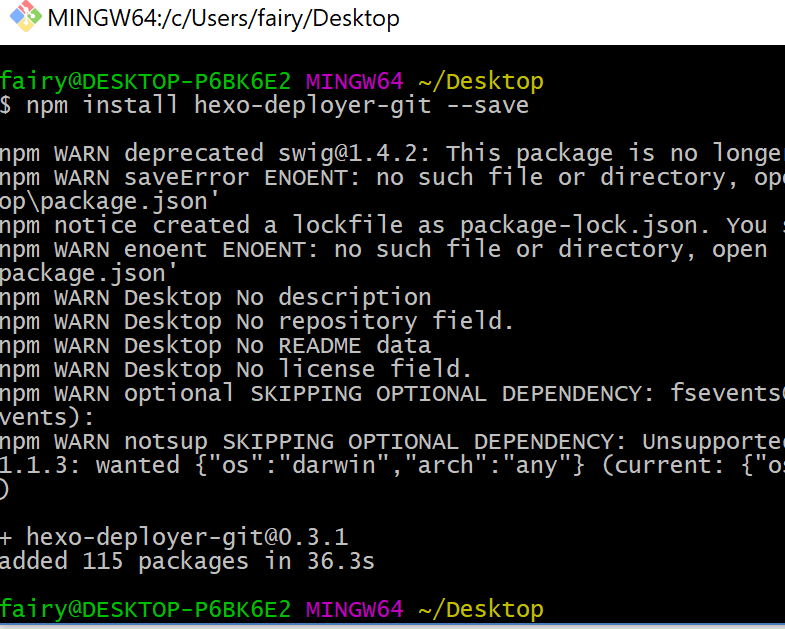
npm install hexo-deployer-git --save
之后你应该可以看到这样的结果:
好了,我们现在可以把代码进行下处理了
清理下项目
hexo clean
重新生成
hexo generate
部署
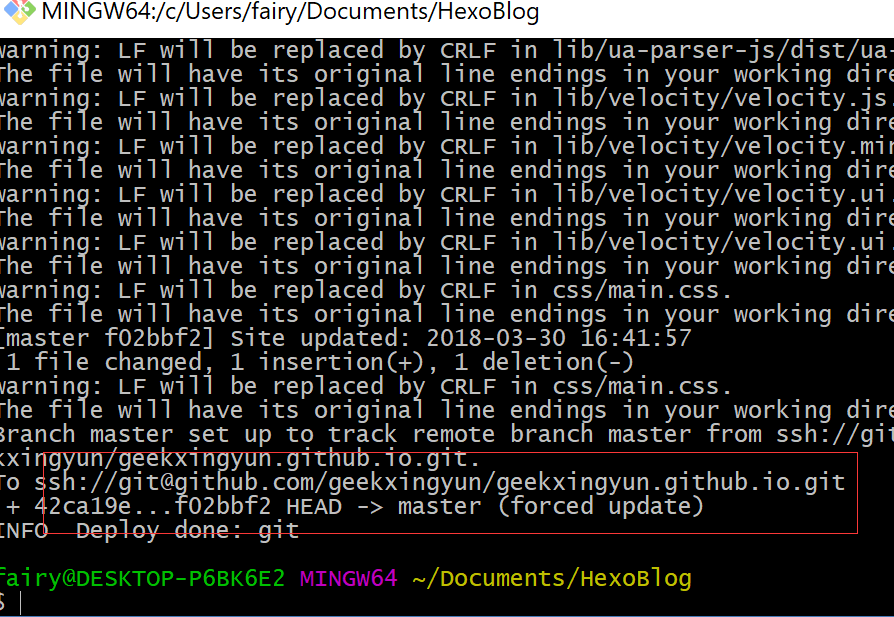
hexo deploy
执行成功后会出现这个样子:
打开我们的域名:
http://www.520geek.cn/
访问结果如图所示: