1 Spring简介
Spring是一个轻量级Java开发框架,最早由Rod Johnson创建,目的是为了解决企业级应用开发的业务逻辑层和其他各层的耦合问题,是一个分层的Java SE/EE full-stack轻量级开源框架,为开发Java应用程序提供全面的基础架构支持。
2 Spring体系结构
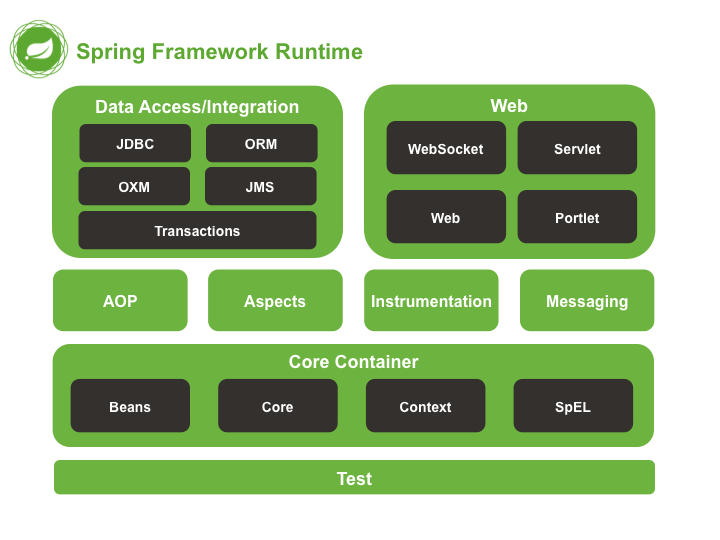
目前Spring已经集成了20多个模块,分布在以下模块中:
Core Container:核心容器Data Access/Integration:数据访问/集成Web:Web模块AOP:Aspect Oriented Programming,面向切面编程Instrumentation:植入模块Messaging:消息传输Test:测试模块
如图所示:
2.1 核心容器
由Spring-core、Spring-beans、Spring-context、Spring-context-support、Spring-expression等模块组成:
Spring-core:提供了框架的基本组成部分,包括Ioc(Inversion of Control,控制反转)以及DI(Dependency Injection,依赖注入)功能Spring-beans:提供了BeanFactory,是工厂模式的一个典型实现,Spring将管理的对象称为BeanSpring-context:建立在Core和Beans模块的基础上,提供了一个框架式的对象访问方式,是访问定义和配置的任何对象的媒介,ApplicationContext接口是Context模块的焦点Spring-context-support:支持整合第三方库到Spring应用程序上下文,特别是用于高速缓存(EhCache、JCache)和任务调度(CommonJ、Quartz)的支持Spring-expression:提供了强大的表达式语言去支持运行时查询和操作对象图,是JSP 2.1规定的统一表达式语言的扩展
2.2 AOP和Instrumentation
Spring-aop:提供了一个符合AOP要求的面向切面的编程实现,允许定义方法拦截器和切入点Spring-aspects:提供了与AspectJ的集成功能,AspectJ是一个功能强大且成熟的AOP框架Spring-instrumentation:提供了类植入支持和类加载器的实现
2.3 消息
Spring 4.0后增加了消息模块,提供了对消息传递体系结构和协议的支持。
2.4 数据访问/集成
数据访问/集成层由JDBC、ORM、OXM、JMS和事务模块组成。
Spring-JDBC:提供了一个JDBC抽象层,消除了繁琐的JDBC编码和数据库厂商特有的错误代码解析Spring-ORM:为流行的ORM(Object-Relational Mapping,对象关系映射)框架提供了支持,包括JPA和Hibernate,使用Spring-ORM框架可以将这些O/R映射框架与Spring提供的所有其他功能结合使用Spring-OXM:提供了一个支持对象/XML映射的抽象层实现,例如JAXB、Castor、JiBX、XStreamSpring-JMS:JMS(Java Messaging Service,Java消息传递服务),包含用于生产和使用消息的功能Spring-TX:事务管理模块,支持用于实现特殊接口和所有POJO类的编程和声明式事务管理
2.5 Web
Web有Spring-Web、Spring-WebMVC、Spring-WebSocket和Portlet模块组成。
Spring-Web:提供了基本的Web开发集成功能,例如多文件上传等Spring-WebMVC:也叫Web-Servlet模块,包含用于Web应用程序的Spring MVC和REST Web Services的实现。Spring-WebSocket:提供了WebSocket和SockJS的实现Porlet:类似于Servlet模块的功能,提供了Porlet环境下MVC的实现
2.6 测试
Spring-test模块支持使用JUnit或TestNG对Spring组件进行单元测试和集成测试。
3 环境
OpenJDK 11.0.8IDEA 2020.2Maven/Gradle
4 入门Demo(Java版)
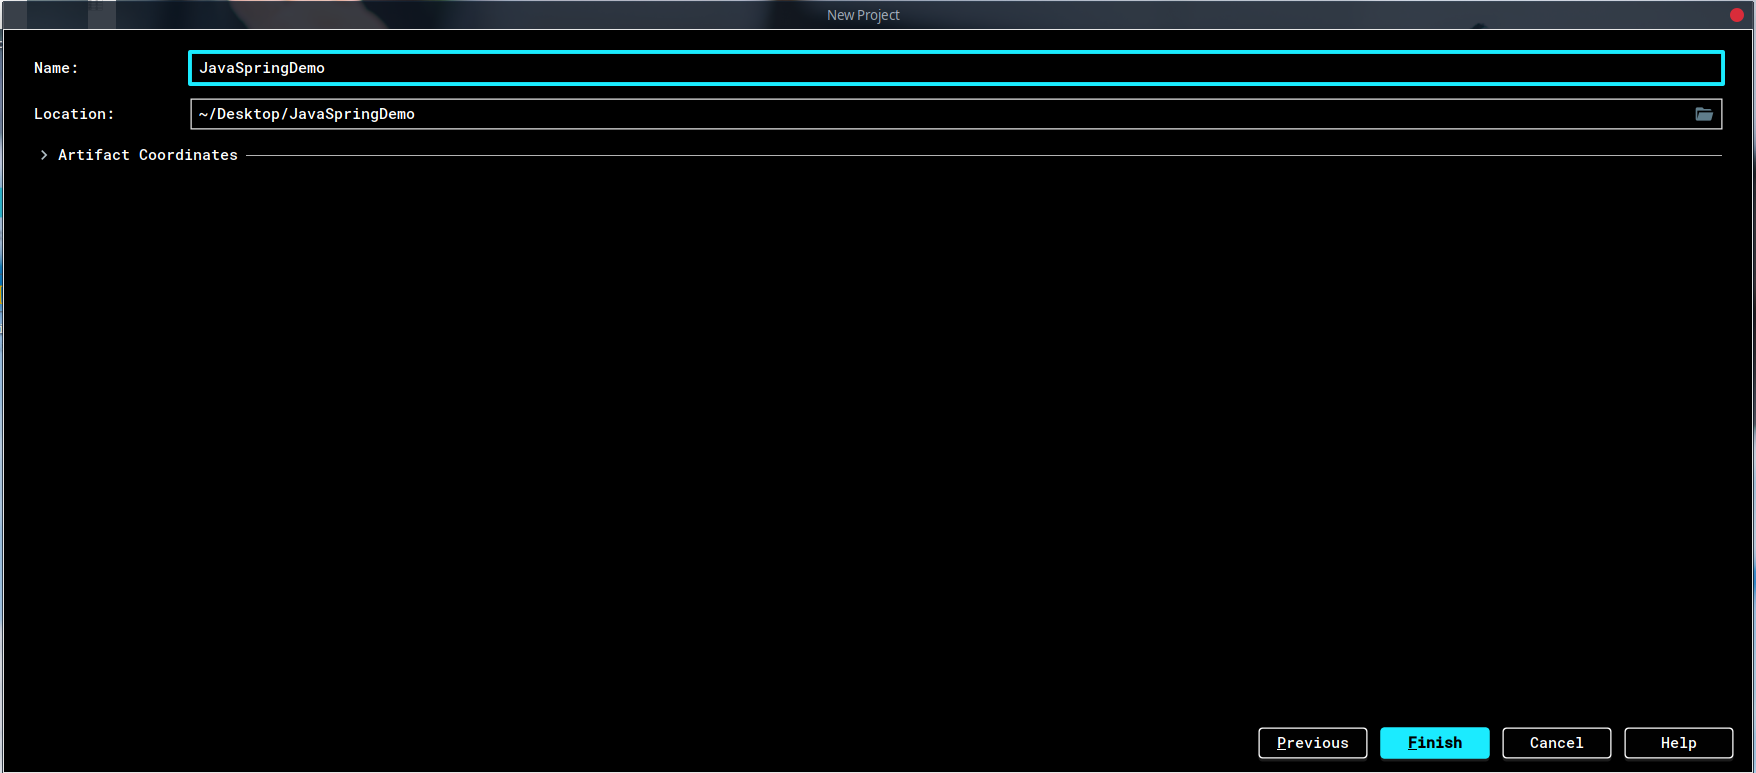
4.1 新建Maven工程

4.2 引入依赖
pom.xml文件加入:
1<dependencies>
2    <dependency>
3        <groupId>org.springframework</groupId>
4        <artifactId>spring-context</artifactId>
5        <version>5.2.8.RELEASE</version>
6    </dependency>
7    <dependency>
8        <groupId>org.springframework</groupId>
9        <artifactId>spring-core</artifactId>
10        <version>5.2.8.RELEASE</version>
11    </dependency>
12    <dependency>
13        <groupId>org.springframework</groupId>
14        <artifactId>spring-beans</artifactId>
15        <version>5.2.8.RELEASE</version>
16    </dependency>
17    <dependency>
18        <groupId>org.springframework</groupId>
19        <artifactId>spring-web</artifactId>
20        <version>5.2.8.RELEASE</version>
21    </dependency>
22    <dependency>
23        <groupId>org.springframework</groupId>
24        <artifactId>spring-test</artifactId>
25        <version>5.2.8.RELEASE</version>
26        <scope>test</scope>
27    </dependency>
28    <dependency>
29        <groupId>commons-logging</groupId>
30        <artifactId>commons-logging</artifactId>
31        <version>1.2</version>
32    </dependency>
33	<dependency>
34	    <groupId>org.junit.jupiter</groupId>
35	    <artifactId>junit-jupiter-api</artifactId>
36	    <version>5.6.2</version>
37	    <scope>test</scope>
38	</dependency>
39</dependencies>
可以戳这里查看最新的版本。
4.3 新建文件
新建如下5个空文件:
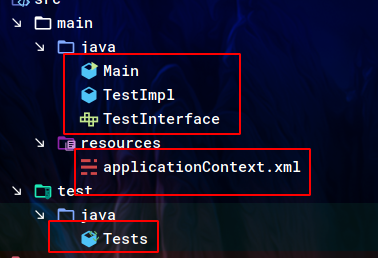
4.4 applicationContext.xml
该文件是Spring的配置文件,习惯命名为applicationContext.xml,内容如下:
1<?xml version="1.0" encoding="utf-8" ?>
2<beans xmlns="http://www.springframework.org/schema/beans"
3       xmlns:xsi="http://www.w3.org/2001/XMLSchema-instance"
4       xsi:schemaLocation="http://www.springframework.org/schema/beans
5       http://www.springframework.org/schema/beans/spring-beans.xsd">
6
7    <bean id="test" class="TestImpl"/>
8</beans>
这里声明了一个id为test,类为TestImpl的Bean。
4.5 TestInterface
1public interface TestInterface {
2    void hello();
3}
4
4.6 TestImpl
1public class TestImpl implements TestInterface {
2    @Override
3    public void hello() {
4        System.out.println("Hello Spring.");
5    }
6}
4.7 Main
1public class Main {
2    public static void main(String[] args) {
3        System.out.println("Hello");
4        ApplicationContext context = new ClassPathXmlApplicationContext("applicationContext.xml");
5        ((TestInterface)context.getBean("test")).hello();
6    }
7}
4.8 Tests
1public class Tests {
2    @Test
3    public void test()
4    {
5        ApplicationContext context = new ClassPathXmlApplicationContext("applicationContext.xml");
6        TestInterface testInterface = (TestInterface)context.getBean("test");
7        testInterface.hello();
8    }
9}
4.9 运行
4.9.1 测试
直接点击测试类旁边的按钮即可:
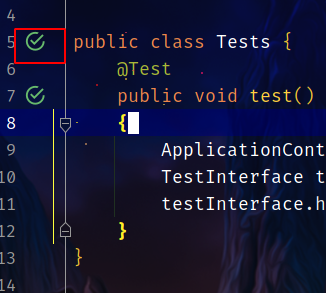
若出现如下错误:

是JDK版本设置错误的问题,先打开Project Structure,修改Modules下的JDK版本:
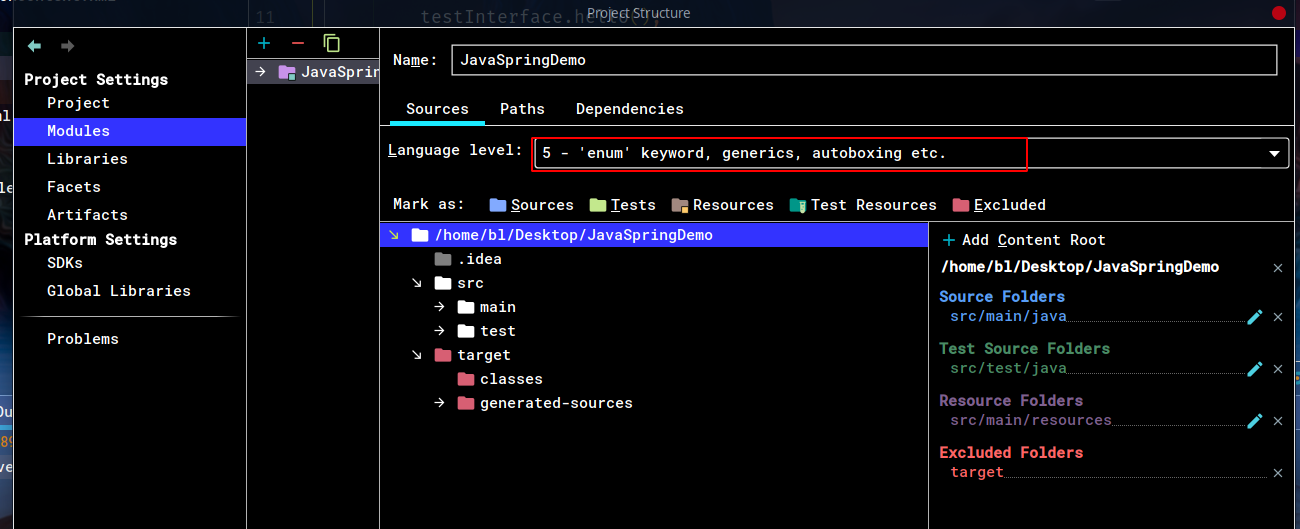
下一步是打开设置,修改Comiler下的JDK版本:
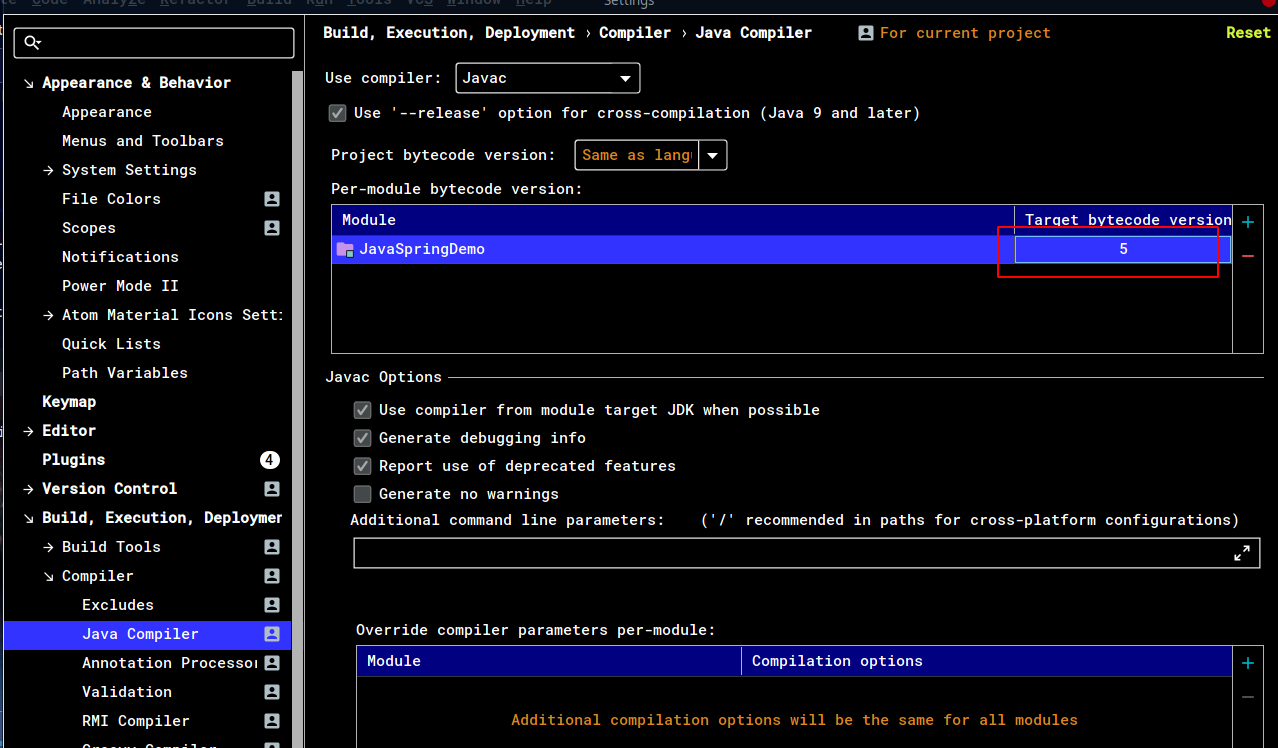
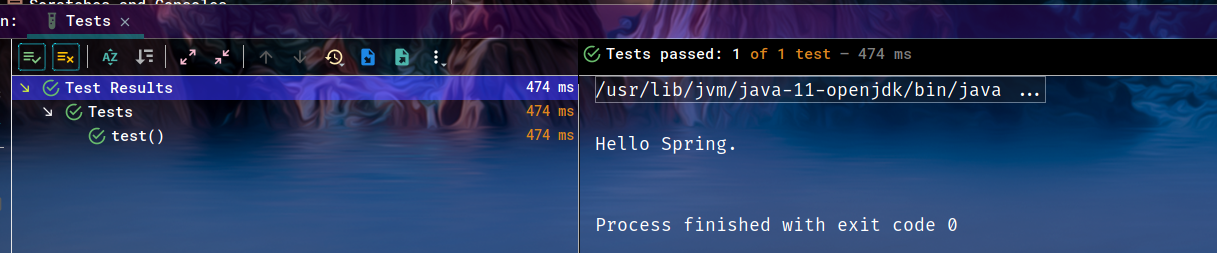
输出:
4.9.2 Main
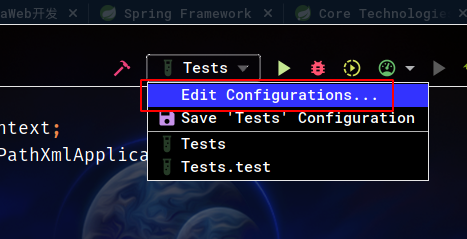
默认不能直接运行Main函数,需要添加运行配置:
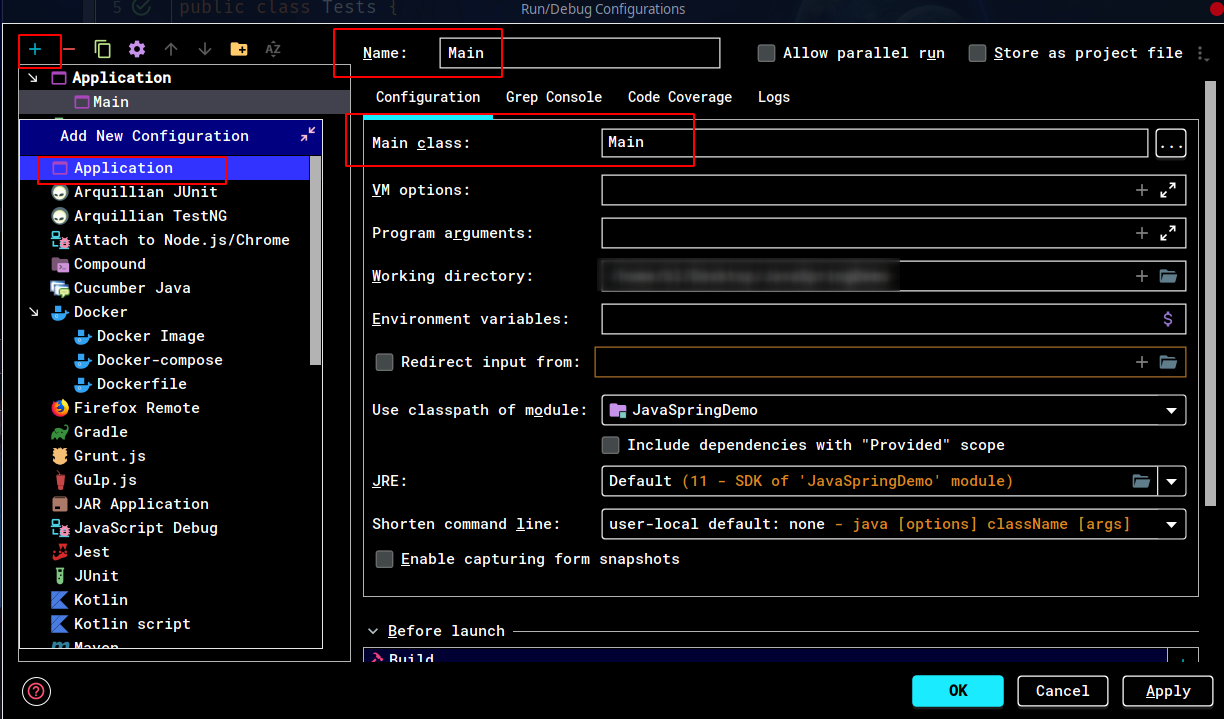
选择Application添加配置,并且指定Name以及Main class:
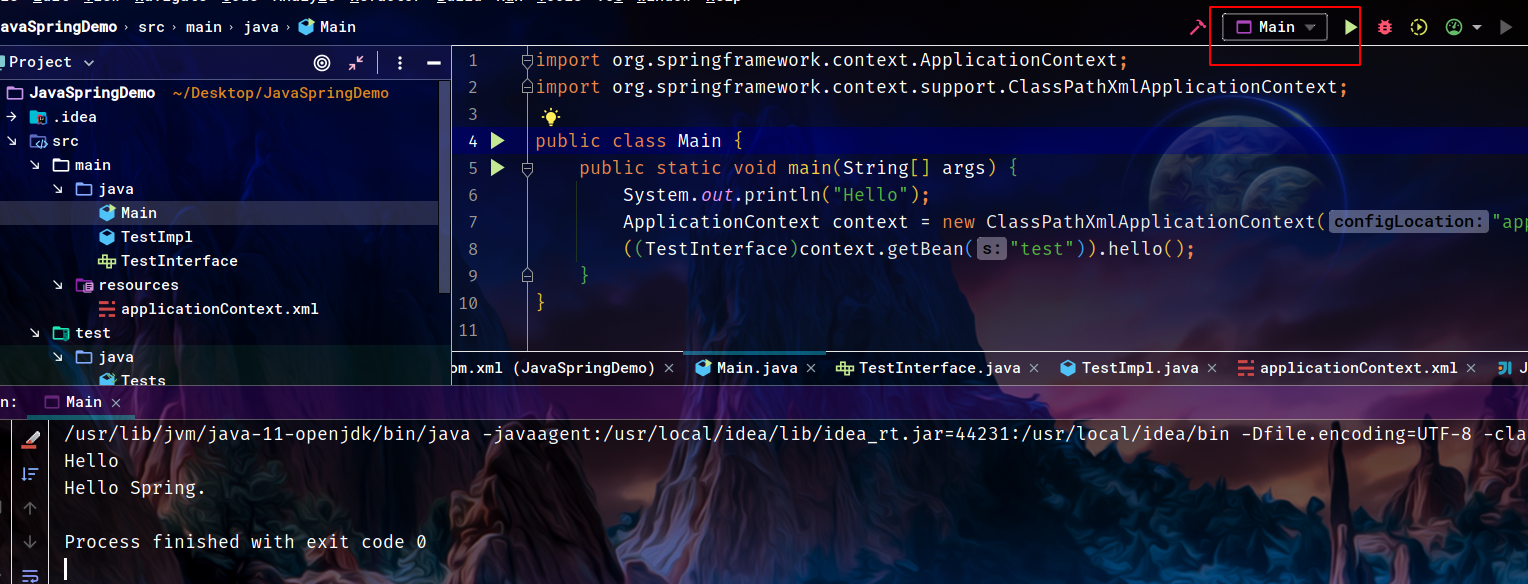
这样就可以运行了:
5 Kotlin版Demo
使用Gradle+Kotlin的入门Demo。
5.1 新建Gradle工程
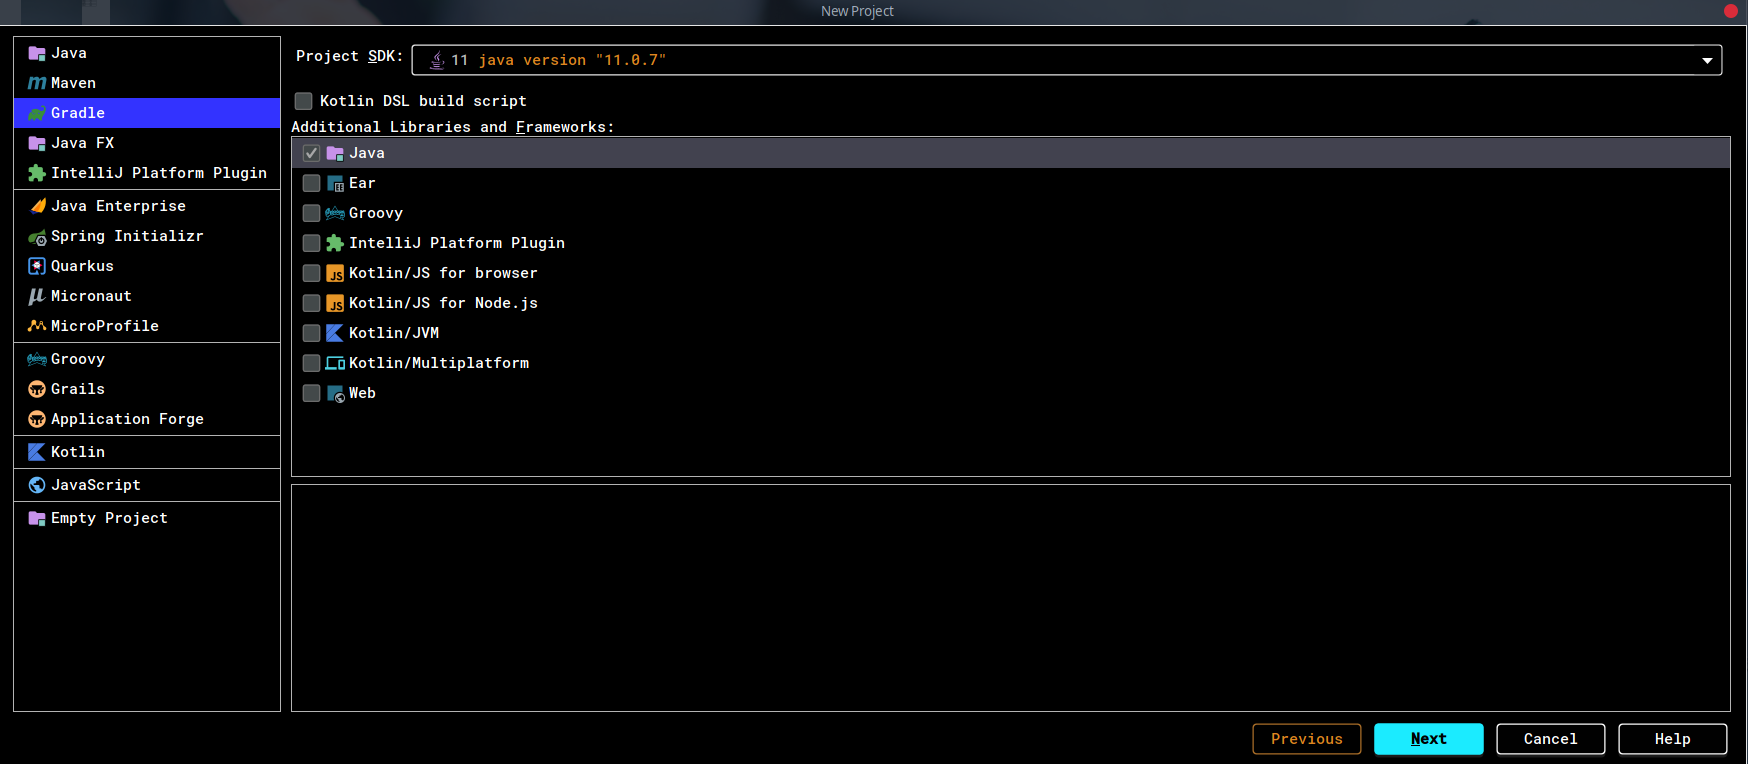
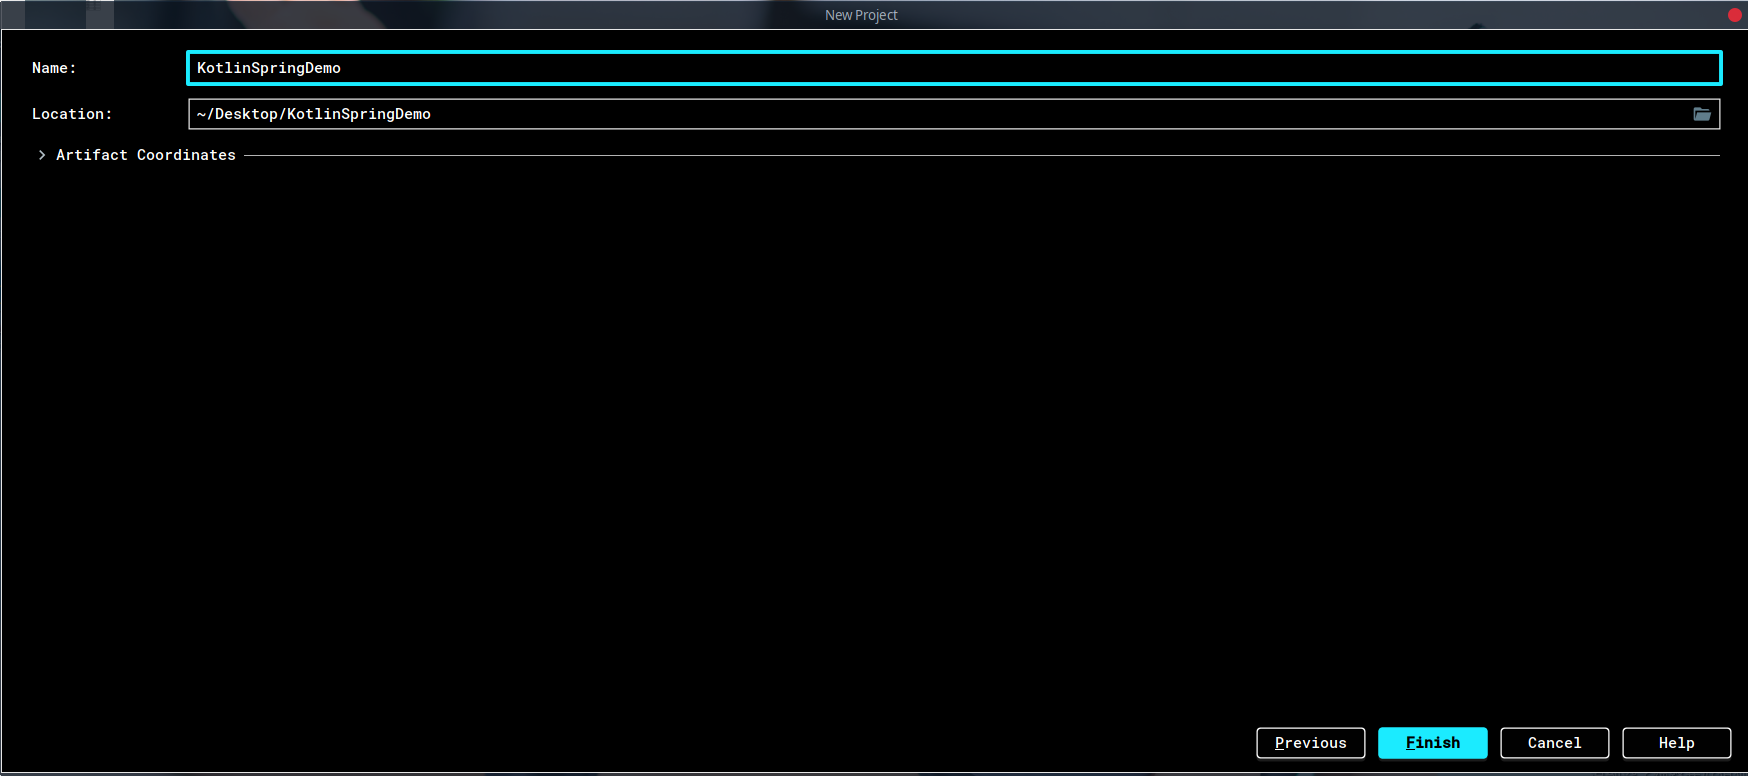
5.2 build.gradle
完整文件如下:
1plugins {
2    id 'java'
3    id 'org.jetbrains.kotlin.jvm' version '1.4.0'
4}
5
6group 'org.example'
7version '1.0-SNAPSHOT'
8
9repositories {
10    mavenCentral()
11}
12
13dependencies {
14    compile group: 'org.springframework', name: 'spring-context', version: '5.2.8.RELEASE'
15    compile group: 'org.springframework', name: 'spring-core', version: '5.2.8.RELEASE'
16    compile group: 'org.springframework', name: 'spring-beans', version: '5.2.8.RELEASE'
17    testCompile group: 'junit', name: 'junit', version: '4.12'
18    implementation "org.jetbrains.kotlin:kotlin-stdlib-jdk8"
19}
20compileKotlin {
21    kotlinOptions {
22        jvmTarget = "11"
23    }
24}
除了添加依赖以外还添加了一些其他参数。
5.3 新建文件夹以及文件
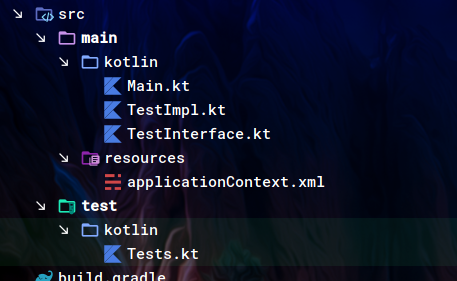
5.4 TestInterface
1interface TestInterface {
2    fun hello()
3}
5.5 TestImpl
1class TestImpl:TestInterface
2{
3    override fun hello() {
4        println("Hello Spring")
5    }
6}
5.6 Main
1fun main() {
2    println("Hello")
3    val context: ApplicationContext = ClassPathXmlApplicationContext("applicationContext.xml")
4    val test: TestInterface = context.getBean("test") as TestInterface
5    test.hello()
6}
5.7 applicationContext.xml
同上。
5.8 Tests
1class Tests {
2    @Test
3    fun test()
4    {
5        val context:ApplicationContext = ClassPathXmlApplicationContext("applicationContext.xml")
6        val test:TestInterface = context.getBean("test") as TestInterface
7        test.hello()
8    }
9}
5.9 运行
5.9.1 测试
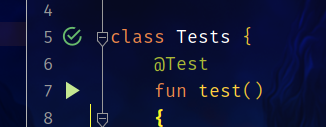
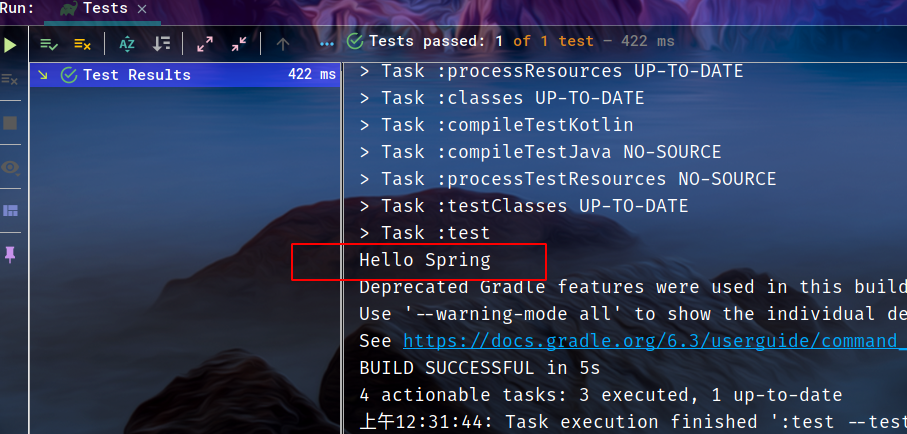
同样直接点击旁边的按钮即可运行:
5.9.2 Main
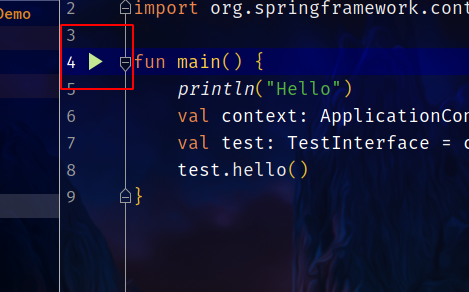
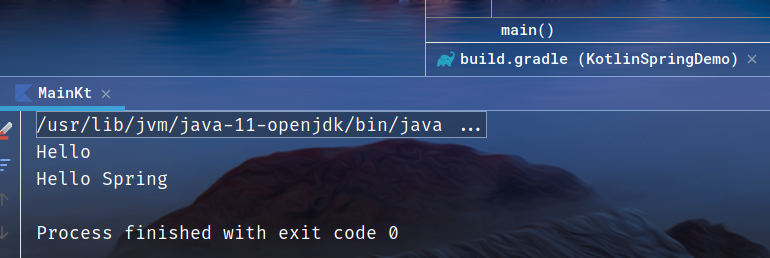
同样点击按钮即可: