
自己写OAuth后台太麻烦,直接拉取gitbub现成的。拉取活跃度比较高的bshaffer/oauth2-server-php
注:以下编码是Oauth四种认证中的第四种:凭证式。想了解其他几种方式,请移步阮一峰大大的博客http://www.ruanyifeng.com/blog/2019/04/oauth-grant-types.html?utm_source=tuicool&utm_medium=referral
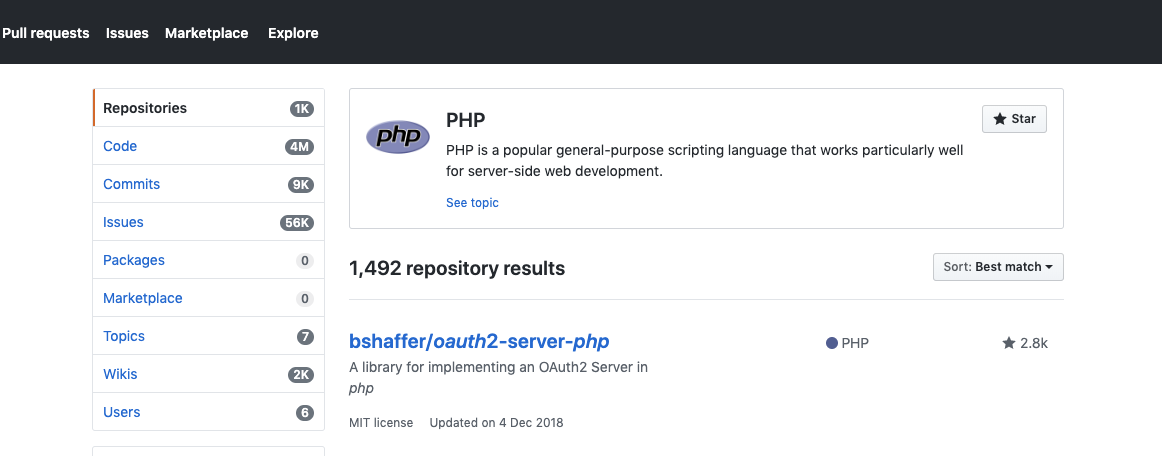
1、首先拉取代码 https://github.com/bshaffer/oauth2-server-php.git
2、在编码之前先导入数据库
1CREATE TABLE `oauth_clients` (
2  `client_id` varchar(80) NOT NULL,
3  `client_secret` varchar(80) DEFAULT NULL,
4  `redirect_uri` varchar(2000) DEFAULT NULL,
5  `grant_types` varchar(80) DEFAULT NULL,
6  `scope` varchar(4000) DEFAULT NULL,
7  `user_id` varchar(80) DEFAULT NULL,
8  PRIMARY KEY (`client_id`)
9) ENGINE=InnoDB DEFAULT CHARSET=utf8;
10
11CREATE TABLE `oauth_jwt` (
12  `client_id` varchar(80) NOT NULL,
13  `subject` varchar(80) DEFAULT NULL,
14  `public_key` varchar(2000) NOT NULL
15) ENGINE=InnoDB DEFAULT CHARSET=utf8;
16
17CREATE TABLE `oauth_refresh_tokens` (
18  `refresh_token` varchar(40) NOT NULL,
19  `client_id` varchar(80) NOT NULL,
20  `user_id` varchar(80) DEFAULT NULL,
21  `expires` timestamp NOT NULL DEFAULT CURRENT_TIMESTAMP ON UPDATE CURRENT_TIMESTAMP,
22  `scope` varchar(4000) DEFAULT NULL,
23  PRIMARY KEY (`refresh_token`)
24) ENGINE=InnoDB DEFAULT CHARSET=utf8;
25
26CREATE TABLE `oauth_scopes` (
27  `scope` varchar(80) NOT NULL,
28  `is_default` tinyint(1) DEFAULT NULL,
29  PRIMARY KEY (`scope`)
30) ENGINE=InnoDB DEFAULT CHARSET=utf8;
31
32CREATE TABLE `oauth_users` (
33  `username` varchar(80) DEFAULT NULL,
34  `password` varchar(80) DEFAULT NULL,
35  `first_name` varchar(80) DEFAULT NULL,
36  `last_name` varchar(80) DEFAULT NULL,
37  `email` varchar(80) DEFAULT NULL,
38  `email_verified` tinyint(1) DEFAULT NULL,
39  `scope` varchar(4000) DEFAULT NULL
40) ENGINE=InnoDB DEFAULT CHARSET=utf8;
41
42CREATE TABLE `oauth_access_tokens` (
43  `access_token` varchar(40) NOT NULL,
44  `client_id` varchar(80) NOT NULL,
45  `user_id` varchar(80) DEFAULT NULL,
46  `expires` timestamp NOT NULL DEFAULT CURRENT_TIMESTAMP ON UPDATE CURRENT_TIMESTAMP,
47  `scope` varchar(4000) DEFAULT NULL,
48  PRIMARY KEY (`access_token`)
49) ENGINE=InnoDB DEFAULT CHARSET=utf8;
3、在站点创建oauthConf.php(创建和配置OAuth的实例)
1$conf = [
2    'dsn' => 'mysql:dbname=open;host=127.0.0.1:3808',
3    'username' => 'root',
4    'password' => 'root'
5];
6
7// Autoloading (composer is preferred, but for this example let's just do this)
8require_once('oauth2-server/src/OAuth2/Autoloader.php');
9OAuth2\Autoloader::register();
10
11// $dsn is the Data Source Name for your database, for exmaple "mysql:dbname=my_oauth2_db;host=localhost"
12$storage = new OAuth2\Storage\Pdo($conf);
13
14// Pass a storage object or array of storage objects to the OAuth2 server class
15$server = new OAuth2\Server($storage);
16
17// Add the "Client Credentials" grant type (it is the simplest of the grant types)
18$server->addGrantType(new OAuth2\GrantType\ClientCredentials($storage));
19
20// Add the "Authorization Code" grant type (this is where the oauth magic happens)
21$server->addGrantType(new OAuth2\GrantType\AuthorizationCode($storage));
4、获取令牌前,先向数据库插入一条测试数据
INSERT INTO oauth_clients (client_id, client_secret, redirect_uri) VALUES ("arthurtest", "arthurpass", "http://arthur/");
5、创建getToken.php(注:使用POST方法获取accessToken)
1<?php
2// include our OAuth2 Server object
3require_once __DIR__.'/server.php';
4
5// Handle a request for an OAuth2.0 Access Token and send the response to the client
6$server->handleTokenRequest(OAuth2\Request::createFromGlobals())->send();
6、执行getToken.php 获得access_token(注:需传入基本参数如下):
参数:
respose_type
authorization_code 标准的授权模式 password 基于用户密码的授权模式 client_credentials 基于密钥的授权模式 refresh_token 刷新token
client_id
应用id
redirect_uri
回调地址
结果:
1{
2    "access_token": "20dc6de50b4136430a4b391e49cb7f7d94e2fdf6",
3    "expires_in": 3600,
4    "token_type": "Bearer",
5    "scope": null
6}
7、现在已经拿到了令牌,就可以调用接口了,我们可以使用以下代码进行token合法验证
1<?php
2// include our OAuth2 Server object
3require_once __DIR__.'/server.php';
4
5// Handle a request to a resource and authenticate the access token
6if (!$server->verifyResourceRequest(OAuth2\Request::createFromGlobals())) {
7    $server->getResponse()->send();
8echo json_encode(array('success' => true, 'message' => 'You accessed my APIs!'));