
一、检查本地系统环境
1.检查系统版本
1[root@Server001 ~]# cat /etc/os-release
2NAME="CentOS Linux"
3VERSION="7 (Core)"
4ID="centos"
5ID_LIKE="rhel fedora"
6VERSION_ID="7"
7PRETTY_NAME="CentOS Linux 7 (Core)"
8ANSI_COLOR="0;31"
9CPE_NAME="cpe:/o:centos:centos:7"
10HOME_URL="https://www.centos.org/"
11BUG_REPORT_URL="https://bugs.centos.org/"
12
13CENTOS_MANTISBT_PROJECT="CentOS-7"
14CENTOS_MANTISBT_PROJECT_VERSION="7"
15REDHAT_SUPPORT_PRODUCT="centos"
16REDHAT_SUPPORT_PRODUCT_VERSION="7"
2.查看服务器网卡
1[root@Server001 network-scripts]# ifconfig  -a
2bond0: flags=5123<UP,BROADCAST,MASTER,MULTICAST>  mtu 1500
3        inet 192.168.30.122  netmask 255.255.255.0  broadcast 192.168.30.255
4        ether a6:ad:e5:84:f0:6e  txqueuelen 1000  (Ethernet)
5        RX packets 0  bytes 0 (0.0 B)
6        RX errors 0  dropped 0  overruns 0  frame 0
7        TX packets 0  bytes 0 (0.0 B)
8        TX errors 0  dropped 0 overruns 0  carrier 0  collisions 0
9
10eth0: flags=4163<UP,BROADCAST,RUNNING,MULTICAST>  mtu 1500
11        inet 192.168.3.55  netmask 255.255.255.0  broadcast 192.168.3.255
12        inet6 fe80::2a6e:d4ff:fe89:8720  prefixlen 64  scopeid 0x20<link>
13        ether 28:6e:d4:89:87:20  txqueuelen 1000  (Ethernet)
14        RX packets 2256  bytes 439140 (428.8 KiB)
15        RX errors 0  dropped 0  overruns 0  frame 0
16        TX packets 428  bytes 68770 (67.1 KiB)
17        TX errors 0  dropped 0 overruns 0  carrier 0  collisions 0
18
19eth1: flags=4163<UP,BROADCAST,RUNNING,MULTICAST>  mtu 1500
20        inet6 fe80::2a6e:d4ff:fe8a:3299  prefixlen 64  scopeid 0x20<link>
21        ether 28:6e:d4:8a:32:99  txqueuelen 1000  (Ethernet)
22        RX packets 1617  bytes 386452 (377.3 KiB)
23        RX errors 0  dropped 0  overruns 0  frame 0
24        TX packets 7  bytes 586 (586.0 B)
25        TX errors 0  dropped 0 overruns 0  carrier 0  collisions 0
26
27eth2: flags=4163<UP,BROADCAST,RUNNING,MULTICAST>  mtu 1500
28        inet6 fe80::2a6e:d4ff:fe88:f490  prefixlen 64  scopeid 0x20<link>
29        ether 28:6e:d4:88:f4:90  txqueuelen 1000  (Ethernet)
30        RX packets 1617  bytes 386452 (377.3 KiB)
31        RX errors 0  dropped 0  overruns 0  frame 0
32        TX packets 7  bytes 586 (586.0 B)
33        TX errors 0  dropped 0 overruns 0  carrier 0  collisions 0
34
35lo: flags=73<UP,LOOPBACK,RUNNING>  mtu 65536
36        inet 127.0.0.1  netmask 255.0.0.0
37        inet6 ::1  prefixlen 128  scopeid 0x10<host>
38        loop  txqueuelen 1000  (Local Loopback)
39        RX packets 0  bytes 0 (0.0 B)
40        RX errors 0  dropped 0  overruns 0  frame 0
41        TX packets 0  bytes 0 (0.0 B)
42        TX errors 0  dropped 0 overruns 0  carrier 0  collisions 0
43
44
45
二、创建网卡配置文件
1.进入网卡配置文件目录
1[root@Server001 ~]# cd /etc/sysconfig/network-scripts/
2[root@Server001 network-scripts]# ls
3ifcfg-bond0  ifdown-eth   ifdown-ppp       ifdown-tunnel  ifup-ippp   ifup-post    ifup-TeamPort      network-functions-ipv6
4ifcfg-eth0   ifdown-ippp  ifdown-routes    ifup           ifup-ipv6   ifup-ppp     ifup-tunnel
5ifcfg-lo     ifdown-ipv6  ifdown-sit       ifup-aliases   ifup-isdn   ifup-routes  ifup-wireless
6ifdown       ifdown-isdn  ifdown-Team      ifup-bnep      ifup-plip   ifup-sit     init.ipv6-global
7ifdown-bnep  ifdown-post  ifdown-TeamPort  ifup-eth       ifup-plusb  ifup-Team    network-functions
8
2.拷贝eth0的网卡配置文件
1[root@Server001 network-scripts]# cp ifcfg-eth0 ifcfg-eth1
2[root@Server001 network-scripts]# cp ifcfg-eth0 ifcfg-eth2
3[root@Server001 network-scripts]# cp ifcfg-eth0 ifcfg-bond0
3.修改bond0网卡配置文件
1[root@Server001 network-scripts]# cat ifcfg-bond0
2DEVICE=bond0
3BOOTPROTO=none
4TYPE=bond0
5ONBOOT=yes
6IPADDR=192.168.30.122
7NETMASK=255.255.255.0
8
4.修改eth1网卡配置文件
1[root@Server001 network-scripts]# cat ifcfg-eth1
2DEVICE=eth1
3BOOTPROTO=none
4TYPE=Ethernet
5MASTER=bond0
6SLAVE=yes
7
8
5.修改eth2网卡配置文件
1[root@Server001 network-scripts]# cat ifcfg-eth2
2DEVICE=eth2
3BOOTPROTO=none
4TYPE=Ethernet
5MASTER=bond0
6SLAVE=yes
7
三、创建bonding的配置文件
1.编辑bonding.conf
1[root@node network-scripts]# vim /etc/modprobe.d/bonding.conf
2[root@node network-scripts]# cat /etc/modprobe.d/bonding.conf
3alias bond0 bonding
4options bonding mode=1 miimon=100
5
注:关于mode的说明 mode=0 //平衡循环 mode=1 //主备 mode=3 //广播 mode=4 //链路聚合
2.停止 NetworkManager 服务
1systemctl stop NetworkManager
2systemctl disable NetworkManage
3.加载 bonding 模块
1[root@Server001 network-scripts]# lsmod |grep bonding
2[root@Server001 network-scripts]#  modprobe bonding
3[root@Server001 network-scripts]#  lsmod |grep bonding
4bonding               152656  0
4.重启网络服务
1systemctl restart network
四、查看网卡绑定情况
1.再次检查本地网卡
1[root@Server001 network-scripts]# ifconfig
2bond0: flags=5187<UP,BROADCAST,RUNNING,MASTER,MULTICAST>  mtu 1500
3        inet 192.168.30.122  netmask 255.255.255.0  broadcast 192.168.30.255
4        inet6 fe80::2a6e:d4ff:fe8a:3299  prefixlen 64  scopeid 0x20<link>
5        ether 28:6e:d4:8a:32:99  txqueuelen 1000  (Ethernet)
6        RX packets 2426  bytes 748394 (730.8 KiB)
7        RX errors 0  dropped 0  overruns 0  frame 0
8        TX packets 13  bytes 838 (838.0 B)
9        TX errors 0  dropped 0 overruns 0  carrier 0  collisions 0
10
11eth0: flags=4163<UP,BROADCAST,RUNNING,MULTICAST>  mtu 1500
12        inet 192.168.3.55  netmask 255.255.255.0  broadcast 192.168.3.255
13        inet6 fe80::2a6e:d4ff:fe89:8720  prefixlen 64  scopeid 0x20<link>
14        ether 28:6e:d4:89:87:20  txqueuelen 1000  (Ethernet)
15        RX packets 2853  bytes 740694 (723.3 KiB)
16        RX errors 0  dropped 0  overruns 0  frame 0
17        TX packets 478  bytes 75189 (73.4 KiB)
18        TX errors 0  dropped 0 overruns 0  carrier 0  collisions 0
19
20eth1: flags=6211<UP,BROADCAST,RUNNING,SLAVE,MULTICAST>  mtu 1500
21        ether 28:6e:d4:8a:32:99  txqueuelen 1000  (Ethernet)
22        RX packets 2229  bytes 689858 (673.6 KiB)
23        RX errors 0  dropped 0  overruns 0  frame 0
24        TX packets 13  bytes 838 (838.0 B)
25        TX errors 0  dropped 0 overruns 0  carrier 0  collisions 0
26
27eth2: flags=6211<UP,BROADCAST,RUNNING,SLAVE,MULTICAST>  mtu 1500
28        ether 28:6e:d4:8a:32:99  txqueuelen 1000  (Ethernet)
29        RX packets 2243  bytes 690766 (674.5 KiB)
30        RX errors 0  dropped 0  overruns 0  frame 0
31        TX packets 0  bytes 0 (0.0 B)
32        TX errors 0  dropped 0 overruns 0  carrier 0  collisions 0
33
34lo: flags=73<UP,LOOPBACK,RUNNING>  mtu 65536
35        inet 127.0.0.1  netmask 255.0.0.0
36        inet6 ::1  prefixlen 128  scopeid 0x10<host>
37        loop  txqueuelen 1000  (Local Loopback)
38        RX packets 0  bytes 0 (0.0 B)
39        RX errors 0  dropped 0  overruns 0  frame 0
40        TX packets 0  bytes 0 (0.0 B)
41        TX errors 0  dropped 0 overruns 0  carrier 0  collisions 0
42
2.查看网卡绑定状态
1[root@Server001 network-scripts]# cat  /proc/net/bonding/bond0
2Ethernet Channel Bonding Driver: v3.7.1 (April 27, 2011)
3
4Bonding Mode: fault-tolerance (active-backup)
5Primary Slave: None
6Currently Active Slave: eth1
7MII Status: up
8MII Polling Interval (ms): 100
9Up Delay (ms): 0
10Down Delay (ms): 0
11
12Slave Interface: eth1
13MII Status: up
14Speed: Unknown
15Duplex: Unknown
16Link Failure Count: 0
17Permanent HW addr: 28:6e:d4:8a:32:99
18Slave queue ID: 0
19
20Slave Interface: eth2
21MII Status: up
22Speed: Unknown
23Duplex: Unknown
24Link Failure Count: 0
25Permanent HW addr: 28:6e:d4:88:f4:90
26Slave queue ID: 0
27
五、测试网卡连通情况
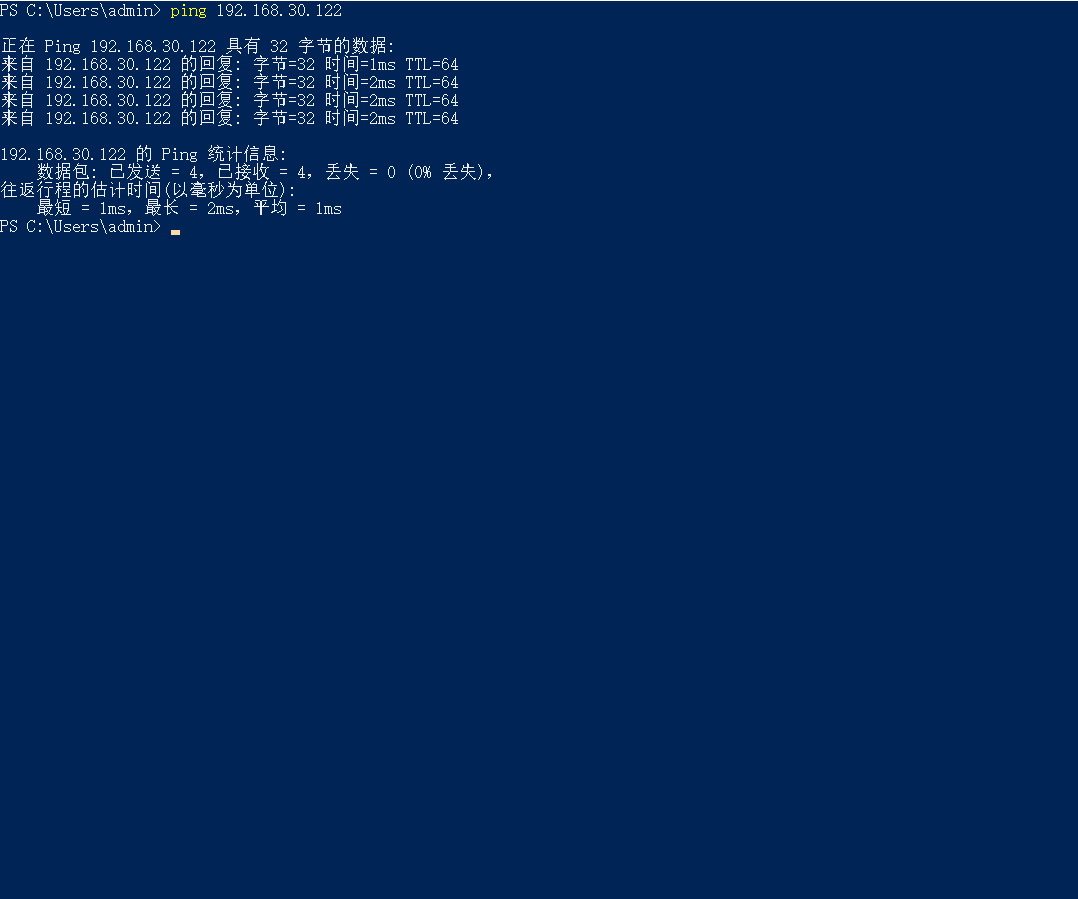
1.本地客户端ping服务器
1ping 192.168.30.122
六、关闭eth1网卡测试连通情况
1.关闭eth1网卡
1[root@Server001 network-scripts]# ifdown eth1
2[root@Server001 network-scripts]#
3
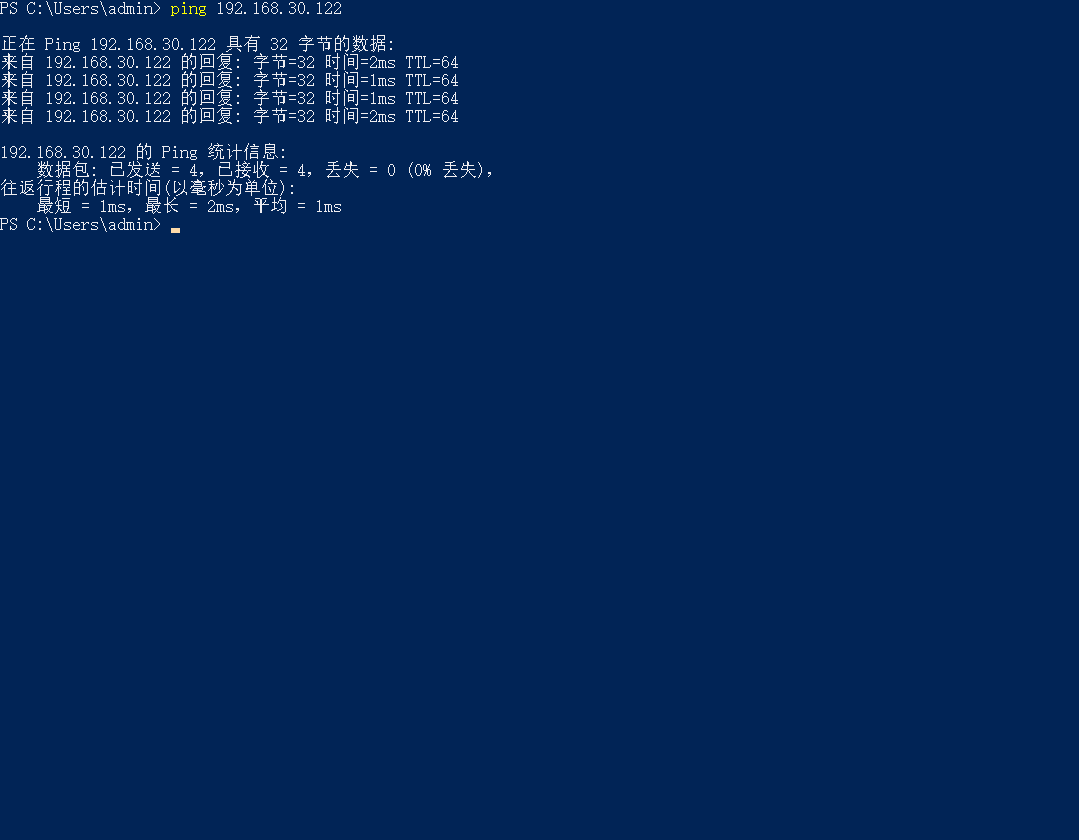
2.查看本地客户端连通情况
可以正常ping通
3.查看当前的bond0状态
当前活动网卡已经切换到eth2,eth2网卡提供服务
1[root@Server001 network-scripts]# cat  /proc/net/bonding/bond0
2Ethernet Channel Bonding Driver: v3.7.1 (April 27, 2011)
3
4Bonding Mode: fault-tolerance (active-backup)
5Primary Slave: None
6Currently Active Slave: eth2
7MII Status: up
8MII Polling Interval (ms): 100
9Up Delay (ms): 0
10Down Delay (ms): 0
11
12Slave Interface: eth2
13MII Status: up
14Speed: Unknown
15Duplex: Unknown
16Link Failure Count: 0
17Permanent HW addr: 28:6e:d4:88:f4:90
18Slave queue ID: 0
19
七、关闭eth2网卡测试连通情况
1.开启eth1网卡,关闭eth2网卡
1[root@Server001 network-scripts]# ifup eth1
2[root@Server001 network-scripts]# ifdown eth2
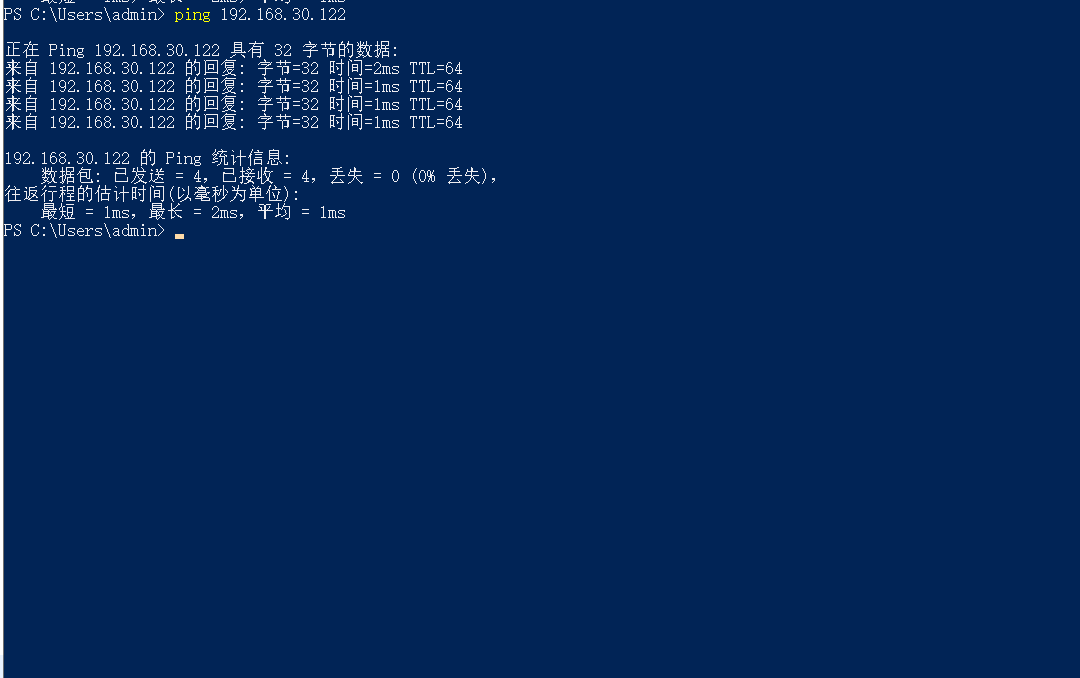
2.测试本地客户端连通情况
可以正常ping通
3.查看当前的bond0状态
当前活动网卡已经切换到eth1,eth1网卡提供服务
1[root@Server001 network-scripts]# cat  /proc/net/bonding/bond0
2Ethernet Channel Bonding Driver: v3.7.1 (April 27, 2011)
3
4Bonding Mode: fault-tolerance (active-backup)
5Primary Slave: None
6Currently Active Slave: eth1
7MII Status: up
8MII Polling Interval (ms): 100
9Up Delay (ms): 0
10Down Delay (ms): 0
11
12Slave Interface: eth1
13MII Status: up
14Speed: Unknown
15Duplex: Unknown
16Link Failure Count: 0
17Permanent HW addr: 28:6e:d4:8a:32:99
18Slave queue ID: 0
19