
最近需要阅读下MySQL源代码,所以写这系列博客记录下。
搭调试环境真是比较蛋疼,公司基本Java开发,这里回到C++。。。
用了两天晚上,尝试了VS2013,Eclipse CDT,CodeBlock还有GDB。
GDB比较好搭建,将带Boost库的源代码扔到虚拟机(CentOS 7.0,安装配置桌面web服务器开发机配置,什么软件都装齐了)上,GDB命令搞得飞起。但是,GDB还是比较反人类的。整天对着一成不变的文字也没啥意思,而且找定义还得不断地find ./ -name “*“,比较烦。果断转到IDE上调试。
IDE初步调试结果:
我的台式机配置:伪四核,8G内存,windows 7,64位,百兆网卡
笔记本配置:伪八核,16G内存,windows 8,64位,百兆网卡
Eclipse CDT(台式机调试):调试超过16MB包返回时挂掉,build超级慢,慢的不要不要的。。。
CodeBlock(台式机调试):编译直接挂掉。。。
VS2013(台式机和笔记本都调试):性能一般,可以忍。
于是乎,最后选择VS2013
环境准备:
一切以官网说明为王道,在王道基础上扩展。
官网说明地址
需要:
- Git:用来拉代码,配置好环境变量指向安装目录的bin
- Cmake:我用的3.4.0,版本不要太低,否则无法生成VS2013的project。配置好环境变量指向安装目录的bin
- VS2013:VS2015的编译器比较特殊,配置麻烦,对于CMAKE不友好,还是用2013吧。
- Bison:语义解析器。我用的2.4.1。配置好环境变量指向安装目录的bin
- Perl: 5.16.2, 不知道为啥用Perl,应该是社区的人搞了一些自动检查和封装的脚本。配置好环境变量指向安装目录的bin
- MySQL源代码5.7.12,windows版,应该大家对与源代码的实时性要求没那么高,MySQL源代码原来由Bazzar管理,目前是github管理,有兴趣的可以去看看(https://github.com/mysql/mysql-server)。
- Boost 1.59: MySQL依赖Boost库,5.7.12对应Boost1.59(一定要这个版本),去官网下载,解压到一个路径中没有中文和空格的文件夹
构建项目
600+MB的代码:
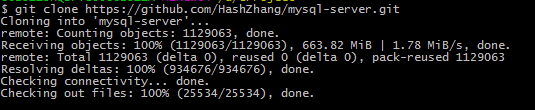
首先,拉好代码,同时准备另一个文件夹用于build(同样的,路径不能有中文名和空格)
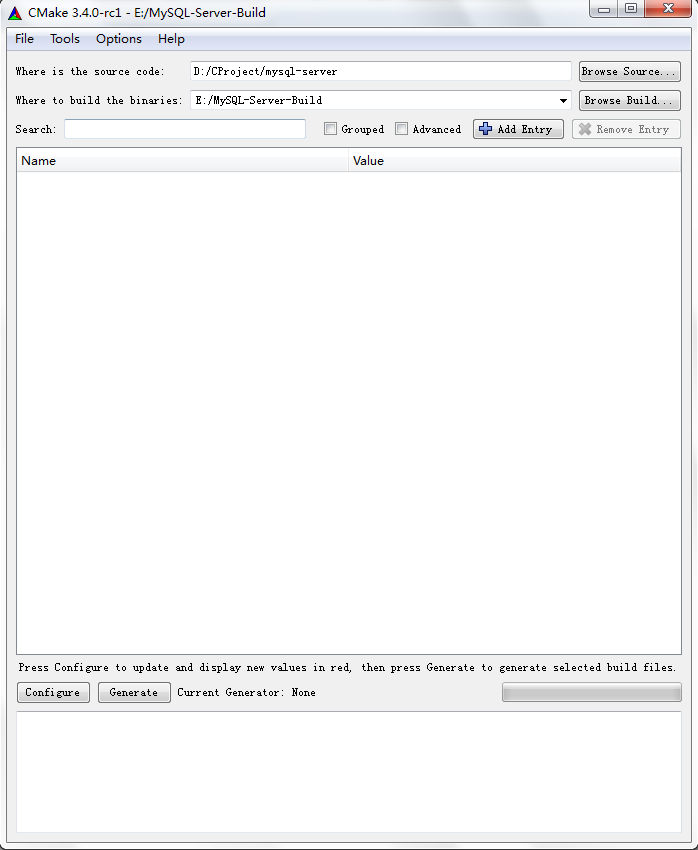
使用Cmake-gui:
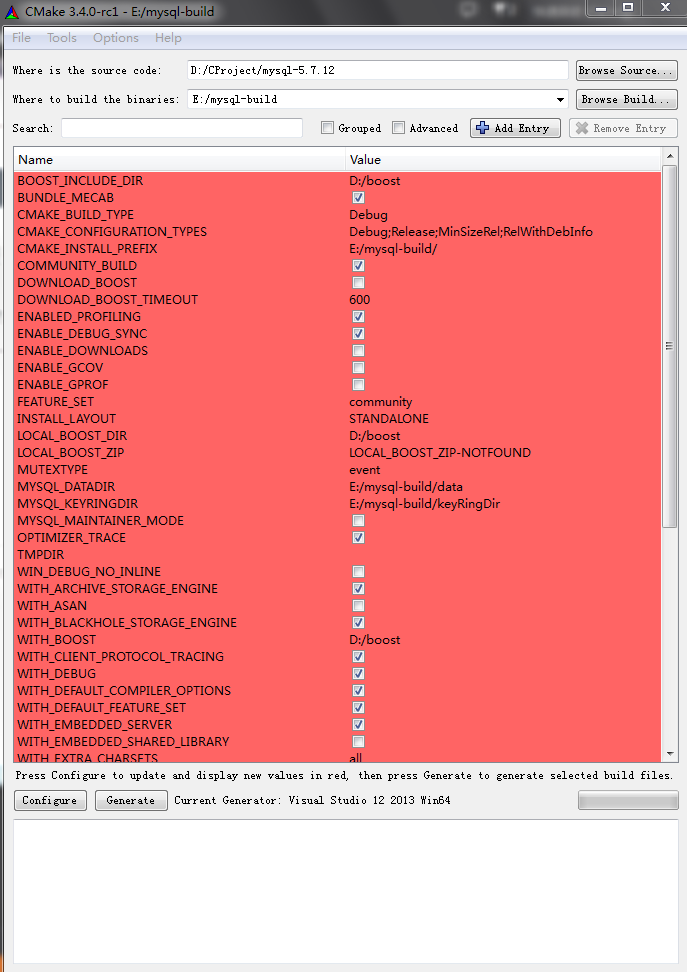
- 指定源代码路径,还有build路径。
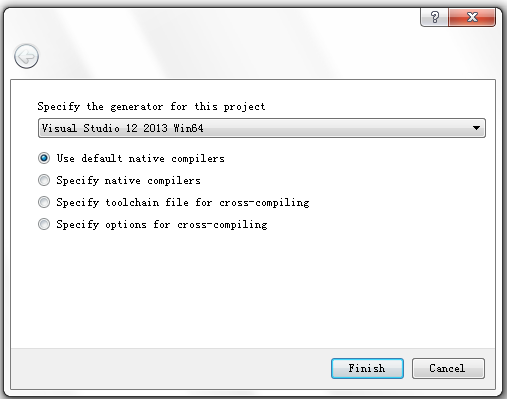
- 点击Configure,选择项目为VS2013 64位(我的电脑是64位)
- 第一次会报错,提示找不到Boost,这时在参数with_BOOST中填写你刚才放Boost的路径。同时,勾选WITH_DEBUG(开启调试模式,程序会有DEBUG断点和信息),指定MySQL_DATADIR还有MySQL_KEYRINGDIR(也可以在之后的Build目录中的my.ini中指定)。配置好后,继续点击Configure
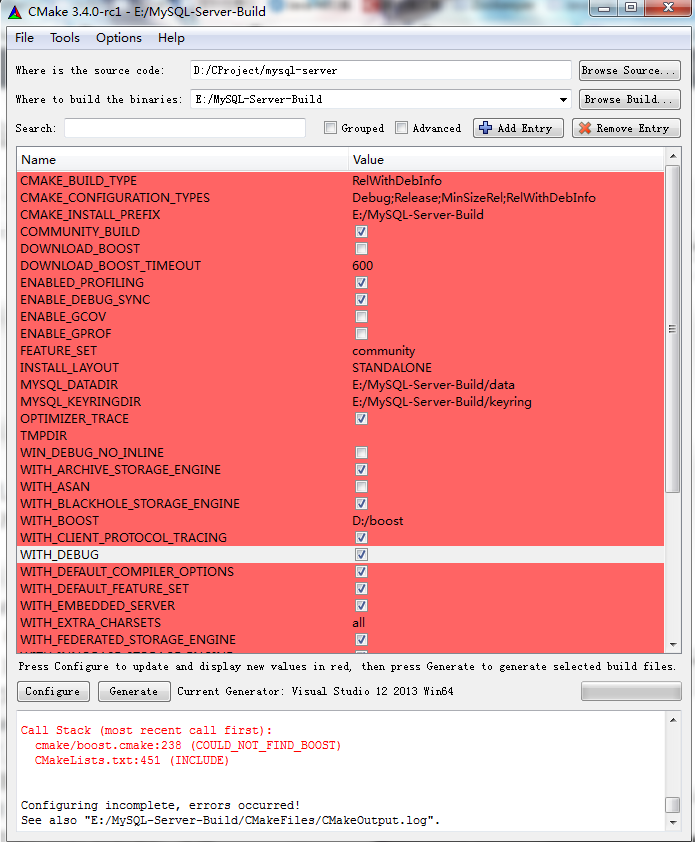
- 还是可能会报错,提示系统TEST_BIG_ENDIAN出错。没关系,将TEST_BIG_ENDIAN这个Test注释掉即可(具体位置忘了,看报错提示吧,是个configure.cmake文件)。
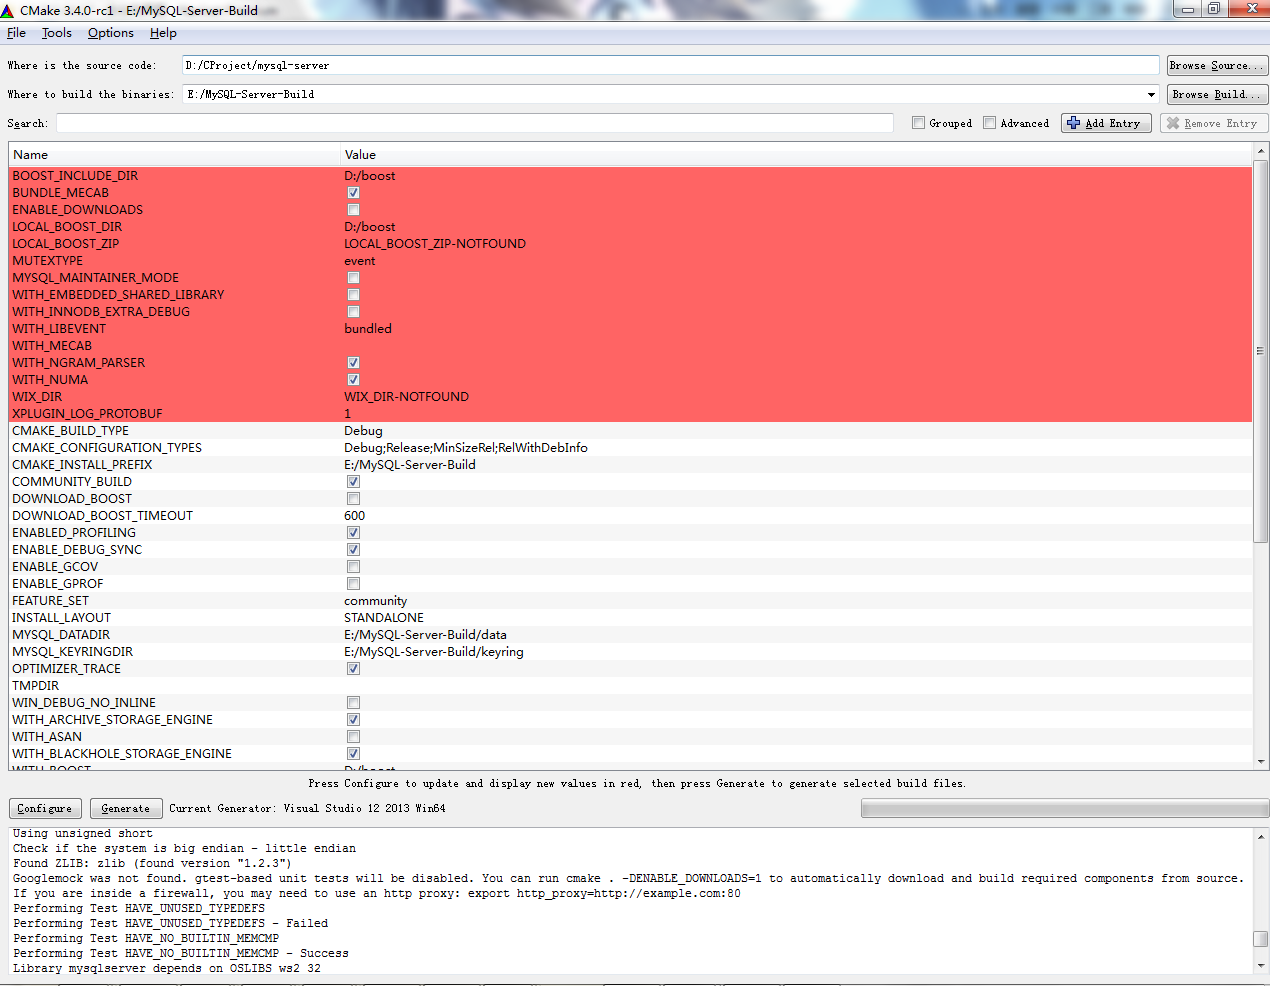
- 这下应该没问题了。Configure完成后点击Generate。生成VS2013Project。
- 双击ALLBUILD那个project文件。进入VS2013,进行编译。
- 在编译之前,最好将sql/sql_locale的编码改成带bom的UTF8, 防止不可解字符编译报错。
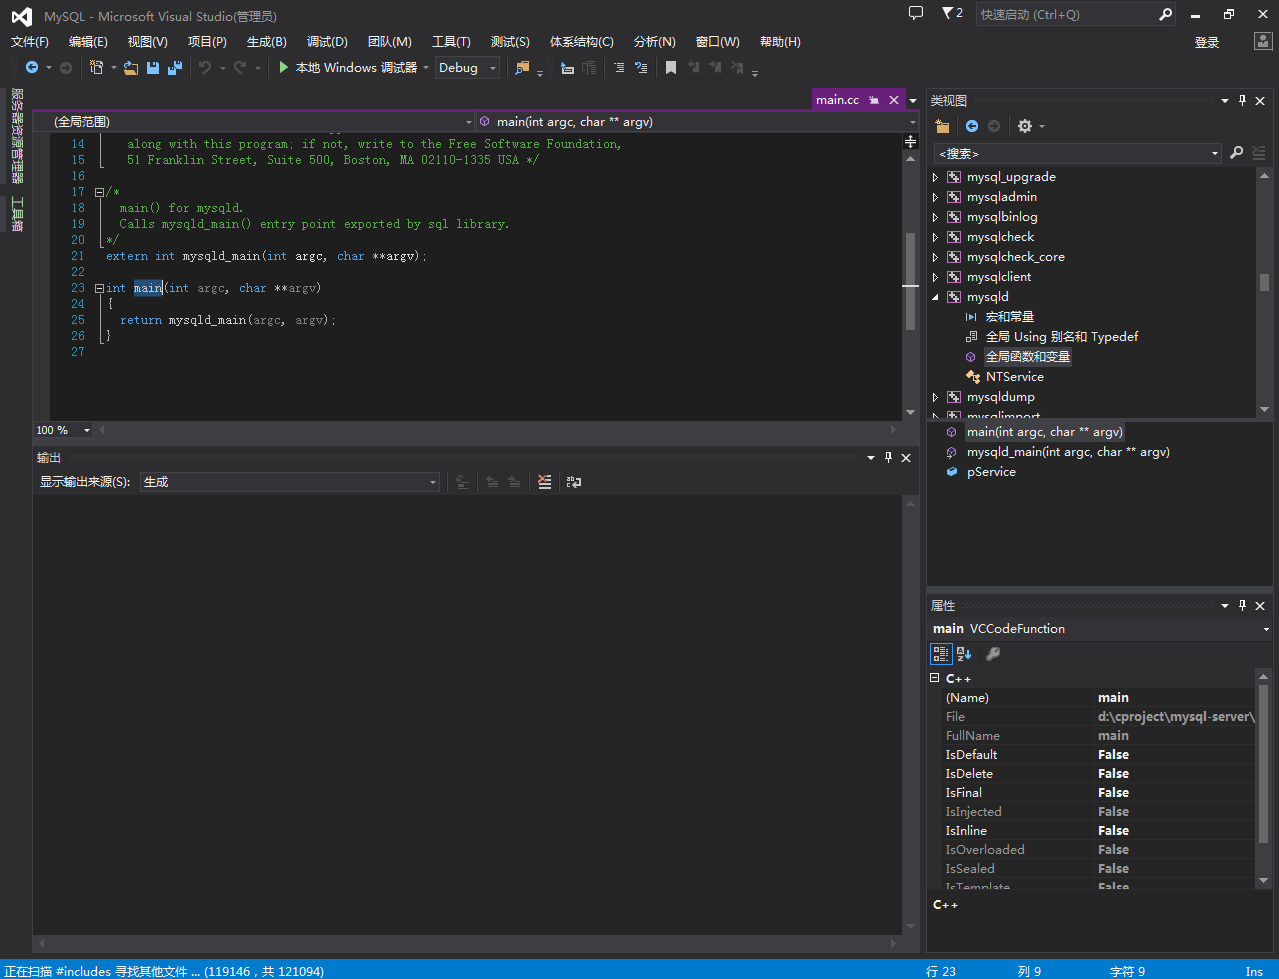
这样,就可以编译了。编译时间比较长,我的本本跑了10分钟。编译完成。
安装运行调试
MySQL要想调试先要安装好,首先,看你的build目录的bin下面,是否所有的EXE都有了(主要是mysqld.exe)。
在Build根目录下填写my.ini,这里放个最简版:
1# Here follows entries for some specific programs
2# The MySQL server
3[mysqld]
4port  = 3306
5socket  = MySQL
6skip-external-locking
7key_buffer_size = 256M
8max_allowed_packet = 1M
9table_open_cache = 256
10sort_buffer_size = 1M
11read_buffer_size = 1M
12read_rnd_buffer_size = 4M
13myisam_sort_buffer_size = 64M
14thread_cache_size = 8
15query_cache_size= 16M
16
17#这里是我们修改的内容
18basedir=E:/mysql-build
19datadir=E:/mysql-build/data
20
21#Server=L:/mysql-noinstall-5.1.62-win32/bin/mysqld-nt.exe
22
23# Don't listen on a TCP/IP port at all. This can be a security enhancement,
24# if all processes that need to connect to mysqld run on the same host.
25# All interaction with mysqld must be made via Unix sockets or named pipes.
26# Note that using this option without enabling named pipes on Windows
27# (via the "enable-named-pipe" option) will render mysqld useless!
28#
29#skip-networking
30# Replication Master Server (default)
31# binary logging is required for replication
32log-bin=mysql-bin
33# binary logging format - mixed recommended
34binlog_format=mixed
35# required unique id between 1 and 2^32 - 1
36# defaults to 1 if master-host is not set
37# but will not function as a master if omitted
38server-id = 1
39# Replication Slave (comment out master section to use this)
40#
41# To configure this host as a replication slave, you can choose between
42# two methods :
43#
44# 1) Use the CHANGE MASTER TO command (fully described in our manual) -
45# the syntax is:
46#
47# CHANGE MASTER TO MASTER_HOST=<host>, MASTER_PORT=<port>,
48# MASTER_USER=<user>, MASTER_PASSWORD=<password> ;
49#
50# where you replace <host>, <user>, <password> by quoted strings and
51# <port> by the master's port number (3306 by default).
52#
53# Example:
54#
55# CHANGE MASTER TO MASTER_HOST='125.564.12.1', MASTER_PORT=3306,
56# MASTER_USER='joe', MASTER_PASSWORD='secret';
57#
58# OR
59#
60# 2) Set the variables below. However, in case you choose this method, then
61# start replication for the first time (even unsuccessfully, for example
62# if you mistyped the password in master-password and the slave fails to
63# connect), the slave will create a master.info file, and any later
64# change in this file to the variables' values below will be ignored and
65# overridden by the content of the master.info file, unless you shutdown
66# the slave server, delete master.info and restart the slaver server.
67# For that reason, you may want to leave the lines below untouched
68# (commented) and instead use CHANGE MASTER TO (see above)
69#
70# required unique id between 2 and 2^32 - 1
71# (and different from the master)
72# defaults to 2 if master-host is set
73# but will not function as a slave if omitted
74#server-id = 2
75#
76# The replication master for this slave - required
77#master-host = <hostname>
78#
79# The username the slave will use for authentication when connecting
80# to the master - required
81#master-user = <username>
82#
83# The password the slave will authenticate with when connecting to
84# the master - required
85#master-password = <password>
86#
87# The port the master is listening on.
88# optional - defaults to 3306
89#master-port = <port>
90#
91# binary logging - not required for slaves, but recommended
92#log-bin=mysql-bin
93# Uncomment the following if you are using InnoDB tables
94#innodb_data_home_dir = C:\\mysql\\data\\
95#innodb_data_file_path = ibdata1:10M:autoextend
96#innodb_log_group_home_dir = C:\\mysql\\data\\
97# You can set .._buffer_pool_size up to 50 - 80 %
98# of RAM but beware of setting memory usage too high
99#innodb_buffer_pool_size = 256M
100#innodb_additional_mem_pool_size = 20M
101# Set .._log_file_size to 25 % of buffer pool size
102#innodb_log_file_size = 64M
103#innodb_log_buffer_size = 8M
104#innodb_flush_log_at_trx_commit = 1
105#innodb_lock_wait_timeout = 50
106[mysqldump]
107quick
108max_allowed_packet = 16M
109[mysql]
110no-auto-rehash
111# Remove the next comment character if you are not familiar with SQL
112#safe-updates
113[myisamchk]
114key_buffer_size = 128M
115sort_buffer_size = 128M
116read_buffer = 2M
117write_buffer = 2M
118[mysqlhotcopy]
119interactive-timeout
之后,命令行输入:
mysqld --initialize
这个命令初始化你指定的数据目录下的数据(就是一些预设表),并且在目录下的.err文件中告诉你初始密码。
嗯,然后就可以启动啦
mysqld
这个是个阻塞进程,不要退出。
然后在VS中选择调试->附加到进程,选择你的mysqld进程(在data目录的pid文件可以看到PID),就可以开始调试啦。
启动mysqld可能会报错:
1Assertion failed: 0, file D:\CProject\mysql-server\sql\mysqld.cc, line 4283
2R6010
3- abort() has been called
404:23:42 UTC - mysqld got exception 0x80000003 ;
5This could be because you hit a bug. It is also possible that this binary
6or one of the libraries it was linked against is corrupt, improperly built,
7or misconfigured. This error can also be caused by malfunctioning hardware.
8Attempting to collect some information that could help diagnose the problem.
9As this is a crash and something is definitely wrong, the information
10collection process might fail.
11
12key_buffer_size=0
13read_buffer_size=131072
14max_used_connections=0
15max_threads=151
16thread_count=0
17connection_count=0
18It is possible that mysqld could use up to
19key_buffer_size + (read_buffer_size + sort_buffer_size)*max_threads = 59879 K  b
20ytes of memory
21Hope that's ok; if not, decrease some variables in the equation.
22
23Thread pointer: 0x0
24Attempting backtrace. You can use the following information to find out
25where mysqld died. If you see no messages after this, something went
26terribly wrong...
2713ff45385    mysqld.exe!my_sigabrt_handler()[my_thr_init.c:449]
2814073f4df    mysqld.exe!raise()[winsig.c:594]
2914073c3f0    mysqld.exe!abort()[abort.c:82]
30140724d58    mysqld.exe!_wassert()[assert.c:156]
3113f1c5177    mysqld.exe!test_lc_time_sz()[mysqld.cc:4283]
3213f1c5511    mysqld.exe!win_main()[mysqld.cc:4536]
3313f1c6067    mysqld.exe!mysql_service()[mysqld.cc:5035]
3413f1c693f    mysqld.exe!mysqld_main()[mysqld.cc:5233]
3513f1b803f    mysqld.exe!main()[main.cc:26]
3614071f19c    mysqld.exe!__tmainCRTStartup()[crt0.c:255]
3714071f2de    mysqld.exe!mainCRTStartup()[crt0.c:165]
3876c45a4d    kernel32.dll!BaseThreadInitThunk()
3976d7b831    ntdll.dll!RtlUserThreadStart()
40The manual page at http://dev.mysql.com/doc/mysql/en/crashing.html contains
41information that should help you find out what is causing the crash.
其实是一个DEBUG的断言错误,将sql\mysqld.cc第4283行的DBUG_ASSERT(0);改成DBUG_ASSERT(1);就行了
调试断点设置举例:
比如说查询语句断点,设在:
sql/sql_select.cc的
bool handle_query(THD *thd, LEX *lex, Query_result *result,
ulonglong added_options, ulonglong removed_options)这个函数;