
2021.2.24 更新
1 概述
这是Spring Boot的第二个Demo,一个只有三层架构的极简Web应用,持久层使用的是MyBatis。
2 架构
一个最简单的Spring Boot Web应用分为三层:
Controller层:负责具体业务流程的控制,调用Service层来控制业务逻辑Service层:业务逻辑层,真正执行业务的操作,比如获取用户信息等Dao层:负责数据持久化,在这一层中与各种数据库,比如MySQL、Oracle等打交道
先来简单说一下三层所使用到的注解。
2.1 Controller层
Controller层也是入口层,一般涉及如下注解:
@Controller:@Controller是经典的Controller层注解,@Controller标识的类代表该类是控制器类@RequestMapping:使用@RequestMapping可以对请求进行映射,可以注解在类上或者方法上,在类上的话表示该类所有的方法都是以该地址作为父地址,在方法上就表示可以映射对应的请求到该方法上@GetMapping/@PostMapping:这两者实际上是@RequestMapping对应不同方法的简化版,因为@RequestMapping有一个method属性,如果该method指定为GET那么就相当于@GetMapping,如果指定为POST就相当于@PostMapping@ResponseBody:作用在方法上,将返回的数据进行可能的转换(取决于请求头,转换为JSON或XML等等,默认的情况下比如单纯字符串就直接返回),比如返回语句为return "success";,如果加上了@ResponseBody就直接返回success,如果不加上就会跳转到success.jsp页面@RequestParm:处理Contrent-Type为application/x-www-form-urlencoded的内容,可以接受简单属性类型或者对象,支持GET+POST@RequestBody:处理Content-Type不为application/x-www-form-urlencoded的内容(也就是需要指定Content-Type),不支持GET,只支持POST@PathVariable:可以将占位符的参数传入方法参数,比如/path/1,可以将1传入方法参数中@PathParm:与@RequestParm一样,一般使用@RequestParm@RestController:相当于@Controller+@ResponseBody
2.2 Service层
Service层用于执行主要的业务逻辑,主要就是下面这个注解:
@Serice:是一个增强型的@Component,@Component表示一个最普通的组件,可以被注入到Spring容器进行管理,而@Service是专门用于处理业务逻辑的注解,@Controller类似,也是一个增强型的@Component,专门用于Controller层的处理
2.3 Dao层
Dao是数据持久层,这里进行数据持久化的操作,一般加上@Repository即可:
@Repository:也是一个增强型的@Component,注解在持久层中,具有将具体数据库抛出的异常转为Spring持久层异常的功能
讲完注解了下面就开始实践一下。
3 实践
3.1 新建项目
选择如下依赖:
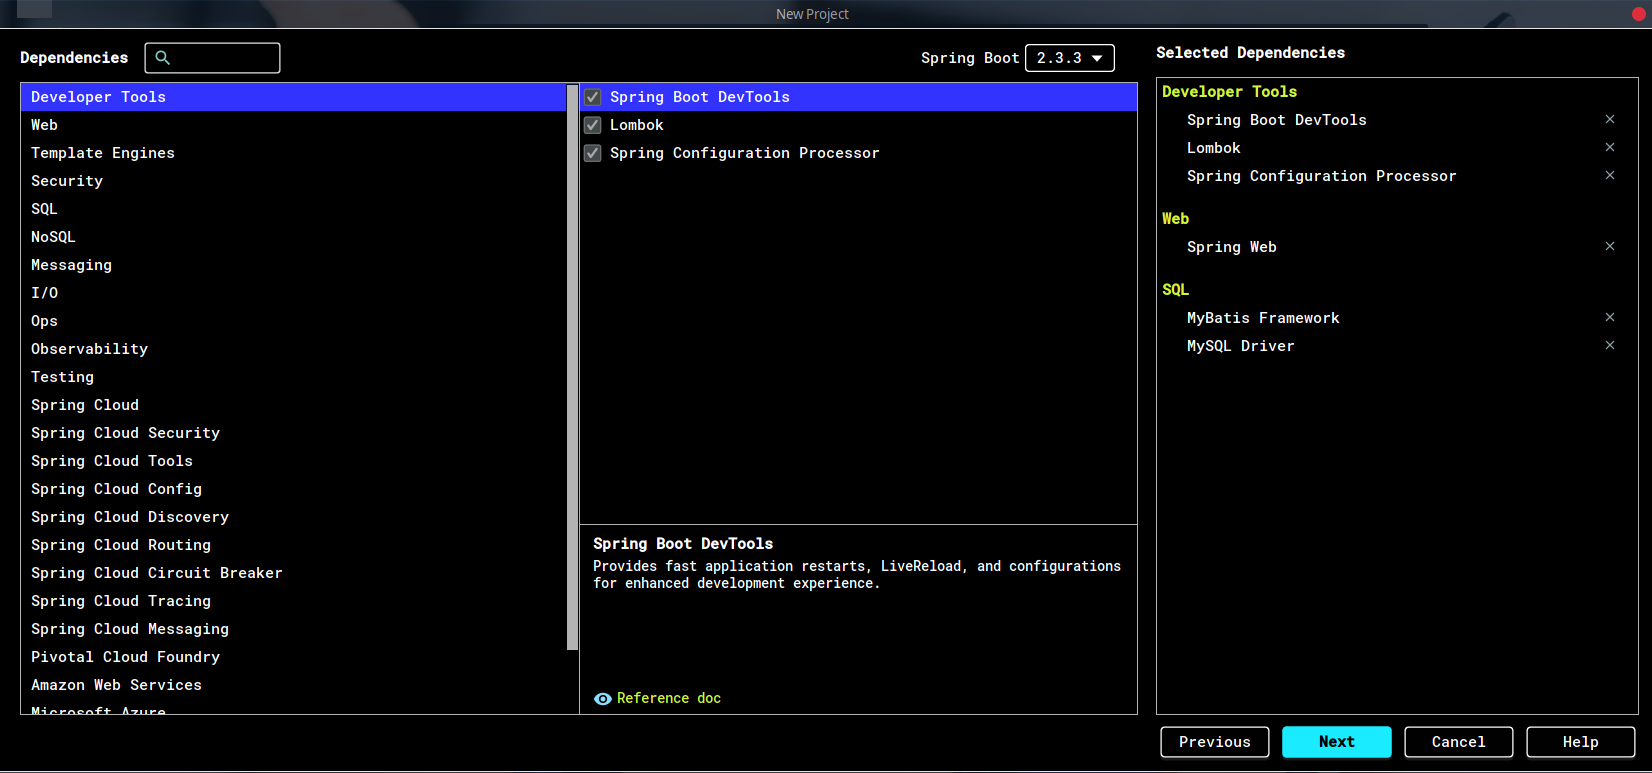
Lombok能简化代码,推荐使用,并且需要IDEA安装插件。ORM框架这里选择MyBatis。
3.2 新建包
新建如下四个包:
controllerdaoentityserviceconfig

3.3 Controller层
3.3.1 简单Controller
在controller包下新建Controller.java:
1@RestController
2@RequestMapping("/")
3public class Controller {
4    @GetMapping("test")
5    public String testMethod()
6    {
7        return "test controller";
8    }
9}
运行之后,如果出现如下错误:
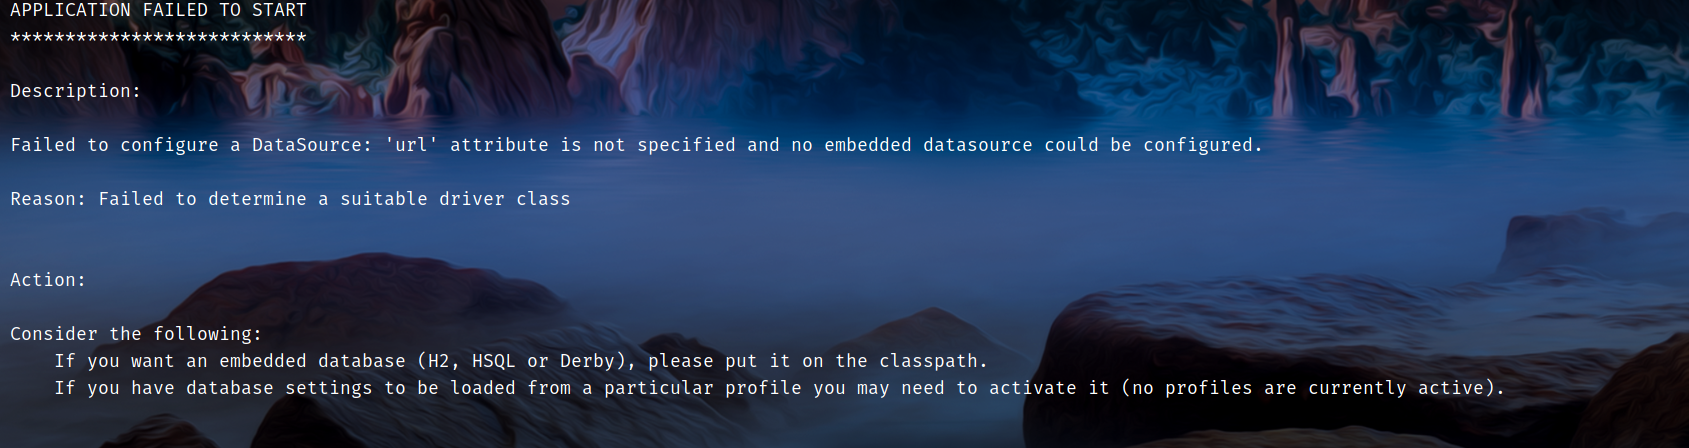
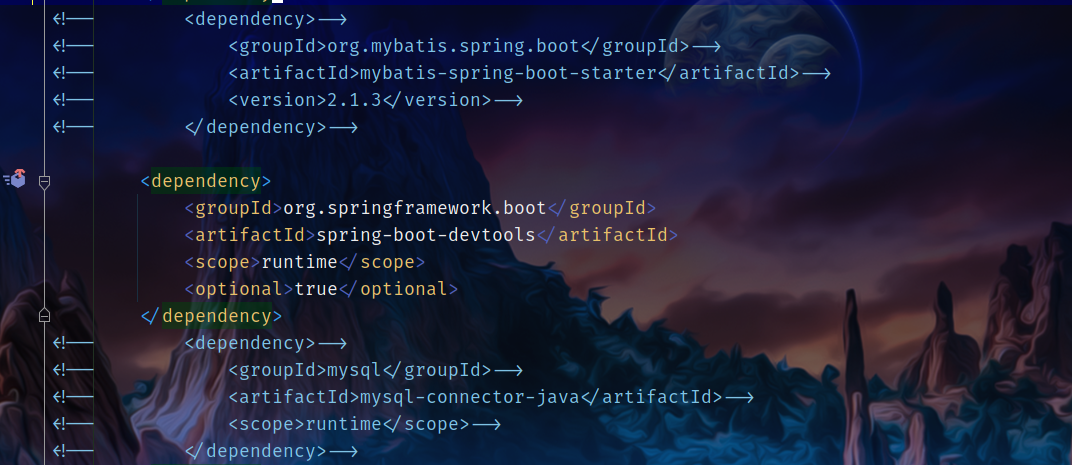
这是因为没有配置数据源,可以先把MySQL和MyBatis的依赖删去:
运行之后在浏览器输入localhost:8080/test会返回test controller:
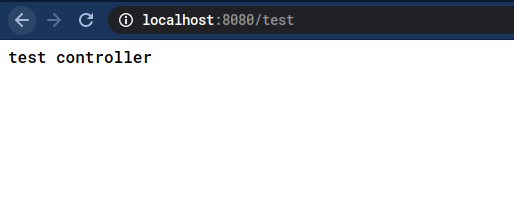
这样一个最简单的Controller就完成了。
3.3.2 @RequestParm
然后下一步是添加参数,可以考虑使用@RequestParm添加:
1@GetMapping("withParm")
2public String withParm(@RequestParam String id)
3{
4    return "id:"+id;
5}
这样直接访问localhost:8080/withParm是不行的,因为没有携带id参数:
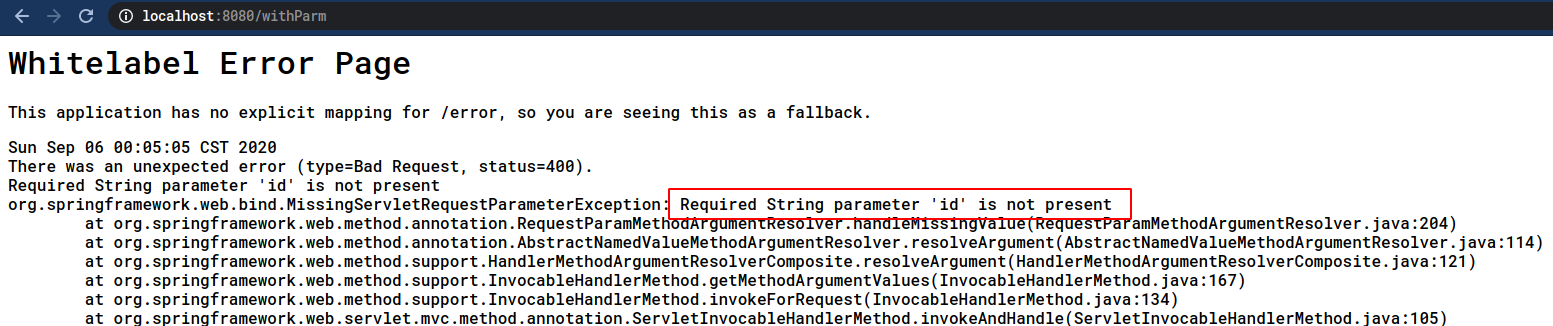
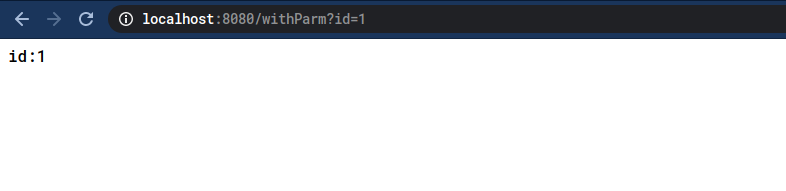
加入参数即可,也就是localhost:8080/withParm?id=1:
3.3.3 @PathVariable
另一种添加参数的方式是使用@PathVariable:
1@GetMapping("path1/{id}")
2public String path1(@PathVariable("id") String id)
3{
4    return "id:"+id;
5}
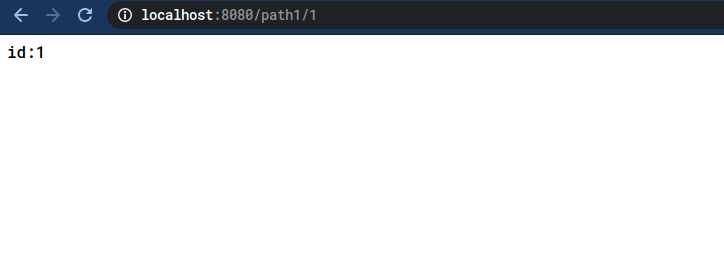
这样不是加入?id=xx,而是直接加入占位符,比如localhost:8080/path1/1:
3.3.4 完整CURD
这里是一个完整的CRUD示例:
1@RestController
2@RequestMapping("/")
3@CrossOrigin("http://localhost:3000")
4@RequiredArgsConstructor(onConstructor = @__(@Autowired))
5public class CRUDController {
6    private final Service service;
7
8    @PostMapping("save")
9    public boolean save(@RequestBody User user)
10    {
11        return service.save(user);
12    }
13
14    @GetMapping("delete")
15    public boolean delete(@RequestParam String id)
16    {
17        return service.delete(id);
18    }
19
20    @GetMapping("select")
21    public User select(@RequestParam String id)
22    {
23        return service.select(id);
24    }
25
26    @GetMapping("selectAll")
27    public List<User> selectAll()
28    {
29        return service.selectAll();
30    }
31
32}
注解基本上都在上面说过了,除了下面两个:
@RequiredArgsConstrutcor:这个是Lombok的注解,用来消除直接使用@Autowired出现的警告@CrossOrgin:跨域注解,由于笔者使用Postwoman测试,默认运行端口为3000,因此需要加上该注解,使用Postman测试则不需要
3.4 Service层
1@org.springframework.stereotype.Service
2@RequiredArgsConstructor(onConstructor = @__(@Autowired))
3public class Service {
4    private final UserMapper mapper;
5
6    public boolean save(User user)
7    {
8        String id = user.getId();
9        User currentUser = select(id);
10        if(currentUser != null)
11            return mapper.update(user) == 1;
12        return mapper.insert(user) == 1;
13    }
14
15    public boolean delete(String id)
16    {
17        return mapper.deleteById(id) == 1;
18    }
19
20    public User select(String id)
21    {
22        return mapper.selectById(id);
23    }
24
25    public List<User> selectAll()
26    {
27        return mapper.selectAll();
28    }
29}
简单的CRUD,调用持久层的方法。
3.5 Dao层
由于使用MyBatis,这里的Dao层只有一个Mapper:
1@Mapper
2@Component
3public interface UserMapper{
4    @Select("select * from user where id=#{id}")
5    User selectById(@Param("id") String id);
6
7    @Select("select * from user")
8    List<User> selectAll();
9
10    int insert(@Param("user") User user);
11
12    int deleteById(@Param("id") String id);
13
14    int update(@Param("user") User user);
15}
select的sql直接写在了上面,剩下的sql语句写在了xml配置文件,另外@Mapper注解表示在编译后生成对应的接口实现类。
3.6 实体类
1@Data
2@AllArgsConstructor
3public class User {
4    private String id;
5    private String username;
6    private String password;
7    @Override
8    public String toString()
9    {
10        return "id:"+id+"\n"+"username"+username+"\npassword"+password+"\n";
11    }
12}
3.7 配置类
1@Configuration
2@MapperScan("com.example.demo.dao")
3public class MyBatisConfig {
4}
@Configuration:定义为配置类@MapperScan:@Mapper的扫描路径
3.8 配置文件
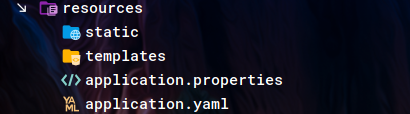
配置文件常用的有properties以及yaml,yaml格式更加简单,这里使用yaml格式:
1spring:
2  datasource:
3    url: jdbc:mysql://127.0.0.1:3306/test
4    username: test
5    password: test
6
7mybatis:
8  configuration:
9    map-underscore-to-camel-case: true
10  mapper-locations: classpath:mappers/*.xml
分别指定数据库链接,数据库用户名以及密码,还有下划线转驼峰命名以及mapper文件的位置。
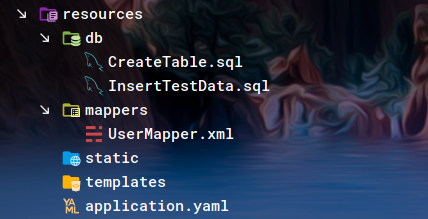
另外还需要创建UserMapper.xml:
1<?xml version="1.0" encoding="UTF-8"?>
2<!DOCTYPE mapper PUBLIC "-//mybatis.org//DTD Mapper 3.0//EN" "http://mybatis.org/dtd/mybatis-3-mapper.dtd">
3<mapper namespace="com.example.demo.dao.UserMapper">
4    <insert id="insert">
5        INSERT INTO `user` (`id`,`username`,`password`)
6        VALUES (#{user.id},#{user.username},#{user.password})
7    </insert>
8
9    <update id="update">
10        UPDATE `user` set `username`=#{user.username} , `password`=#{user.password} where id=#{user.id}
11    </update>
12
13    <delete id="deleteById">
14        DELETE FROM `user` WHERE `id` = #{id}
15    </delete>
16</mapper>
就单纯的sql语句。
另外需要准备建表以及建用户的sql:
1CREATE DATABASE IF NOT EXISTS test;
2
3CREATE USER IF NOT EXISTS 'test'@'localhost' IDENTIFIED BY 'test';
4
5GRANT ALL ON test.* to 'test'@'localhost';
6
7USE test;
8
9CREATE TABLE user
10(
11    id char(10) primary key ,
12    username varchar (30) not null,
13    password varchar (30) not null
14);
测试数据:
1USE test;
2INSERT INTO user(id,username,password) values ('1','username1','password1'),('2','username2','password2');
最终配置文件如下:
4 其他准备
4.1 建库建表建用户
直接执行上面的脚本即可。
4.2 开启服务
使用相应命令开启数据库服务。
5 测试
5.1 单元测试
修改一下自带的测试类即可:
1@SpringBootTest
2@RequiredArgsConstructor(onConstructor = @__(@Autowired))
3class DemoApplicationTests {
4
5    private final Service service;
6
7    @Test
8    void contextLoads() {
9    }
10
11    @Test
12    void select()
13    {
14        System.out.println(service.select("1"));
15    }
16
17    @Test
18    void selectAll()
19    {
20        service.selectAll().forEach(System.out::println);
21    }
22
23//    @Test
24//    void delete()
25//    {
26//        service.delete("3");
27//    }
28
29    @Test
30    void save()
31    {
32        service.save(new User("3","username3","password3"));
33    }
34}
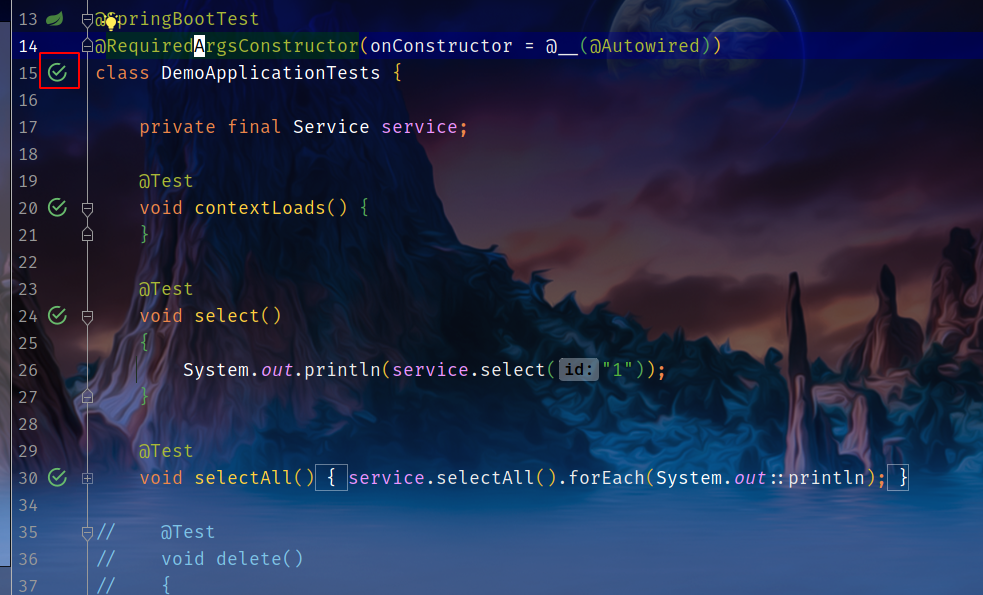
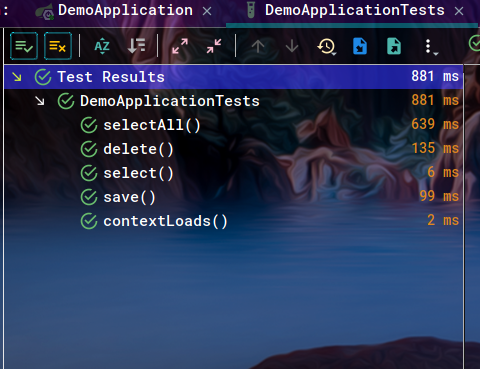
直接点击左边的按钮即可运行,测试通过图如下:
5.2 浏览器测试
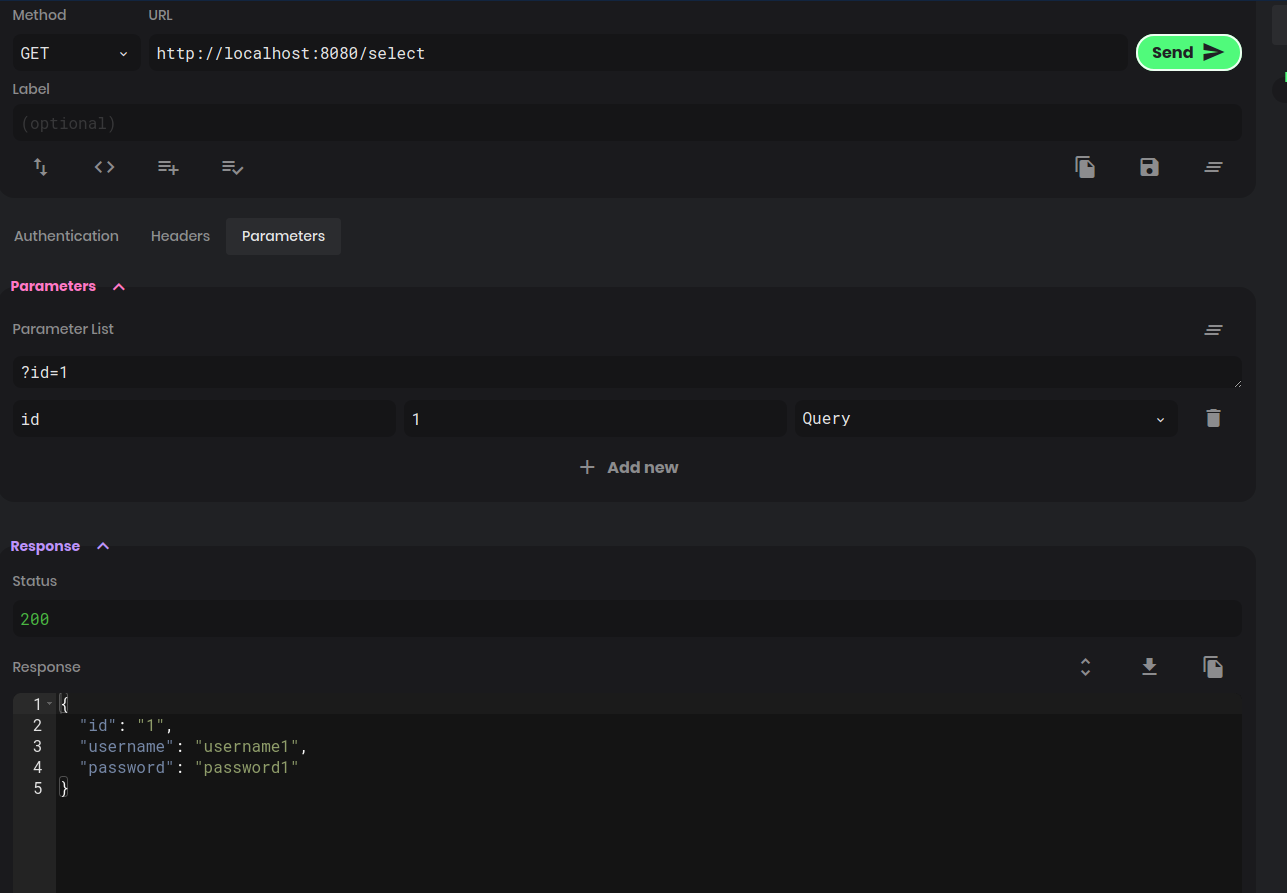
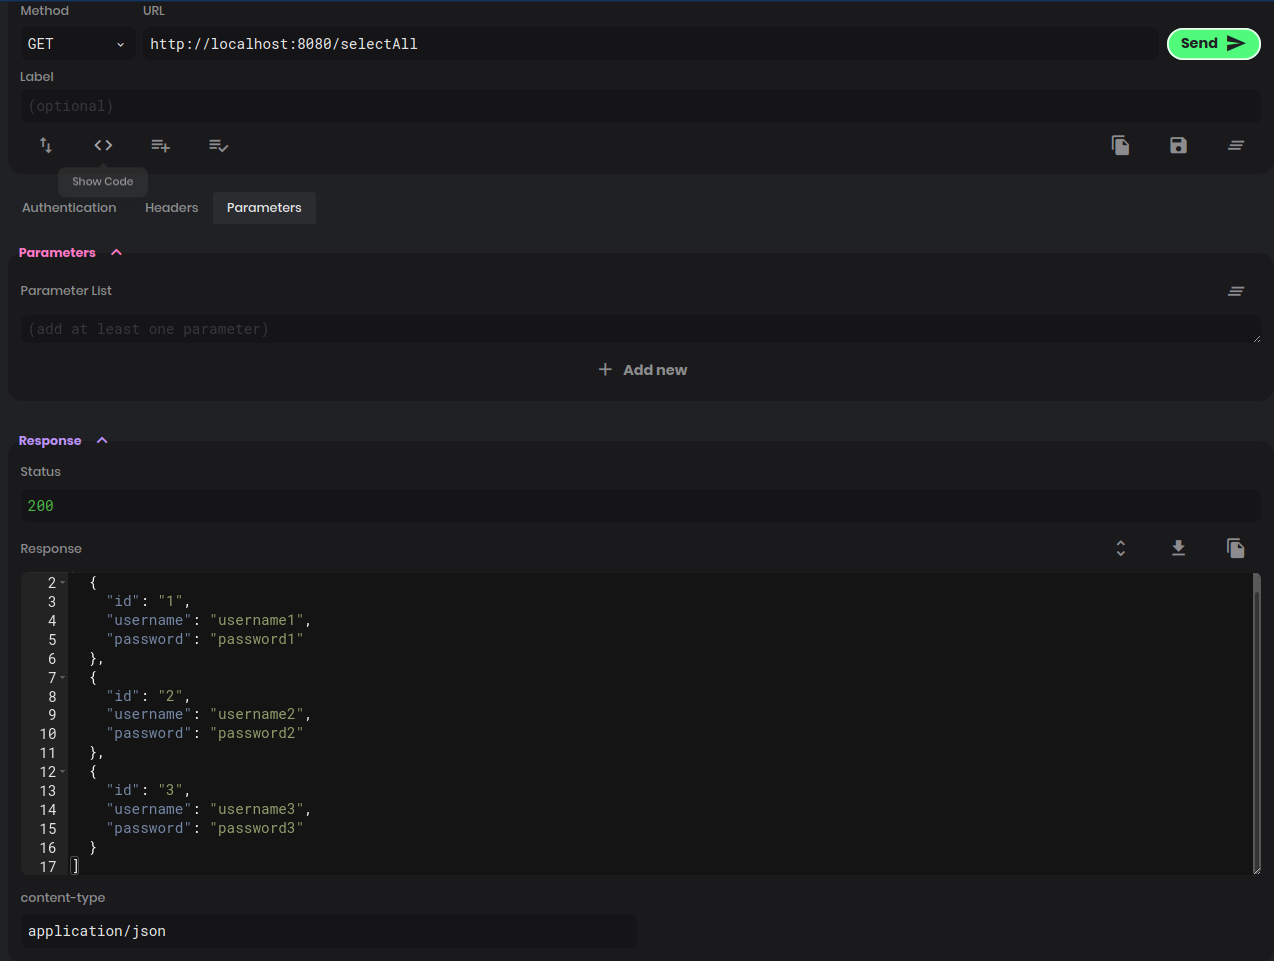
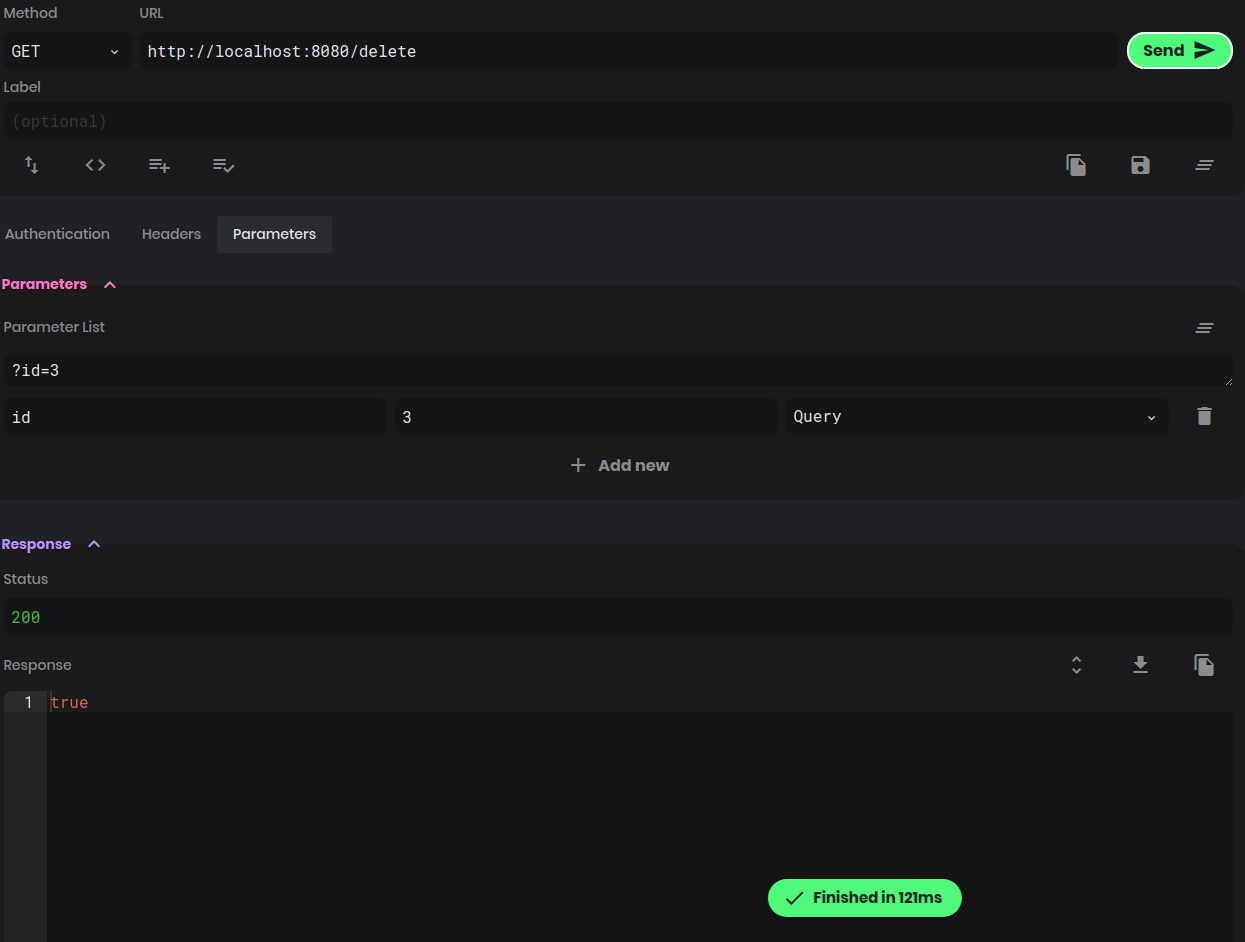
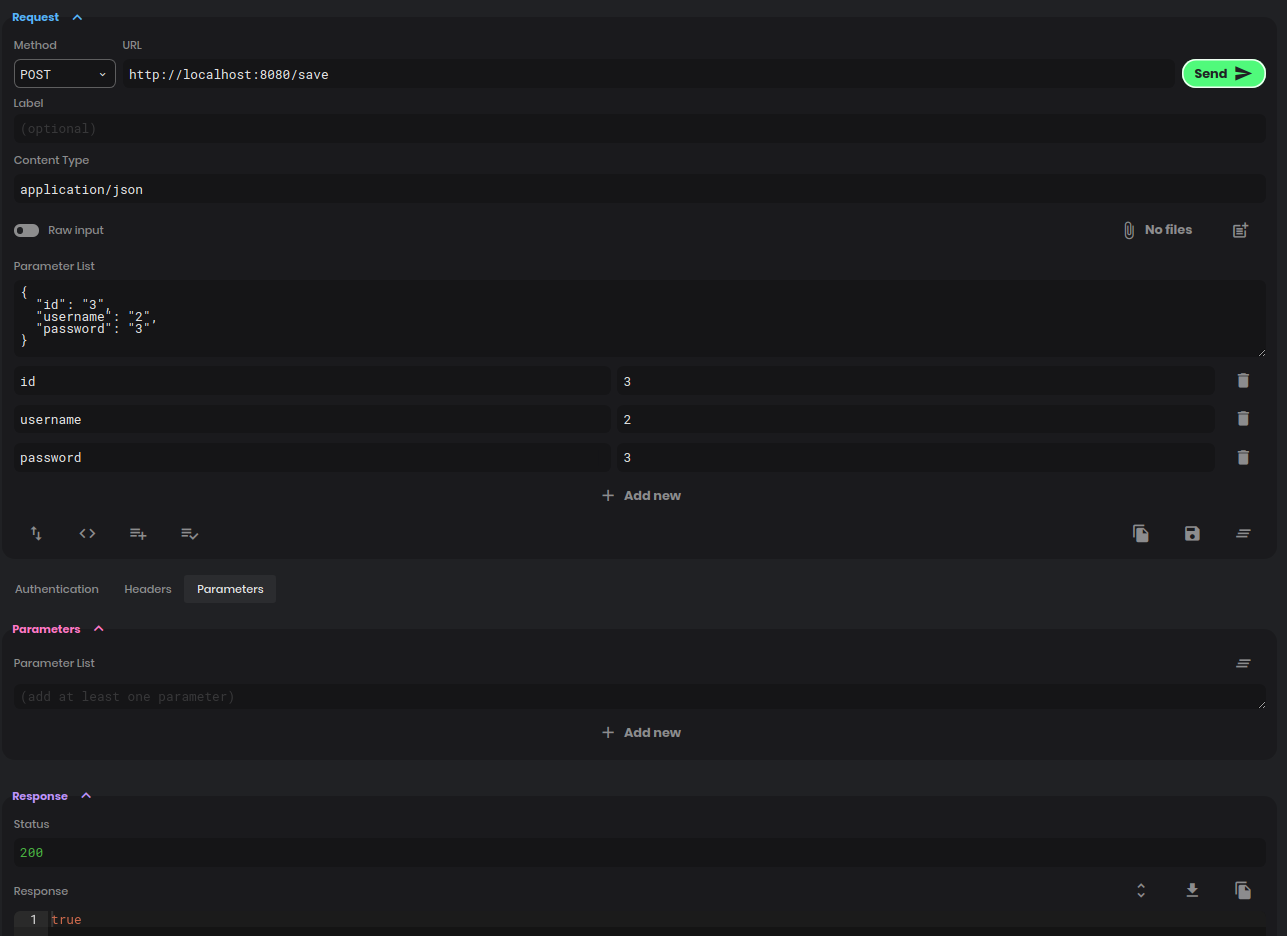
由于没有做前端,这里就使用Postwoman模拟前端测试:
6 源码
Java版:
Kotlin版: