
概述
-
众所周知,一个健全的
App,通常都会有一个SplashPage页面,且该页面一般用于应用(APP)启动时,当然其存在的主要目的是承载:启动页、引导页、广告页、等待页等业务场景。笔者认为,与其说是闪屏页,倒不如叫中转页,怎么个中转法,还请听笔者一一到来... -
这里笔者借助以
Flutter实现微信App登录的逻辑,以点带面来讲讲SplashPage页面产生的原因和作用,SplashPage页面如何实现上面👆提到的几种常用的业务场景。希望大家能够举一反三,能够更好的妙用SplashPage页,从而更好的实现所需功能,以及提高用户的体验。 -
源码地址:flutter_wechat
场景
启动页 | 引导页 |
|---|---|
 |
splash_page_0.png
|
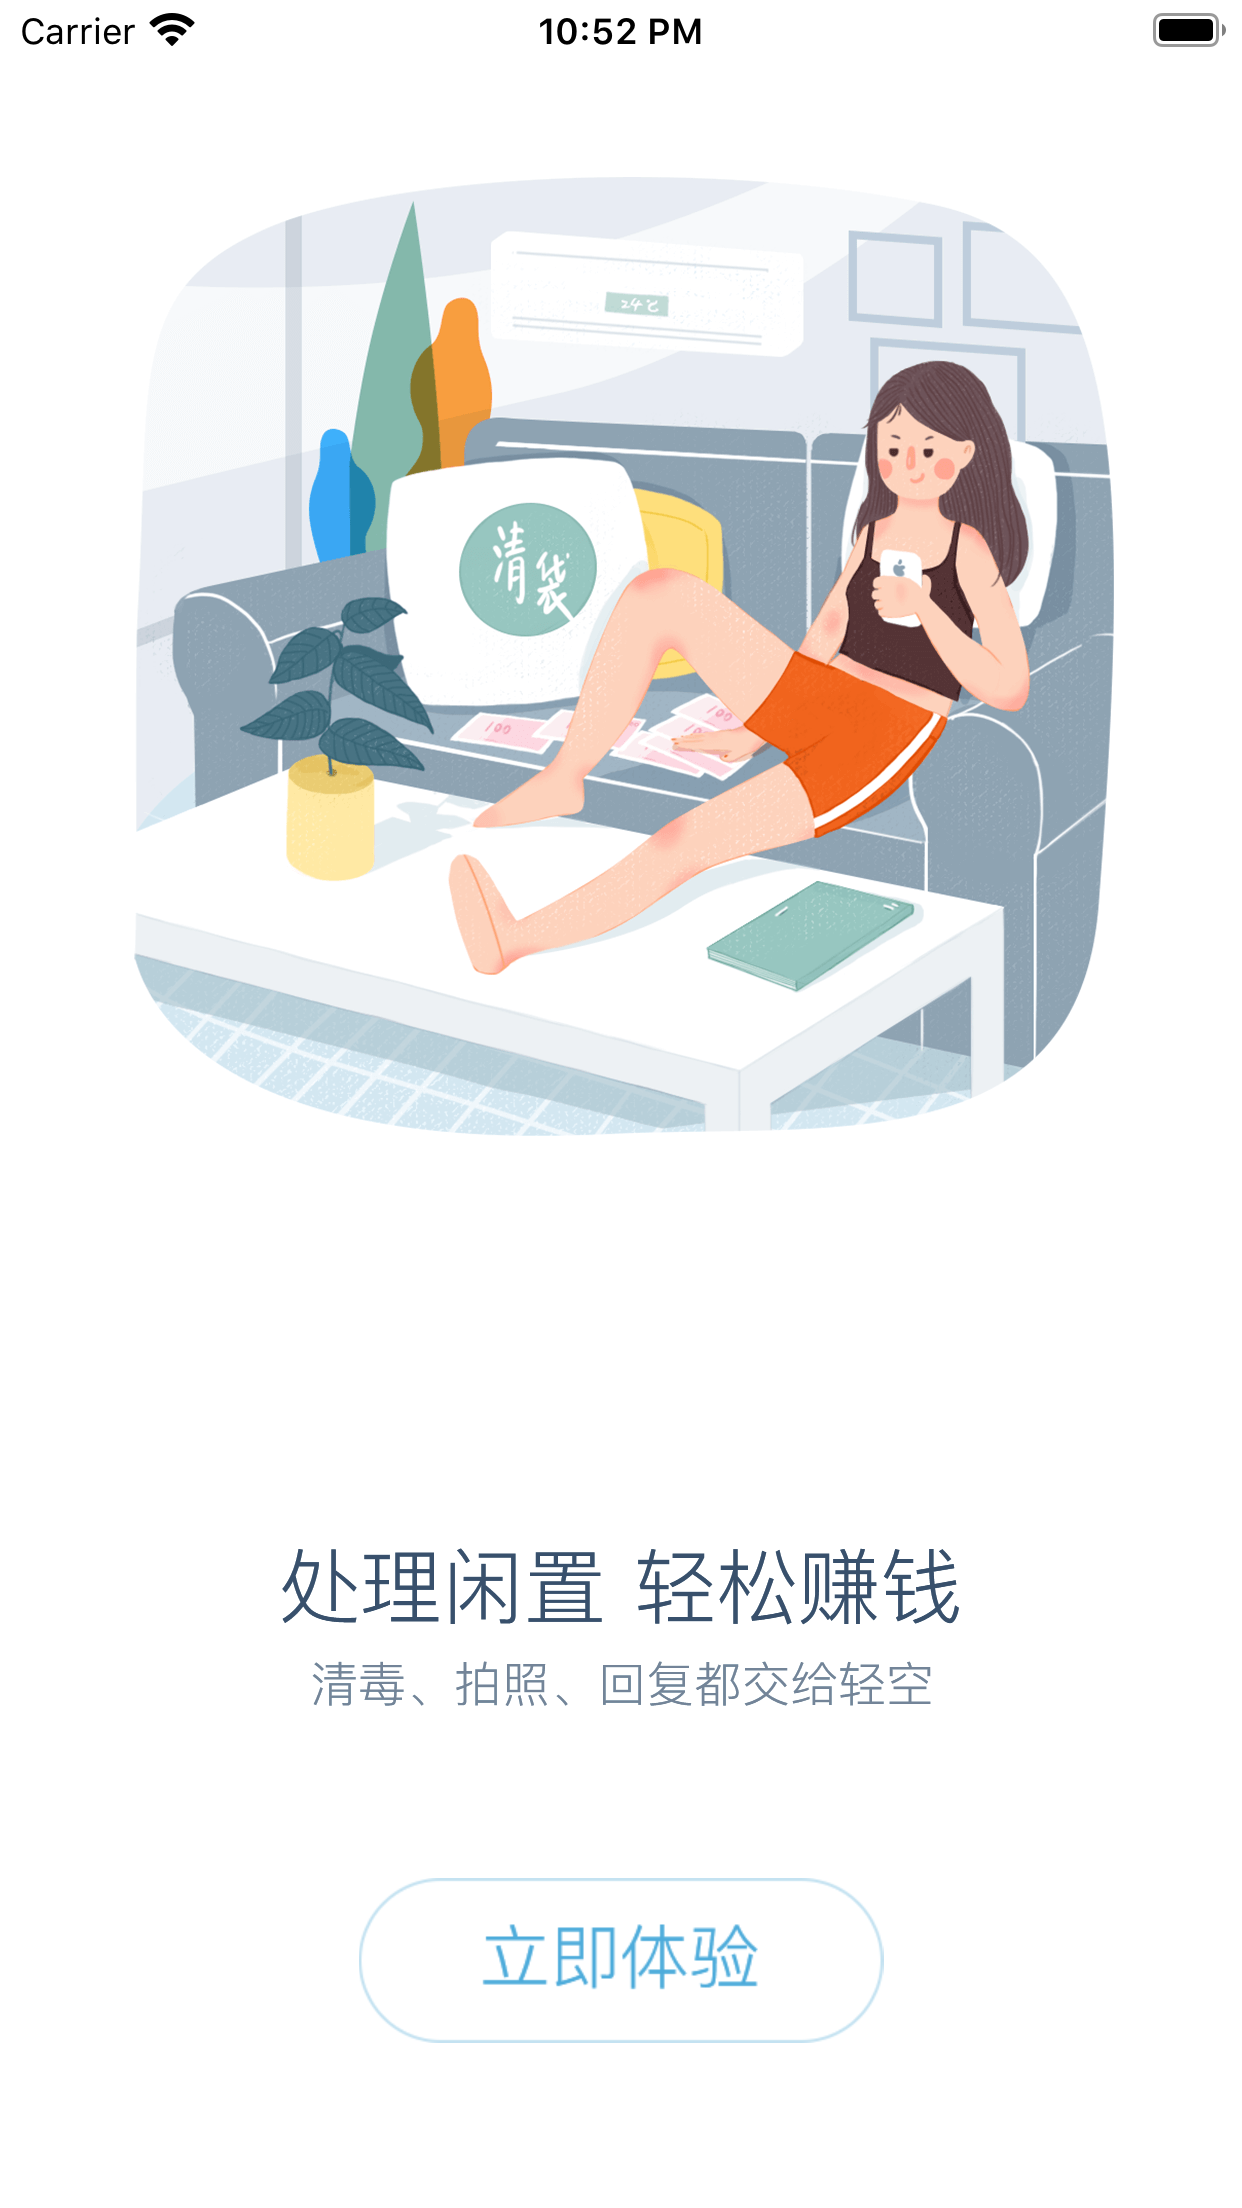
splash_page_1.png
|
| 广告页 | 主页 |
|
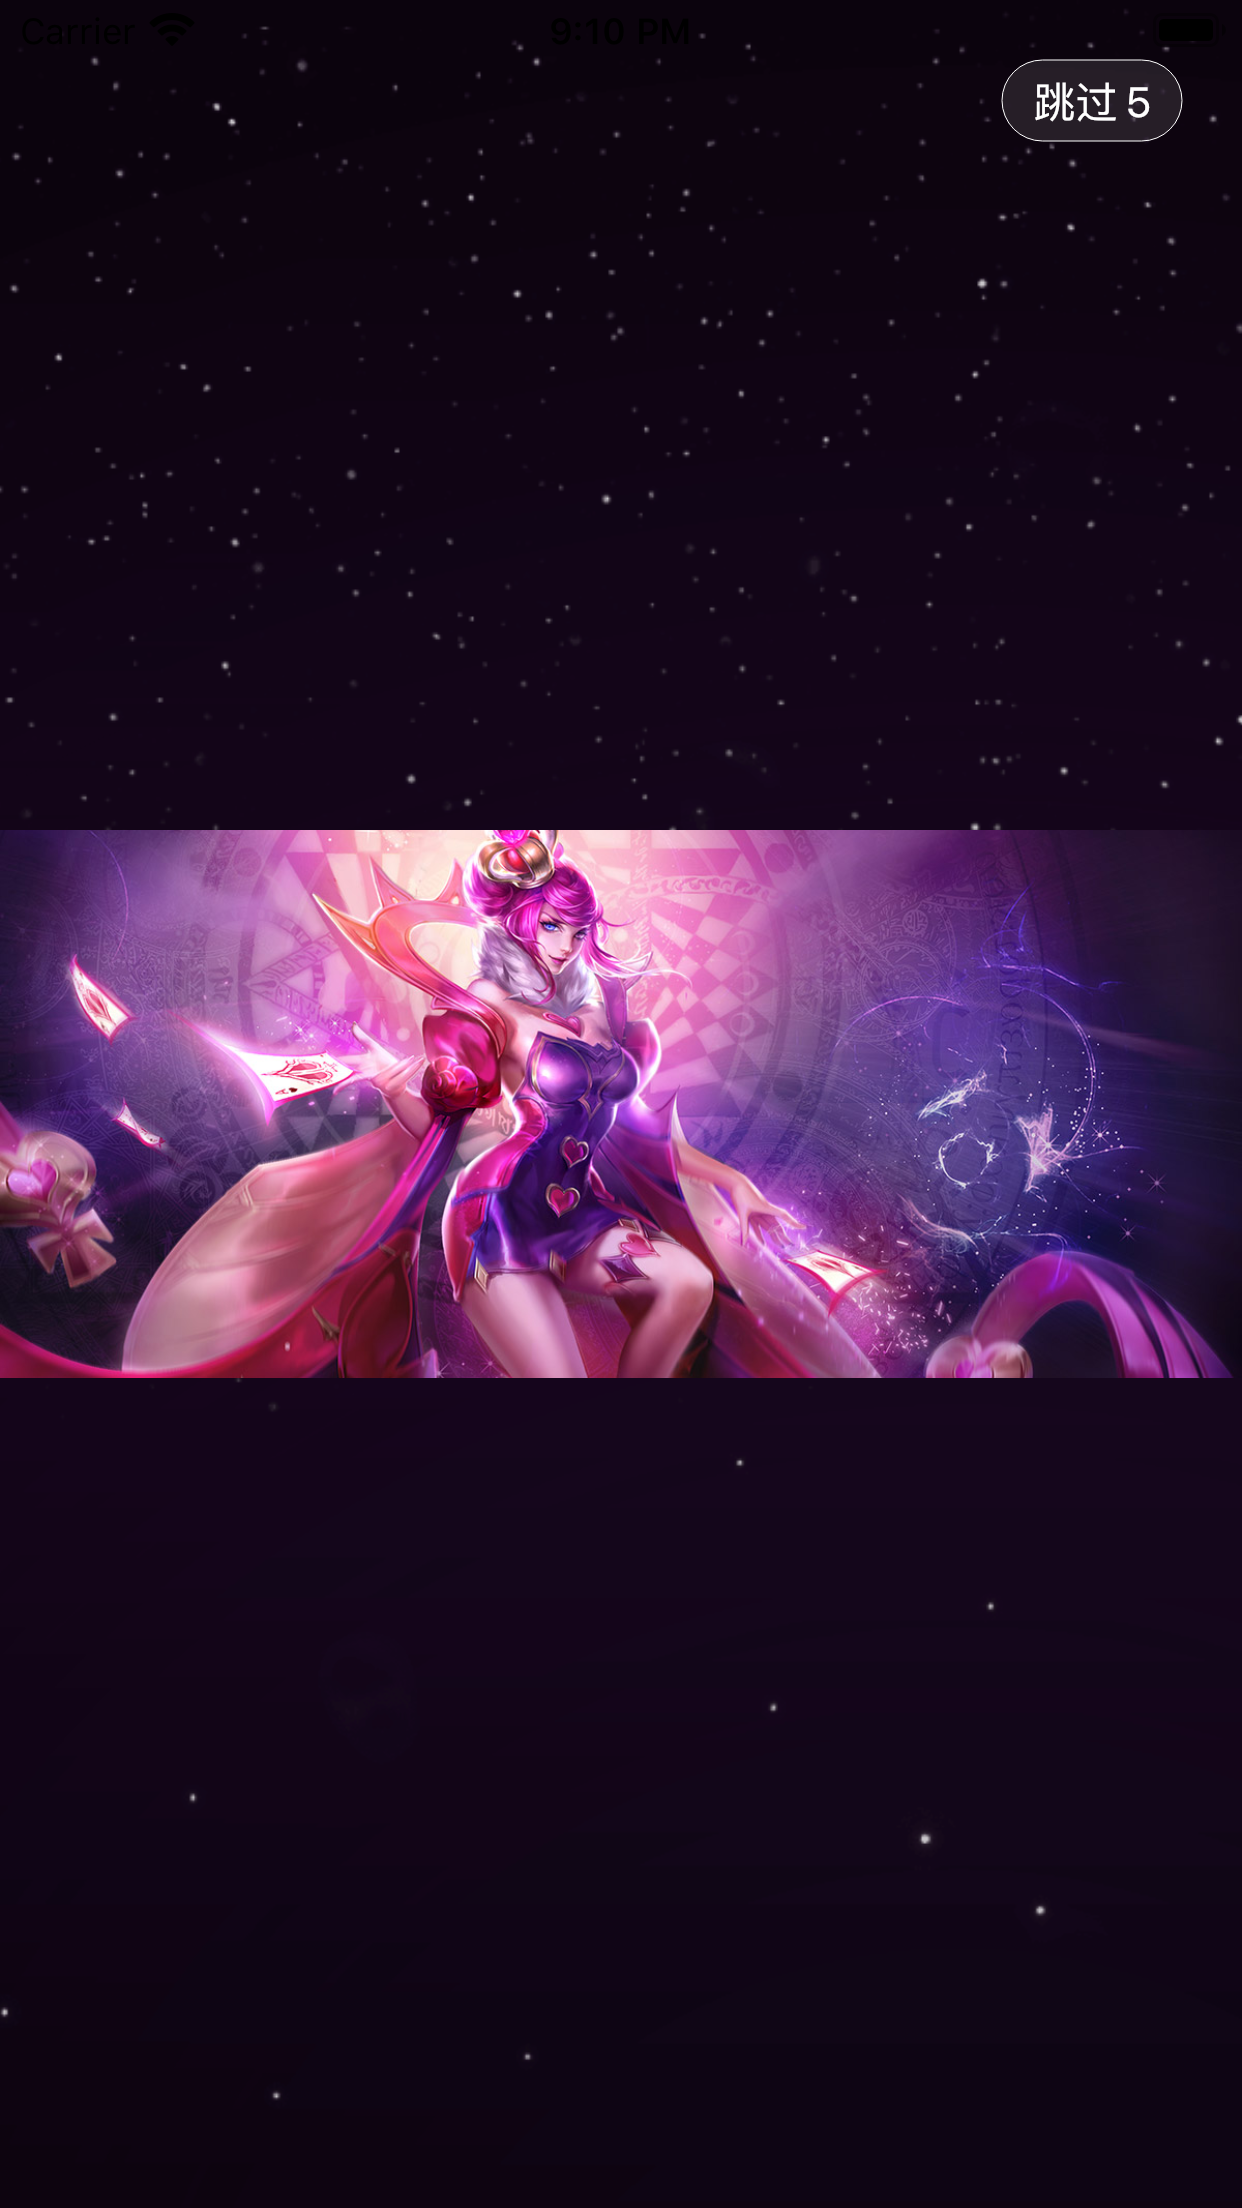
splash_page_2.png
|
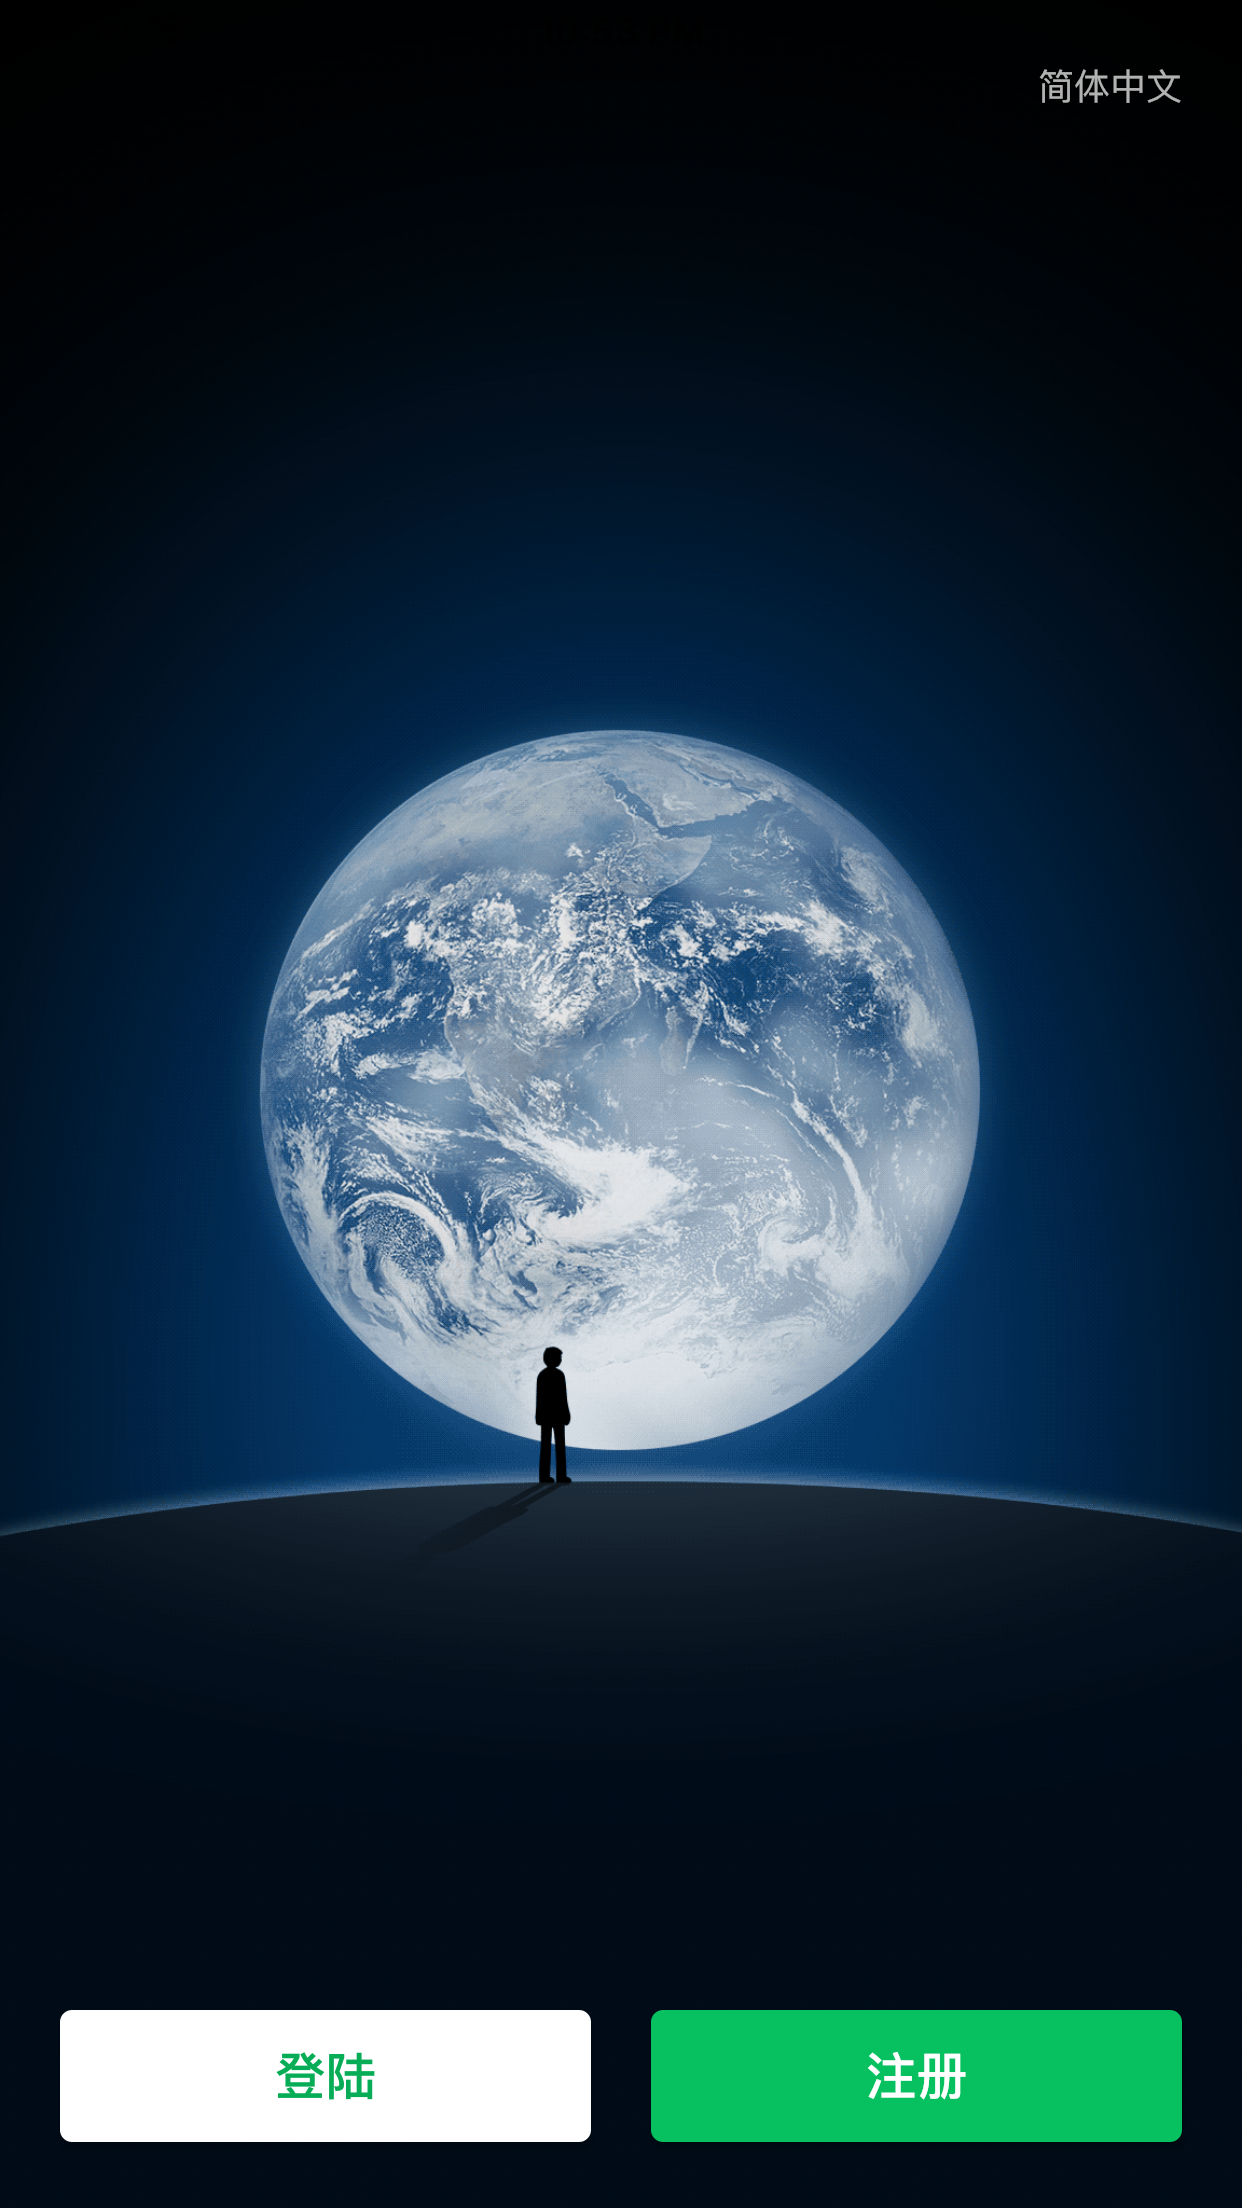
splash_page_3.png
|
由来
上面提到过,闪屏页只是外界一种通俗的说法,但其本质就是用来中转或转场的。比如现实场景中,程序一旦启动,我们可能需要:读取本地的用户数据,读取文件存储的(广告)图片,请求token是否失效,请求一些公有数据,内存缓存... ,众所周知,这些操作场景都是比较耗时的,且一般我们都是异步去处理的,以及有时候我们必须等这些耗时操作返回数据后,才能进行下一步操作。
当然,闪屏页就是为了解决耗时异步的场景而闪亮登场的。其目的就是:利用闪屏页,友好的来等待异步耗时数据的返回,根据数据返回丝滑的过渡到目标页面,从而增大用户体验。
这里笔者就拿程序一旦启动,读取本地用户信息(耗时),根据用户信息有无,来显示不同界面(主页或登录)的常见场景,进一步来说明闪屏页的妙用。
伪代码如下:
1// 获取用户数据 耗时操作 异步请求
2await final userInfo = _fetchUserInfo();
3if (userInfo != null) {
4  // 有用户数据,跳转到主页
5} else {
6  // 没有用户数据,跳转到登录页
7}
方案一:main函数处理
伪代码如下:
1void main() async {
2  // 获取用户数据
3  await final userInfo = _fetchUserInfo();
4  if (userInfo != null) {
5    // 有用户数据,跳转到主页
6  } else {
7    // 没有用户数据,跳转到登录页
8  }
9}
**优点:**无需增加闪屏页(中转页),代码逻辑比较清晰
**缺点:**只适合耗时比较短的异步请求(100ms之内),否则程序一启动,会有肉眼可见的卡顿,影响用户体验。
方案二:闪屏页处理
程序一启动,立即切换到闪屏页,闪屏页初始化的时候异步获取用户数据,且闪屏页默认展示跟iOS或Android一致的启动页,从而迷惑用户认为App正常启动的错觉,从而无形之中提高了用户的体验。
一旦耗时的数据异步返回了,然后再去丝滑的切换页面。
代码实现如下:
1// SplashPage.dart
2class _SplashPageState extends State<SplashPage>{
3  @override
4  void initState() {
5    super.initState();
6    // 初始化
7    initAsync();
8  }
9
10  // 异步初始化
11  void initAsync() async {
12    // 获取用户数据
13    await final userInfo = _fetchUserInfo();
14    if (userInfo != null) {
15      // 有用户数据,跳转到主页
16    } else {
17      // 没有用户数据,跳转到登录页
18    }
19  }
20
21  @override
22  Widget build(BuildContext context) {
23    // 返回启动页
24    return LaunchImage()
25  }
26}
**优点:**极大的增强了用户体验,且拓展性强,以此可以衍生出引导页、广告页...等常见业务场景,下面会一一说到。
综上所述,侧面验证了,闪屏页一般是用来友好的等待异步耗时的数据返回,根据数据返回丝滑的过渡到目标页面,从而极大的增强用户体验而产生。
用途
闪屏页在现实场景中,使用是非常广泛的,笔者相信一款正常的App都会使用到闪屏页,且大多数用于程序启动时启动页、引导页、广告页、等待页等业务场景。
这里笔者借用实现微信App启动的逻辑,来阐述一下闪屏页的用途,希望大家能够举一反三,能够将其用于现实的开发场景中去。
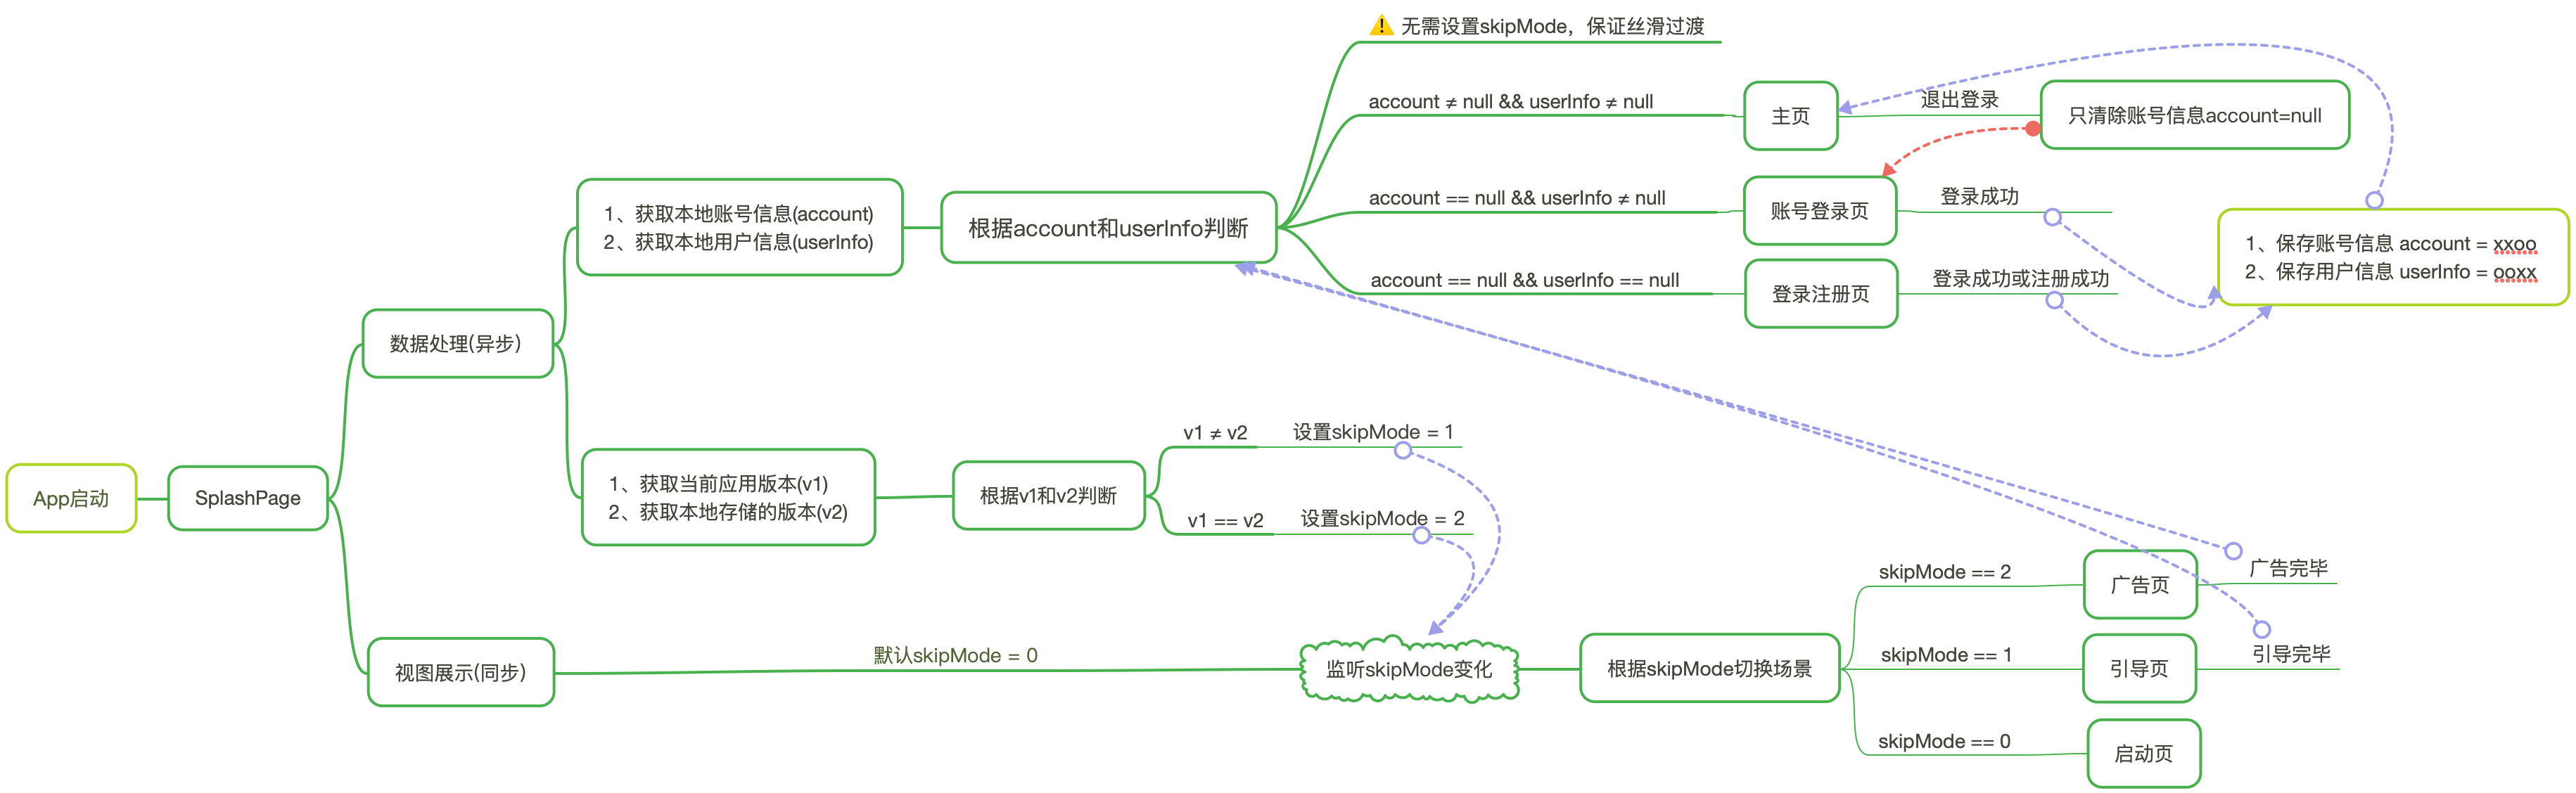
微信启动逻辑图(开局一张图,内容全靠编...)
微信登录.png
上面就是笔者整理的微信登陆逻辑,大家可以打开你手机上的微信App,逐个验证各个逻辑。当然微信是没有广告页的,笔者这里增加广告逻辑只是为了满足业界通用App的逻辑罢了,微信的做法是:v1 == v2 => 根据account和userInfo判断 => 切换页面,可见,微信的登陆比上面逻辑图更简单,这里笔者就不一一赘述了。
其次,笔者相信,上面的逻辑图,应该能满足业界80%以上的app启动逻辑,大家如果有任何疑问或者有更好的解决方案,欢迎留言交流,谢谢。
最后,相信有了逻辑图,大家写起代码也比较胸有成竹了,也希望大家在写代码之前,先写好流程图,避免像无头苍蝇一样,毫无目标性。记住:在错误的道路上,停止就是前进!
代码
1/// 闪屏跳转模式 2enum MHSplashSkipMode { 3 newFeature, // 新特性(引导页) 4 login, // 登陆 5 currentLogin, // 账号登陆 6 homePage, // 主页 7 ad, // 广告页 8} 9 10/// 闪屏界面主要用来中转(新特性界面、登陆界面、主页面) 11class SplashPage extends StatefulWidget { 12 SplashPage({Key key}) : super(key: key); 13 _SplashPageState createState() => _SplashPageState(); 14} 15 16class _SplashPageState extends State<SplashPage> { 17 /// 跳转方式 18 MHSplashSkipMode _skipMode; 19 20 /// 定时器相关 21 TimerUtil _timerUtil; 22 23 /// 计数 24 int _count = 5; 25 26 /// 点击是否高亮 27 bool _highlight = false; 28 29 @override 30 void dispose() { 31 super.dispose(); 32 print('🔥 Splash Page is Over 👉'); 33 // 记得中dispose里面把timer cancel。 34 if (_timerUtil != null) _timerUtil.cancel(); 35 } 36 37 @override 38 void initState() { 39 super.initState(); 40 // 监听部件渲染完 41 /// widget渲染监听。 42 WidgetUtil widgetUtil = new WidgetUtil(); 43 widgetUtil.asyncPrepares(true, (_) async { 44 // widget渲染完成。 45 // App启动时读取Sp数据,需要异步等待Sp初始化完成。必须保证它 优先初始化。 46 await SpUtil.getInstance(); 47 48 // 获取一下通讯录数据,理论上是在跳转到主页时去请求 49 ContactsService.sharedInstance; 50 51 // 读取一下全球手机区号编码 52 ZoneCodeService.sharedInstance; 53 54 /// 获取App信息 55 PackageInfo packageInfo = await PackageInfo.fromPlatform(); 56 // String appName = packageInfo.appName; 57 // String packageName = packageInfo.packageName; 58 String version = packageInfo.version; 59 String buildNumber = packageInfo.buildNumber; 60 61 // 拼接app version 62 final String appVersion = version + '+' + buildNumber; 63 64 // 获取缓存的版本号 65 final String cacheVersion = SpUtil.getString(CacheKey.appVersionKey); 66 67 // 获取用户信息 68 if (appVersion != cacheVersion) { 69 // 保存版本 70 SpUtil.putString(CacheKey.appVersionKey, appVersion); 71 // 更新页面,切换为新特性页面 72 setState(() { 73 _skipMode = MHSplashSkipMode.newFeature; 74 }); 75 } else { 76 // _switchRootView(); 77 setState(() { 78 _skipMode = MHSplashSkipMode.ad; 79 }); 80 // 配置定时器 81 _configureCountDown(); 82 } 83 }); 84 } 85 86 // 切换rootView 87 void _switchRootView() { 88 // 取出登陆账号 89 final String rawLogin = AccountService.sharedInstance.rawLogin; 90 // 取出用户 91 final User currentUser = AccountService.sharedInstance.currentUser; 92 // 跳转路径 93 String skipPath; 94 // 跳转模式 95 MHSplashSkipMode skipMode; 96 if (Util.isNotEmptyString(rawLogin) && currentUser != null) { 97 // 有登陆账号 + 有用户数据 跳转到 主页 98 skipMode = MHSplashSkipMode.homePage; 99 skipPath = Routers.homePage; 100 } else if (currentUser != null) { 101 // 没有登陆账号 + 有用户数据 跳转到当前登陆 102 skipMode = MHSplashSkipMode.currentLogin; 103 skipPath = LoginRouter.currentLoginPage; 104 } else { 105 // 没有登陆账号 + 没有用户数据 跳转到登陆 106 skipMode = MHSplashSkipMode.login; 107 skipPath = LoginRouter.loginPage; 108 } 109 // 这里无需更新 页面 直接跳转即可 110 _skipMode = skipMode; 111 112 // 跳转对应的主页 113 NavigatorUtils.push(context, skipPath, 114 clearStack: true, transition: TransitionType.fadeIn); 115 } 116 117 /// 配置倒计时 118 void _configureCountDown() { 119 _timerUtil = TimerUtil(mTotalTime: 5000); 120 _timerUtil.setOnTimerTickCallback((int tick) { 121 double _tick = tick / 1000; 122 if (_tick == 0) { 123 // 切换到主页面 124 _switchRootView(); 125 } else { 126 setState(() { 127 _count = _tick.toInt(); 128 }); 129 } 130 }); 131 _timerUtil.startCountDown(); 132 } 133 134 @override 135 Widget build(BuildContext context) { 136 /// 配置屏幕适配的 flutter_screenutil 和 flustars 设计稿的宽度和高度(单位px) 137 /// Set the fit size (fill in the screen size of the device in the design) If the design is based on the size of the iPhone6 (iPhone6 750*1334) 138 // 配置设计图尺寸,iphone 7 plus 1242.0 x 2208.0 139 final double designW = 1242.0; 140 final double designH = 2208.0; 141 142 FlutterScreenUtil.ScreenUtil.instance = 143 FlutterScreenUtil.ScreenUtil(width: designW, height: designH) 144 ..init(context); 145 setDesignWHD(designW, designH, density: 3); 146 147 /// If you use a dependent context-free method to obtain screen parameters and adaptions, you need to call this method. 148 MediaQuery.of(context); 149 Widget child; 150 if (_skipMode == MHSplashSkipMode.newFeature) { 151 // 引导页 152 child = _buildNewFeatureWidget(); 153 } else if (_skipMode == MHSplashSkipMode.ad) { 154 // 广告页 155 child = _buildAdWidget(); 156 } else { 157 // 启动页 158 child = _buildDefaultLaunchImage(); 159 } 160 return Material(child: child); 161 } 162 163 /// 默认情况是一个启动页 1200x530 164 /// https://game.gtimg.cn/images/yxzj/img201606/heroimg/121/121-bigskin-4.jpg 165 Widget _buildDefaultLaunchImage() { 166 return Container( 167 width: double.maxFinite, 168 height: double.maxFinite, 169 decoration: BoxDecoration( 170 // 这里设置颜色 跟启动页一致的背景色,以免发生白屏闪烁 171 color: Color.fromRGBO(0, 10, 24, 1), 172 image: DecorationImage( 173 // 注意:启动页 别搞太大 以免加载慢 174 image: AssetImage(Constant.assetsImages + 'LaunchImage.png'), 175 fit: BoxFit.cover, 176 ), 177 ), 178 ); 179 } 180 181 /// 新特性界面 182 Widget _buildNewFeatureWidget() { 183 return Swiper( 184 itemCount: 3, 185 loop: false, 186 itemBuilder: (_, index) { 187 final String name = 188 Constant.assetsImagesNewFeature + 'intro_page_${index + 1}.png'; 189 Widget widget = Image.asset( 190 name, 191 fit: BoxFit.cover, 192 width: double.infinity, 193 height: double.infinity, 194 ); 195 if (index == 2) { 196 return Stack( 197 children: <Widget>[ 198 widget, 199 Positioned( 200 child: InkWell( 201 child: Image.asset( 202 Constant.assetsImagesNewFeature + 'skip_btn.png', 203 width: 175.0, 204 height: 55.0, 205 ), 206 onTap: _switchRootView, 207 highlightColor: Colors.transparent, 208 splashColor: Colors.transparent, 209 focusColor: Colors.transparent, 210 ), 211 left: (ScreenUtil.getInstance().screenWidth - 175) * 0.5, 212 bottom: 55.0, 213 width: 175.0, 214 height: 55.0, 215 ), 216 ], 217 ); 218 } else { 219 return widget; 220 } 221 }, 222 ); 223 } 224 225 /// 广告页 226 Widget _buildAdWidget() { 227 return Container( 228 child: _buildAdChildWidget(), 229 width: double.infinity, 230 height: double.infinity, 231 decoration: BoxDecoration( 232 // 这里设置颜色 跟背景一致的背景色,以免发生白屏闪烁 233 color: Color.fromRGBO(21, 5, 27, 1), 234 image: DecorationImage( 235 image: AssetImage(Constant.assetsImagesBg + 'SkyBg01_320x490.png'), 236 fit: BoxFit.cover, 237 ), 238 ), 239 ); 240 } 241 242 Widget _buildAdChildWidget() { 243 final double horizontal = 244 FlutterScreenUtil.ScreenUtil.getInstance().setWidth(30.0); 245 final double vertical = 246 FlutterScreenUtil.ScreenUtil.getInstance().setHeight(9.0); 247 final double fontSize = 248 FlutterScreenUtil.ScreenUtil.getInstance().setSp(42.0); 249 final lineHeight = 250 FlutterScreenUtil.ScreenUtil.getInstance().setHeight(20.0 * 3 / 14.0); 251 final radius = FlutterScreenUtil.ScreenUtil.getInstance().setWidth(108.0); 252 return Stack( 253 children: <Widget>[ 254 Swiper( 255 onTap: (idx) { 256 print('onTap $idx'); 257 // 跳转到Web 258 }, 259 itemCount: 4, 260 autoplayDelay: 1500, 261 loop: true, 262 autoplay: true, 263 itemBuilder: (_, index) { 264 return Center( 265 child: Image.asset( 266 Constant.assetsImagesAds + '121-bigskin-${index + 1}.jpg', 267 fit: BoxFit.cover, 268 ), 269 ); 270 }, 271 ), 272 Positioned( 273 top: FlutterScreenUtil.ScreenUtil.getInstance().setWidth(60.0), 274 right: FlutterScreenUtil.ScreenUtil.getInstance().setWidth(60.0), 275 child: InkWell( 276 onTap: () { 277 if (_timerUtil != null) { 278 _timerUtil.cancel(); 279 } 280 _switchRootView(); 281 }, 282 onHighlightChanged: (highlight) { 283 setState(() { 284 _highlight = highlight; 285 }); 286 }, 287 child: Container( 288 padding: EdgeInsets.symmetric( 289 horizontal: horizontal, vertical: vertical), 290 alignment: Alignment.center, 291 decoration: BoxDecoration( 292 color: _highlight ? Colors.white30 : Colors.white10, 293 border: Border.all(color: Colors.white, width: 0), 294 borderRadius: BorderRadius.all(Radius.circular(radius)), 295 ), 296 child: Text( 297 '跳过 $_count', 298 textAlign: TextAlign.center, 299 style: TextStyle( 300 color: Colors.white, 301 fontSize: fontSize, 302 height: lineHeight), 303 ), 304 ), 305 ), 306 ) 307 ], 308 ); 309 } 310}
总结
闪屏页的功能虽然很简单,但是作用却非常大,希望大家通过阅读本篇文章,能够更好地认识闪屏页,了解他的由来,知道他的用途,并将其优点运用到实际开发中去,能够实实在在的解决现实中的问题。
- **由来:**用来友好的等待异步耗时的数据返回,再根据数据返回丝滑的过渡到目标页面,从而极大的增强用户体验而产生。
- **用途:**一般是用在App启动时,承载启动页、引导页、广告页、等待页等业务场景。
期待
- 文章若对您有些许帮助,请给个喜欢❤️,毕竟码字不易;若对您没啥帮助,请给点建议💗,切记学无止境。
- 针对文章所述内容,阅读期间任何疑问;请在文章底部评论指出,我会火速解决和修正问题。
- GitHub地址:https://github.com/CoderMikeHe
- 源码地址:flutter_wechat
参考链接
拓展
本文转自 https://www.jianshu.com/p/e2dcd0e8e04d,如有侵权,请联系删除。