
1、在pom文件中引入对应jar包
1<!--activeMQ  start-->
2<dependency>
3   <groupId>org.springframework.boot</groupId>
4   <artifactId>spring-boot-starter-activemq</artifactId>
5</dependency>
6<dependency>
7   <groupId>org.springframework.boot</groupId>
8   <artifactId>spring-boot-starter-test</artifactId>
9   <scope>test</scope>
10</dependency>
11<dependency>
12   <groupId>org.apache.activemq</groupId>
13   <artifactId>activemq-pool</artifactId>
14   <!-- <version>5.7.0</version> -->
15</dependency>
16<dependency>
17   <groupId>org.springframework</groupId>
18   <artifactId>spring-test</artifactId>
19   <version>5.0.7.RELEASE</version>
20</dependency>
21<dependency>
22   <groupId>junit</groupId>
23   <artifactId>junit</artifactId>
24   <version>4.12</version>
25</dependency>
26<dependency>
27   <groupId>org.springframework.boot</groupId>
28   <artifactId>spring-boot-test</artifactId>
29   <version>2.0.3.RELEASE</version>
30</dependency>
31<!--activeMQ  end-->
2、application.yml文件配置activemq;对于监听Listener使用注解的形式
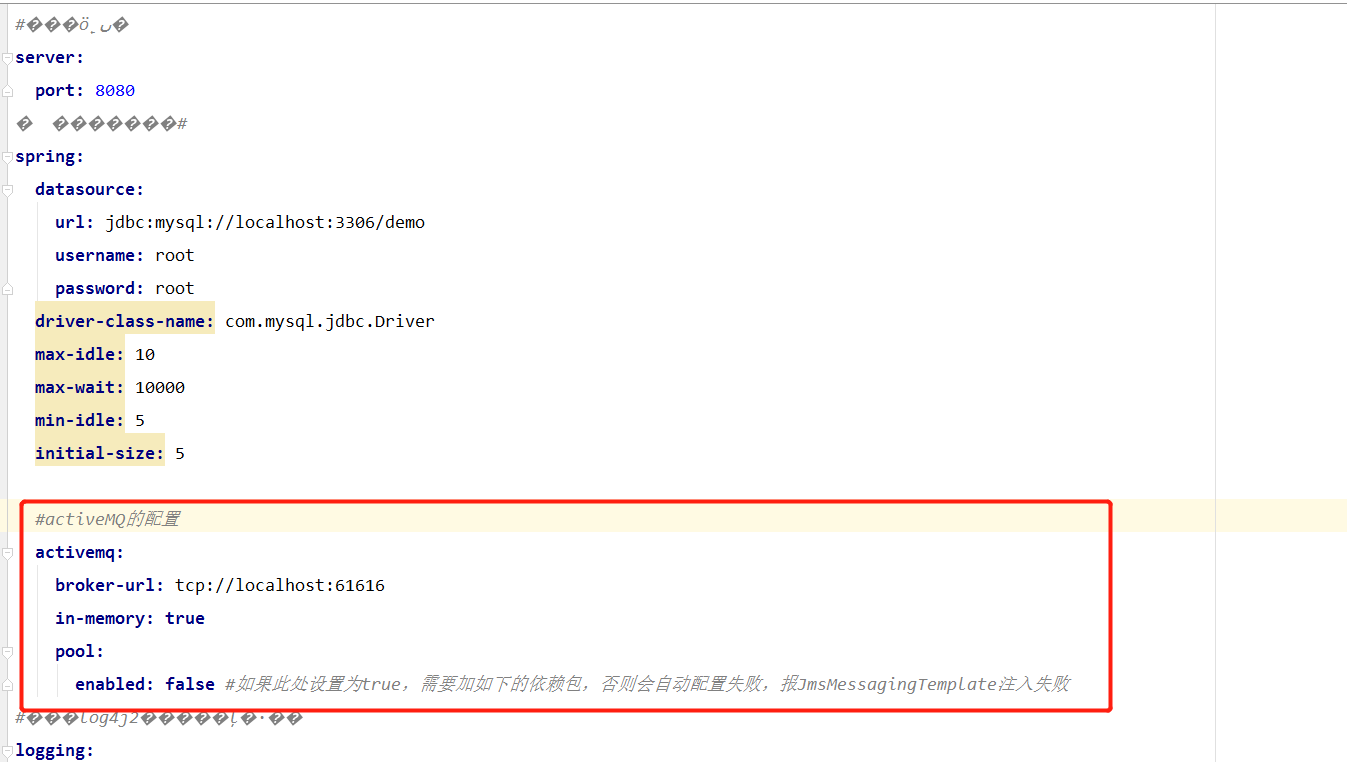
1#activeMQ的配置
2  activemq:
3    broker-url: tcp://localhost:61616
4    in-memory: true
5    pool:
6      enabled: false #如果此处设置为true,需要加如下的依赖包,否则会自动配置失败,报JmsMessagingTemplate注入失败
3、创建生产者类,生产者代码如下:
1/**
2 * Created by Administrator on 2018/7/27.
3 */
4@RunWith(SpringRunner.class)
5@SpringBootTest
6public class SpringbootJmsApplicationTests {
7    @Test
8    public void contextLoads() throws InterruptedException, JMSException {
9        Destination destination = new ActiveMQQueue("queue_demo");
10        //创建与JMS服务的连接:ConnectionFactory被管理的对象,由客户端创建,用来创建一个连接对象
11        ConnectionFactory connectionfactory = new ActiveMQConnectionFactory("tcp://localhost:61616");
12        //获取连接,connection一个到JMS系统提供者的活动连接
13        javax.jms.Connection connection = connectionfactory.createConnection();
14        //打开会话,一个单独的发送和接受消息的线程上下文
15        Session session =connection.createSession(false,Session.AUTO_ACKNOWLEDGE );
16        Queue queue = new ActiveMQQueue("queue_demo");
17        MessageProducer msgProducer = session.createProducer(queue);
18        Message msg = session.createTextMessage("文本1");
19        msgProducer.send(msg);
20        System.out.println("文本消息已发送");
21    }
22}
4、编写消费者代码,代码如下:
1/**
2 * Created by Administrator on 2018/7/27.
3 */
4@Component
5public class Consumer2 {
6    // 使用JmsListener配置消费者监听的队列,其中text是接收到的消息
7    @JmsListener(destination = "queue_es")
8    public void receiveQueue(String mapStr) {
9        System.out.println("接受的消息:"+mapStr);
10
11    }
12}
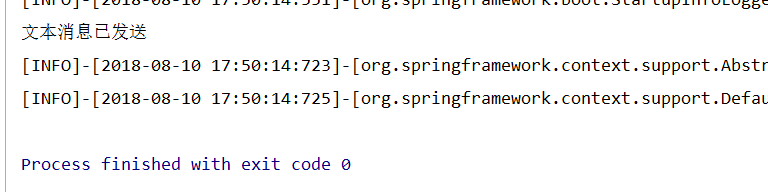
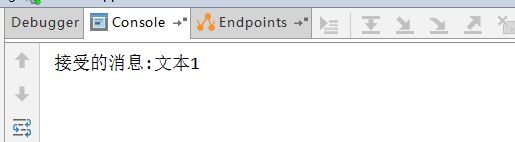
5、运行生产者(本处是test注解的测试代码),直接运行,结果如下
发送端:
接收端:
ps:如果想设置为独占消息消费模式,只需将消费者的代码@JmsListener注解处修改为如下代码:
@JmsListener(destination = "queue_es?consumer.exclusive=true")就可以设置此消费者为独占消息消费模式,队列里的任务会玩先后顺序被这个消费者处理掉