
前面说了Spring Boot的使用Jpa操作数据库,今天要说是Spring Boot集目前比较受欢迎的持久层框架Mybatis,我个人对mybatis是比较喜欢的,接下来我们在SpringBoot中集成它,我们依旧使用mysql做例子,编写一个简单的用户模块的CRUD的例子。
1.项目依赖包的引入
<dependency>
<groupId>org.mybatis.spring.boot</groupId>
<artifactId>mybatis-spring-boot-starter</artifactId>
<version>1.2.0</version>
</dependency>
2.配置文件写入配置
mybatis:
type-aliases-package: com.maxbill.web.model
mapper-locations: classpath:com/maxbill/web/mapper/*.xml
注意:type-aliases-package配置别名扫描包, mapper-locations配置mapper配置文件
3.设计数据库表结构
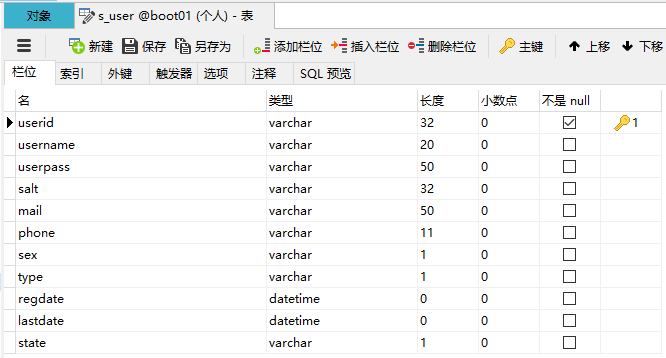
4.使用Mybatis-Generator生成mapper和model文件
我们使用mybatis-generator插件来生成dao层的mapper文件和用户model类;mybatis-generator使用有三种方式:1.命令行,2.eclipse插件,3.maven插件;我们的工程是使用maven构建的,所以我们使用四三种方式:
1.在pom中引入mybatis-generator插件的依赖:
<!--mybatis-generator插件--> <plugin> <groupId>org.mybatis.generator</groupId> <artifactId>mybatis-generator-maven-plugin</artifactId> <version>1.3.5</version> <configuration> <configurationFile>src/main/resources/mybatis-generator/generatorConfig.xml</configurationFile> <verbose>true</verbose> <overwrite>true</overwrite> </configuration> <dependencies> <dependency> <groupId>org.mybatis.generator</groupId> <artifactId>mybatis-generator-core</artifactId> <version>1.3.2</version> </dependency> </dependencies> </plugin>2.修改插件的配置文件
<?xml version="1.0" encoding="UTF-8"?> <!DOCTYPE generatorConfiguration PUBLIC "-//mybatis.org//DTD MyBatis Generator Configuration 1.0//EN" "http://mybatis.org/dtd/mybatis-generator-config\_1\_0.dtd"> <generatorConfiguration> <!-- 数据库驱动包位置 --> <classPathEntry location="D:\\Java\\Javafiles\\JAR\\mysql-connector-java-5.1.7-bin.jar"/> <context id="DB2Tables" targetRuntime="MyBatis3"> <commentGenerator> <property name="suppressAllComments" value="true"/> </commentGenerator>1 <jdbcConnection 2 driverClass="com.mysql.jdbc.Driver" 3 connectionURL="jdbc:mysql://127.0.0.1:3306/blog" 4 userId="root" 5 password="admin"> 6 </jdbcConnection> 7 8 <javaTypeResolver> 9 <property name="forceBigDecimals" value="false"/> 10 </javaTypeResolver> 11 12 <!-- 生成模型的包名和位置 --> 13 <javaModelGenerator targetPackage="com.maxbill.web.model" targetProject="d:\\Data"> 14 <property name="enableSubPackages" value="true"/> 15 <property name="trimStrings" value="true"/> 16 </javaModelGenerator> 17 18 <!-- 生成的映射文件包名和位置 --> 19 <sqlMapGenerator targetPackage="com.maxbill.web.mapper" targetProject="d:\\Data"> 20 <property name="enableSubPackages" value="true"/> 21 </sqlMapGenerator> 22 23 <!-- 生成DAO的包名和位置 --> 24 <javaClientGenerator type="XMLMAPPER" targetPackage="com.maxbill.web.mapper"
targetProject="d:\Data"> <property name="enableSubPackages" value="true"/> </javaClientGenerator>
<table tableName="s\_user" domainObjectName="User" enableCountByExample="true"
enableUpdateByExample="true" enableDeleteByExample="true" enableSelectByExample="true" selectByExampleQueryId="true"/> </context> </generatorConfiguration>
3.使用maven命令生成代码
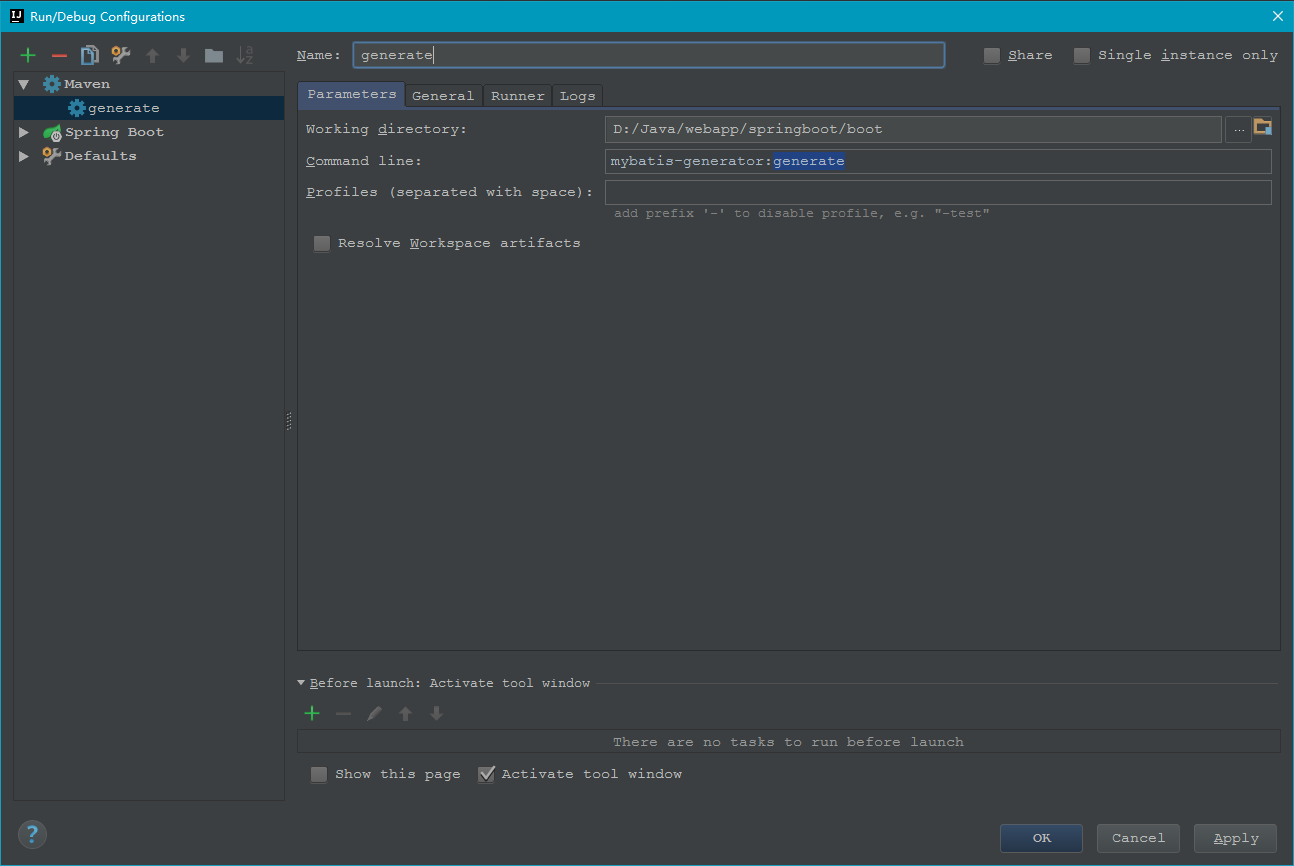
看到以下的输出日志,编译成功!
[INFO] Scanning for projects...
[INFO]
[INFO] ------------------------------------------------------------------------
[INFO] Building boot 0.0.1-SNAPSHOT
[INFO] ------------------------------------------------------------------------
[INFO]
[INFO] --- mybatis-generator-maven-plugin:1.3.5:generate (default-cli) @ boot ---
[INFO] Connecting to the Database
[INFO] Introspecting table s_user
[INFO] Generating Example class for table s_user
[INFO] Generating Record class for table s_user
[INFO] Generating Mapper Interface for table s_user
[INFO] Generating SQL Map for table s_user
[INFO] Saving file UserMapper.xml
[INFO] Saving file UserExample.java
[INFO] Saving file User.java
[INFO] Saving file UserMapper.java
[INFO] ------------------------------------------------------------------------
[INFO] BUILD SUCCESS
[INFO] ------------------------------------------------------------------------
[INFO] Total time: 1.922 s
[INFO] Finished at: 2017-03-16T20:16:47+08:00
[INFO] Final Memory: 12M/155M
[INFO] ------------------------------------------------------------------------
打开磁盘目录我们看到已经生成了我们需要的文件。
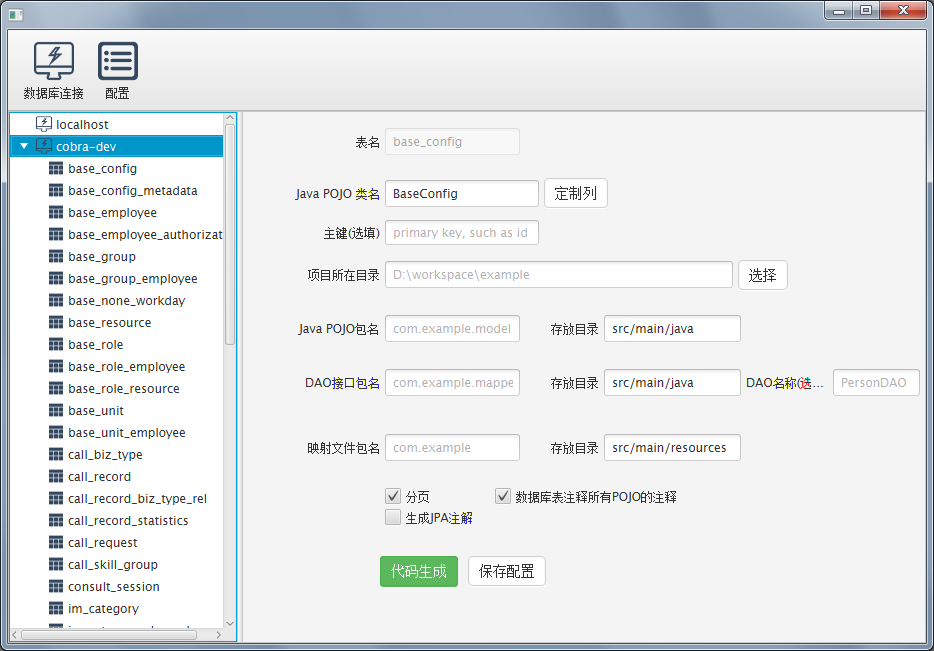
注意:mybatis-generator有人开发了gui版,github地址:https://github.com/astarring/mybatis-generator-gui,需要的可以使用gui版:
5.编写service层逻辑代码
用户service接口
package com.maxbill.base.service;
import com.maxbill.base.model.User;
public interface UserService {
1int saveUser(User user);
2
3int deleteUser(String userid);
4
5int deleteUser(User user);
6
7User findUserById(String userid);
}
用户service实现类
package com.maxbill.base.service.impl;
import com.maxbill.base.mapper.UserMapper; import com.maxbill.base.model.User; import com.maxbill.base.service.UserService; import org.springframework.stereotype.Service;
/** * @func 用户模块业务逻辑实现层 * @user MaxBill * @date 2017-03-15 * @mail 1370581389@qq.com */ @Service public class UserServiceImpl implements UserService {
1private UserMapper userMapper;
2
3/\*\*
4 \* 添加用户
5 \*/
6public int saveUser(User user) {
7    return this.userMapper.insertSelective(user);
8}
9
10/\*\*
11 \* 删除用户
12 \*/
13public int deleteUser(String userid) {
14    return this.userMapper.deleteByPrimaryKey(userid);
15}
16
17/\*\*
18 \* 更新用户
19 \*/
20public int updateUser(User user) {
21    return this.userMapper.updateByPrimaryKeySelective(user);
22}
23
24/\*\*
25 \* 按id查新用户
26 \*/
27public User findUserById(String userid) {
28    return this.userMapper.selectByPrimaryKey(userid);
29}
}
编写用户控制器接口方法,和上一章中一样,这里不再赘述。
6.在启动器中添加mapper扫描
package com.maxbill;
import org.mybatis.spring.annotation.MapperScan; import org.springframework.boot.SpringApplication; import org.springframework.boot.autoconfigure.SpringBootApplication;
@SpringBootApplication @MapperScan("com.maxbill.web.mapper")//扫描mapper public class BootApplication {
1public static void main(String\[\] args) {
2    SpringApplication.run(BootApplication.class, args);
3}
}
启动项目,测试各接口都正常。
以上就是Spring Boot集成Mybatis对数据库的数据的CRUD操作。下一篇主要说一下集成pagehelper分页插件。
MaxBill(2017-03-16)