
一:安装CAS
下载cas:https://github.com/apereo/cas
1.1 将cas并打成war包。放入一个干净的tomcat中,启动tomcat测试: http://localhost:8080/cas/login
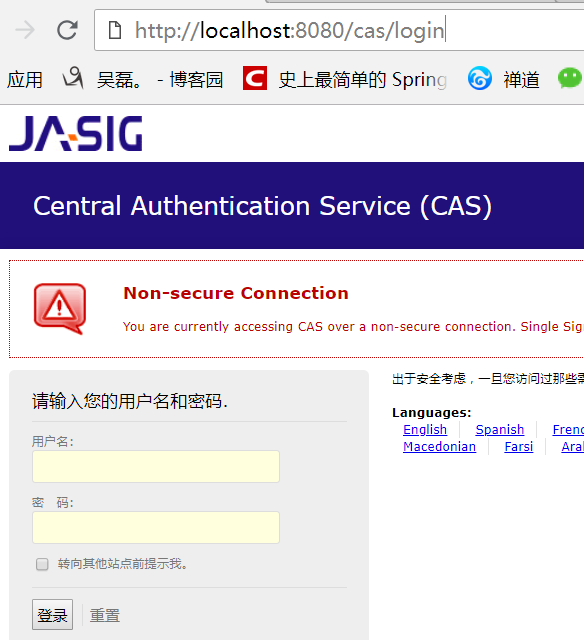
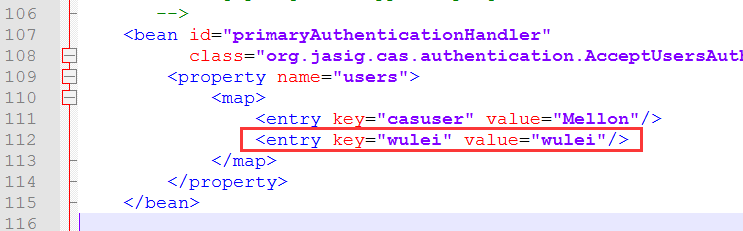
1.2 默认账号密码:casuser Mellon 我们可以在tomcat\webapps\cas\WEB-INF\deployerConfigContext.xml文件添加一个账号密码
1.3 修改tomcat端口为9080, 并将tomcat\webapps\cas\WEB-INF\cas.properties的server.name改为http://localhost:9080
1.4 去除https认证:
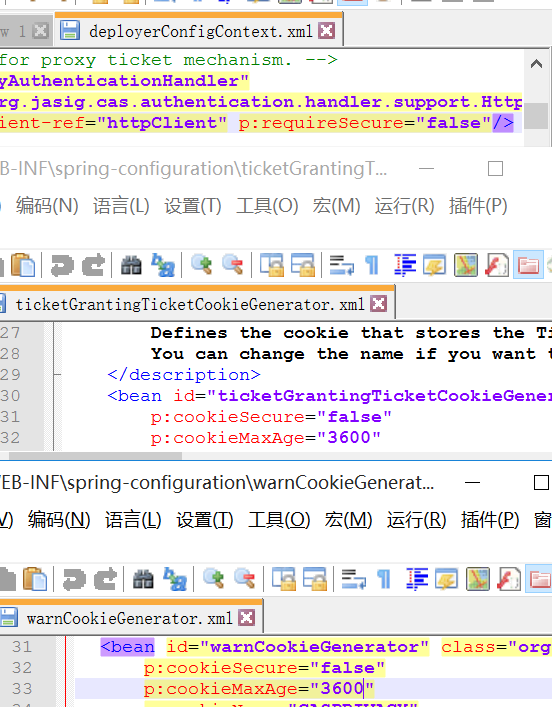
11.4.1 在tomcat\webapps\cas\WEB-INF\deployerConfigContext.xml文件
2      的p:httpClient-ref="httpClient"后面添加p:requireSecure="false"
31.4.2 把tomcat\webapps\cas\WEB-INF\spring-configuration的
4      ticketGrantingTicketCookieGenerator.xml文件里面把p:cookieSecure="true"改为false;
5      p:cookieMaxAge="-1"改为3600(-1是不保存cookie,3600秒是一个小时,保存登录信息)
61.4.3 把tomcat\webapps\cas\WEB-INF\spring-configuration的
7      warnCookieGenerator.xml的p:cookieSecure="true"改为false
8      p:cookieMaxAge="-1"改为3600
1.5 配置单点登出: 将tomcat\webapps\cas\WEB-INF\cas-servlet.xml中${cas.logout.followServiceRedirects:false}括号里的值改为true
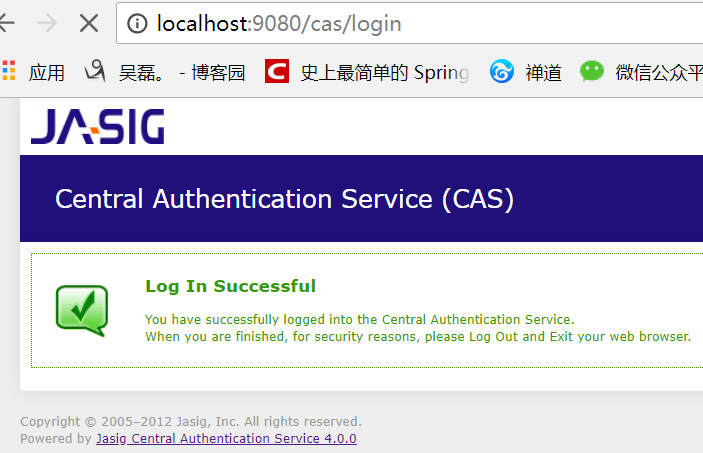
1.6 启动测试: 输入刚才配置的账号密码 wulei / wulei
二:配置数据源(CAS对接数据库)
2.1 在tomcat\webapps\cas\WEB-INF\lib里添加 c3p0连接池 mysql驱动 cas的jdbc支持包
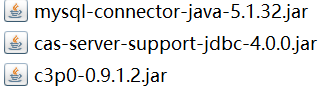
2.2 修改tomcat\webapps\cas\WEB-INF\deployerConfigContext.xml文件
2.2.1 注释掉<entry key-ref="primaryAuthenticationHandler" value-ref="primaryPrincipalResolver" />;添加<entry key-ref="dbAuthHandler" value-ref="primaryPrincipalResolver"/>

2.2.2 添加数据源 <bean id="dataSource" 添加加密方式 <bean id="passwordEncoder" 添加sql语句 <bean id="dbAuthHandler"
1<!-- 第一个bean -->
2    <bean id="dataSource" class="com.mchange.v2.c3p0.ComboPooledDataSource"
3              p:driverClass="com.mysql.jdbc.Driver"
4              p:jdbcUrl="jdbc:mysql://127.0.0.1:3306/youfanshop?characterEncoding=utf8"
5              p:user="root"
6              p:password="root" />
7    <!-- 第二个bean
8    <bean id="passwordEncoder"
9              class="org.jasig.cas.authentication.handler.DefaultPasswordEncoder"
10              c:encodingAlgorithm="MD5"
11              p:characterEncoding="UTF-8" /> -->
12    <!-- 第三个bean
13    <bean id="dbAuthHandler"
14          class="org.jasig.cas.adaptors.jdbc.QueryDatabaseAuthenticationHandler"
15          p:dataSource-ref="dataSource"
16          p:sql="select passwordencrypt from user where name  = ?"
17          我们密码用明文, 所以把加密方式注释掉,
18          p:passwordEncoder-ref="passwordEncoder"
19          />  -->
20    <bean id="dbAuthHandler"
21          class="org.jasig.cas.adaptors.jdbc.QueryDatabaseAuthenticationHandler"
22          p:dataSource-ref="dataSource"
23          p:sql="select passwordencrypt from user where name  = ?" />
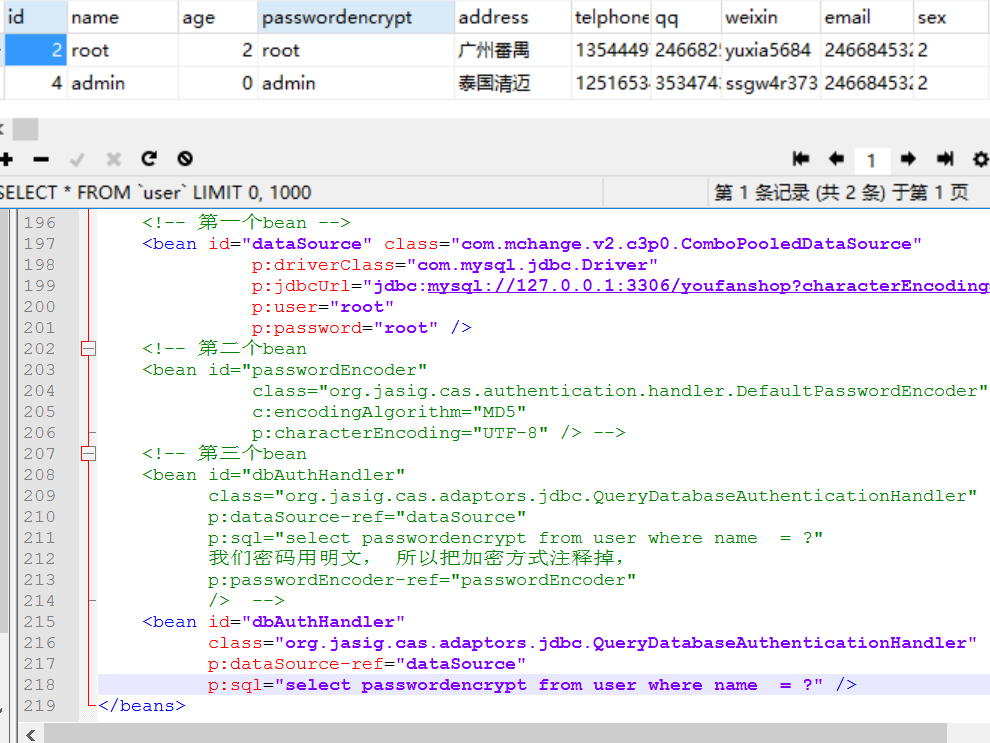
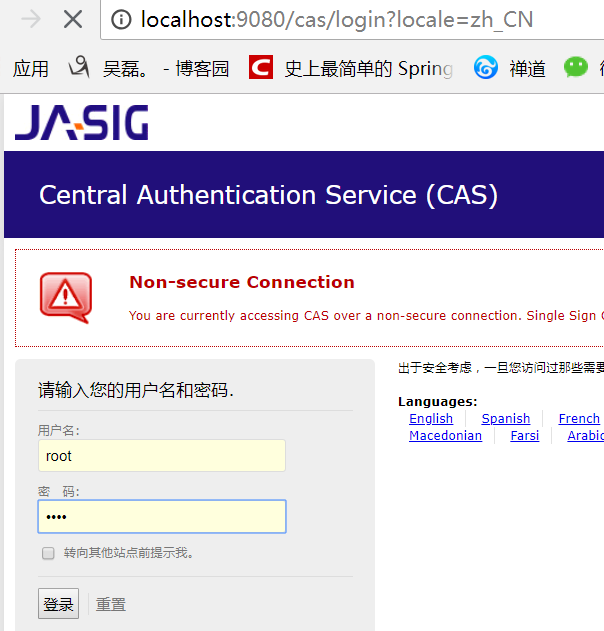
2.3 重启测试(此时就能用数据库的账号密码登录了)
三:springBoot客户端
3.1 导包
1<parent>
2        <groupId>org.springframework.boot</groupId>
3        <artifactId>spring-boot-starter-parent</artifactId>
4        <version>1.5.13.RELEASE</version>
5        <relativePath/> <!-- lookup parent from repository -->
6    </parent>
7    <properties>
8        <project.build.sourceEncoding>UTF-8</project.build.sourceEncoding>
9        <project.reporting.outputEncoding>UTF-8</project.reporting.outputEncoding>
10        <java.version>1.8</java.version>
11    </properties>
12
13    <dependencies>
14        <!--web场景启动器,包含 Tomcat 和 spring-mvc restful  aop jackjson支持。 -->
15        <dependency>
16            <groupId>org.springframework.boot</groupId>
17            <artifactId>spring-boot-starter-web</artifactId>
18        </dependency>
19        <!-- CAS依赖包 -->
20        <dependency>
21            <groupId>net.unicon.cas</groupId>
22            <artifactId>cas-client-autoconfig-support</artifactId>
23            <version>1.5.0-GA</version>
24        </dependency>
25    </dependencies>
3.2 application.properties
1server.port=8081
2
3cas.server-url-prefix=http\://127.0.0.1\:9080/cas
4cas.server-login-url=http\://127.0.0.1\:9080/cas/login
5cas.client-host-url=http\://127.0.0.1\:8081
6cas.validation-type=CAS
3.3 配置类
1import net.unicon.cas.client.configuration.CasClientConfigurerAdapter;
2import net.unicon.cas.client.configuration.EnableCasClient;
3import org.springframework.boot.web.servlet.FilterRegistrationBean;
4import org.springframework.context.annotation.Configuration;
5
6@Configuration
7@EnableCasClient
8public class CasConfigure extends CasClientConfigurerAdapter {
9@Override
10public void configureAuthenticationFilter(FilterRegistrationBean authenticationFilter) {
11    super.configureAuthenticationFilter(authenticationFilter);
12        authenticationFilter.getInitParameters().put("authenticationRedirectStrategyClass","com.patterncat.CustomAuthRedirectStrategy");
13    }
14}
3.4 控制器
1@RestController
2public class IndexController {
3
4    @RequestMapping("/login")
5    public String auth() {
6        return "login success";
7    }
8}
3.5 主函数
1@SpringBootApplication
2public class Application {
3
4     private static Logger log = Logger.getLogger(Application.class);
5
6     public static void main(String[] args) {
7            SpringApplication.run(Application.class, args);
8            log.info("SpringBoot Start Success");
9        }
10}
测试: 浏览器输入 127.0.0.1:8081/login之前会先跳转到CAS的登陆页面,登录成功之后才会进入Controller。