
1. 回顾
上文讲解了容错的重要性,以及容错需要实现的功能。
本文来讲解使用Hystrix实现容错。
2. Hystrix简介
Hystrix是Netflix开源的一个延迟和容错库,用于隔离访问远程系统、服务或第三方库,防止级联失败,从而提高系统的可用性与容错性。
Hystrix主要通过以下几点实现延迟和容错:
- 包裹请求:使用HystrixCommand(或HystrixObservableCommand)包裹对依赖的调用逻辑,每个命令在独立线程中执行。
这使用到了设计模式中的“命令模式”。
- 跳闸机制:当某服务的错误率超过一定阈值时,Hystrix可以自动或者手动跳闸,停止请求该服务一段时间。
- 资源隔离:Hystrix为每个依赖都维护了一个小型的线程池(或者信号量)。如果该线程池已满,发往该依赖的请求就被立即拒绝,
而不是排队等候,从而加速失败判定。
- 监控:Hystrix可以近乎实时地监控运行指标和配置的变化,例如成功、失败、超时、以及被拒绝的请求等。
- 回退机制:当请求失败、超时、被拒绝,或当断路器打开时,执行回退逻辑。回退逻辑可由开发人员自行提供,例如返回一个缺省值。
- 自我修复:断路器打开一段时间后,会自动进入“半开”状态。断路器打开、关闭、半开的逻辑转换,上文已经详细探讨过,不再赘述。
3. 通用方式整合Hystrix
复制项目 microservice-consumer-movie-ribbon,将 ArtifactId 修改为 microservice-consumer-movie-ribbon-hystrix
添加 hystrix 的依赖
1<dependency>
2   <groupId>org.springframework.cloud</groupId>
3   <artifactId>spring-cloud-starter-netflix-hystrix</artifactId>
4</dependency>
在启动类上添加 @EnableCircuitBreaker 或 @EnableHystrix 注解,从而为项目启用断路器支持
1package com.itmuch.cloud.microserviceconsumermovieribbonhystrix;
2
3import org.springframework.boot.SpringApplication;
4import org.springframework.boot.autoconfigure.SpringBootApplication;
5import org.springframework.cloud.client.discovery.EnableDiscoveryClient;
6import org.springframework.cloud.client.loadbalancer.LoadBalanced;
7import org.springframework.cloud.netflix.hystrix.EnableHystrix;
8import org.springframework.context.annotation.Bean;
9import org.springframework.web.client.RestTemplate;
10
11@SpringBootApplication
12@EnableDiscoveryClient
13@EnableHystrix
14public class MicroserviceConsumerMovieRibbonHystrixApplication {
15
16    public static void main(String[] args) {
17        SpringApplication.run(MicroserviceConsumerMovieRibbonHystrixApplication.class, args);
18    }
19
20    @Bean
21    @LoadBalanced // 实现负载均衡
22    public RestTemplate restTemplate() {
23        return new RestTemplate();
24    }
25}
修改 MovieController,让其中的findById方法具备容错能力。
1package com.itmuch.cloud.microserviceconsumermovieribbonhystrix.controller;
2
3import com.itmuch.cloud.microserviceconsumermovieribbonhystrix.pojo.User;
4import com.netflix.hystrix.contrib.javanica.annotation.HystrixCommand;
5import org.slf4j.Logger;
6import org.slf4j.LoggerFactory;
7import org.springframework.beans.factory.annotation.Autowired;
8import org.springframework.cloud.client.ServiceInstance;
9import org.springframework.cloud.client.loadbalancer.LoadBalancerClient;
10import org.springframework.web.bind.annotation.GetMapping;
11import org.springframework.web.bind.annotation.PathVariable;
12import org.springframework.web.bind.annotation.RestController;
13import org.springframework.web.client.RestTemplate;
14
15@RestController
16public class MovieController {
17
18    private static final Logger LOGGER = LoggerFactory.getLogger(MovieController.class);
19
20    @Autowired
21    private RestTemplate restTemplate;
22    @Autowired
23    private LoadBalancerClient loadBalancerClient;
24
25    @HystrixCommand(fallbackMethod = "findByIdFallback")
26    @GetMapping("/user/{id}")
27    public User findById(@PathVariable Long id) {
28        return this.restTemplate.getForObject("http://microservice-provider-user/" + id, User.class);
29    }
30
31    @GetMapping("/log-instance")
32    public void logUserInstance() {
33        ServiceInstance serviceInstance = this.loadBalancerClient.choose("microservice-provider-user");
34        // 打印当前选择的是哪个节点
35        MovieController.LOGGER.info("{}:{}:{}", serviceInstance.getServiceId(), serviceInstance.getHost(),
36                serviceInstance.getPort());
37    }
38
39    public User findByIdFallback(Long id) {
40        LOGGER.warn("请求异常,执行回退方式");
41        User user = new User();
42        user.setId(-1L);
43        user.setName("默认用户");
44        return user;
45    }
46
47}
启动项目 microservice-discovery-eureka
启动项目 microservice-provider-user
启动项目 microservice-consumer-movie-ribbon-hystrix
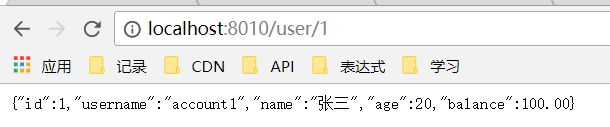
访问 http://localhost:8010/user/1,获得如下结果,说明可正常访问
停止项目 microservice-provider-user
访问 http://localhost:8010/user/1,获得如下结果,说明当用户微服务不可用时,进入了回退方法
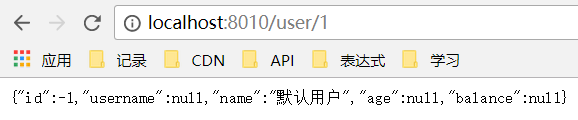
注意:当请求失败、被拒绝、超时或者断路器打开时,都会进入回退方法。但进入回退方法并不意味着断路器已被打开。
4. Hystrix断路器的状态监控与深入理解
还记得之前已经为项目引入了Spring Boot Actuator 的依赖,该依赖的作用就是监控应用程序的运行状态。
1<dependency>
2   <groupId>org.springframework.boot</groupId>
3   <artifactId>spring-boot-starter-actuator</artifactId>
4</dependency>
断路器的状态也会暴露在Actuator提供的 /actuator/health 端口中,这样就可以直观地了解断路器的状态。
但是之前使用的是 Actuator 的默认配置。在默认配置中,/actuator/health 端口只能查看系统的状态,不能查看详细信息,
因此需要对 Actuator进行进一步配置。
在 application.yml 中添加如下配置
1management:
2  endpoint:
3    health:
4      show-details: always
启动项目 microservice-discovery-eureka
启动项目 microservice-consumer-movie-ribbon-hystrix
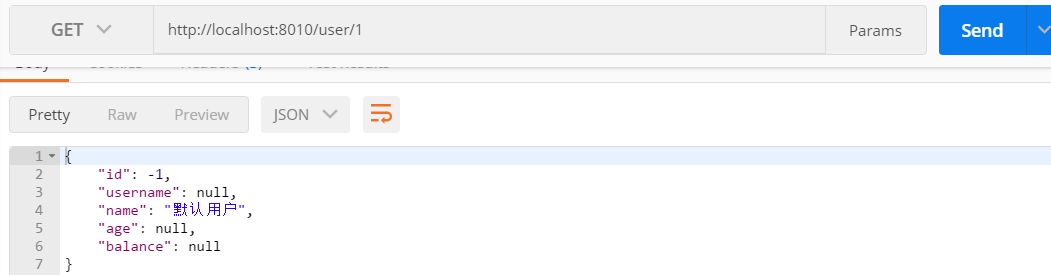
访问 http://localhost:8010/user/1,结果如下,说明已执行了回退逻辑,返回了默认用户。
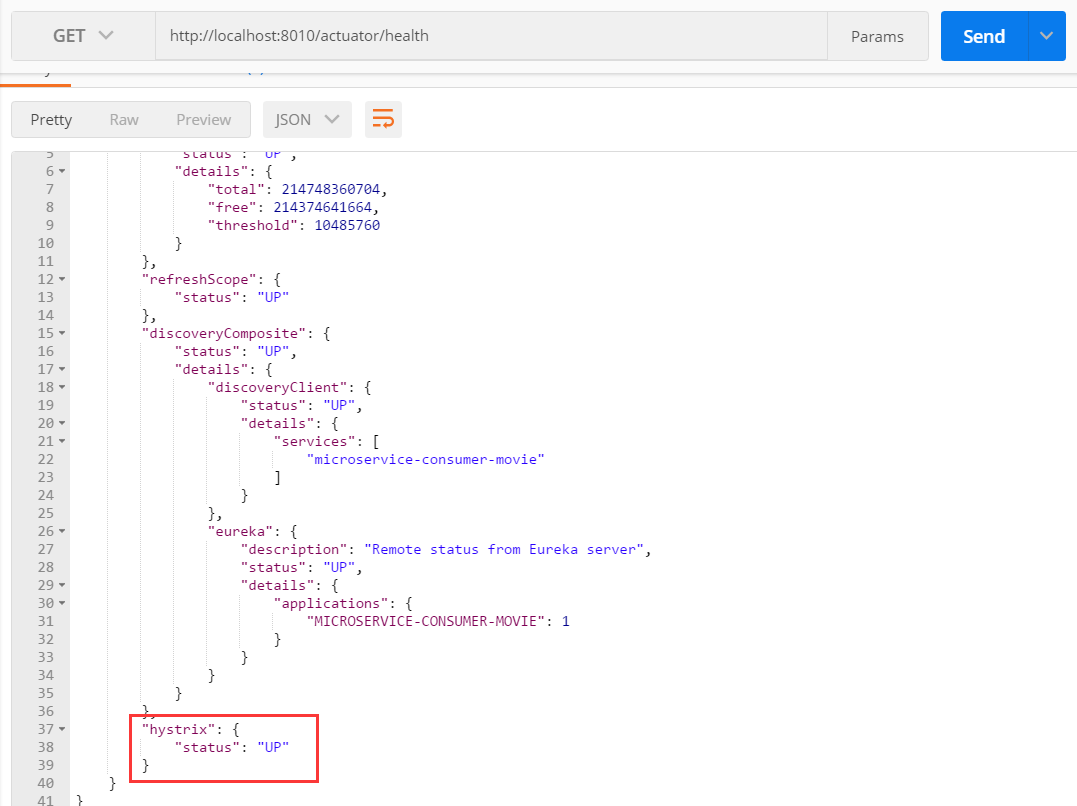
访问 http://localhost:8010/actuator/health,结果如下,此时Hystrix的状态依然是 UP,这是因为我们的失败率还没有达到阈值
(默认是5秒返回20次失败)
持续快速的访问 http://localhost:8010/user/1,然后访问 http://localhost:8010/actuator/health,此时结果如下
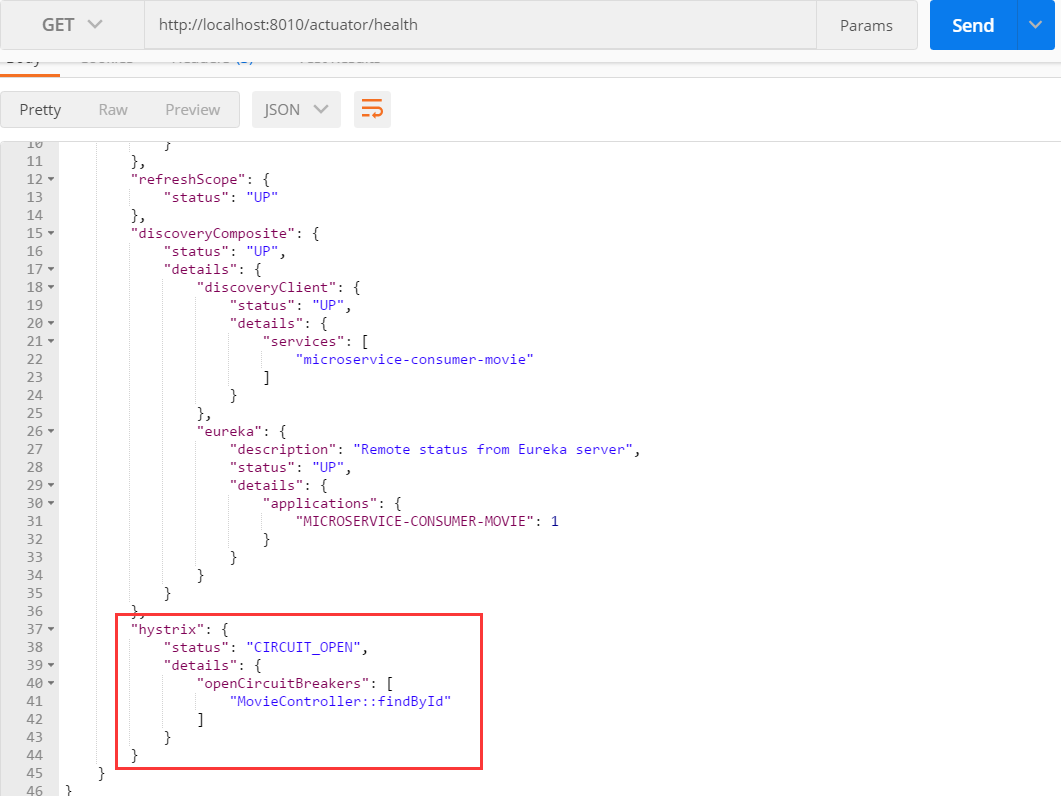
注意:由上面的测试可以发现——执行回退逻辑并不代表断路器已经打开。请求失败、超时、被拒绝以及断路器打开时都会执行回退逻辑。
5. Hystrix线程隔离策略与传播上下文
先来阅读一下Hystrix官方Wiki(https://github.com/Netflix/Hystrix/wiki/Configuration#execution.isolation.strategy)
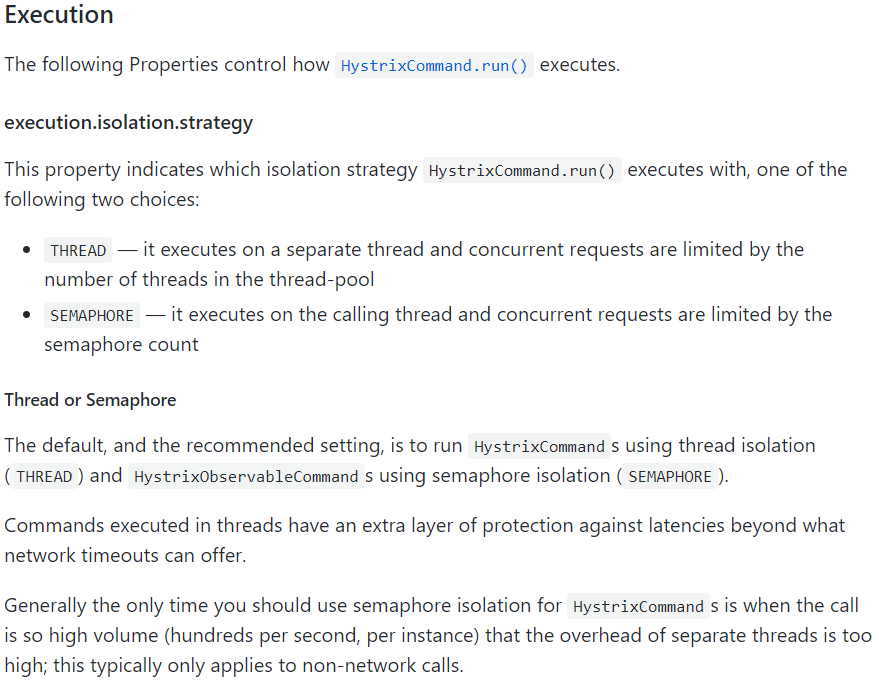
执行
以下属性控制 HystrixCommand.run() 是如何运行的
execution.isolation.strategy
这个属性决定了 HystrixCommand.run() 以哪种隔离策略去执行,下面两种选择中的一个:
-
- THREAD(线程隔离):它将在单独的线程上执行,并发请求受线程池中的线程数量的限制。
- SEMAPHORE(信号量隔离):它将在调用线程上执行,开销相对较小,并发请求收到信号量个数的限制。
Thread or Semaphore
默认并且推荐的设置是,运行 HystrixCommand 使用线程隔离(THREAD)HystrixObservableCommand 使用信号量隔离(SEMAPHORE)
在线程中执行命令有一个除网络超时以外的额外保护层。
一般来说,只有当调用负载非常高时(每个实例每秒调用数百次)才需要对 HystrixCommand 使用信号量隔离,因为这种场景下
使用单独线程开销太高,这通常只适用于非网络调用。
了解了Hystrix的隔离策略后,再来看一下 Spring Cloud 官方的文档(http://cloud.spring.io/spring-cloud-static/Finchley.M8/single/spring-cloud.html#_propagating_the_security_context_or_using_spring_scopes)
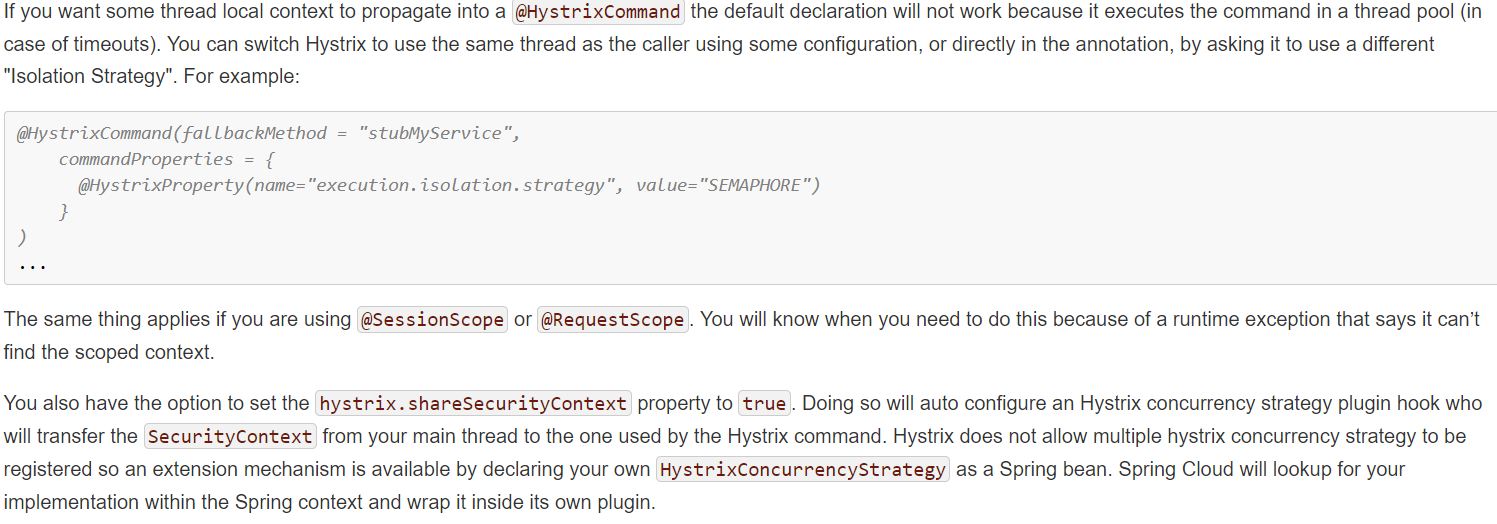
如果你想传播线程本地的上下文到 @HystrixCommand,默认声明将不会工作,因为它会在线程池中执行命令(在超时的情况下)。
你可以使用一些配置,让 Hystrix 使用相同的线程,或者直接在注解中让 Hystrix 使用不同的隔离策略。例如:
1@HystrixCommand(fallbackMethod = "stubMyService",
2    commandProperties = {
3        @HystrixProperty(name = "execution.isolation.strategy", value = "SEMAPHORE")
4    }
5)
6...
这也适用于使用 @SessionScope 和 @RequestSession 的情况。你会知道什么时候需要这么做,因为会发生一个运行时异常,
说它找不到作用域上下文(scoped context)。
你还可以将 hystrix.shareSecurityContext 属性设置为 true,这样将会自动配置一个 Hystrix 并发策略插件的 hook,这个hook会
将 SecurityContext 从主线程传输到 Hystrix 的命令。因为 Hystrix 不允许注册多个 Hystrix 策略,所以可以声明 HystrixConcurrencyStrategy
为一个Spring bean来实现扩展。Spring Cloud会在Spring的上下文中查找你的实现,并将其包装在自己的插件中。
把Spring Cloud 和 Hystrix 的文档对照阅读,可以帮助理解相关概念。
- Hystrix的隔离策略有THREAD和SEMAPHORE两种,默认是THREAD。
- 正常情况下,保持默认即可。
- 如果发生找不到上下文的运行时异常,可考虑将隔离策略设置为SEMAPHORE。
6. 总结
本文讲解了Hystrix的整合,对Hystrix断路器的理解及监控,还有Hystrix的隔离策略与传播上下文等。
下文将讲解Feign使用Hystrix。敬请期待~~~
7. 参考
周立 --- 《Spring Cloud与Docker微服务架构与实战》