
以前spring开发需要配置一大堆的xml,后台spring加入了annotaion,使得xml配置简化了很多,当然还是有些配置需要使用xml,比如申明component scan等。Spring开了一个新的model spring boot,主要思想是降低spring的入门,使得新手可以以最快的速度让程序在spring框架下跑起来。
Hello World 项目环境
Windows 10
Eclipse Neon IDE
Maven
SpringBoot 1.4.1.RELEASE
创建项目
打开Eclipse Neon IDE ,创建项目,选择类型为Maven Project(maven-archetype-webapp)
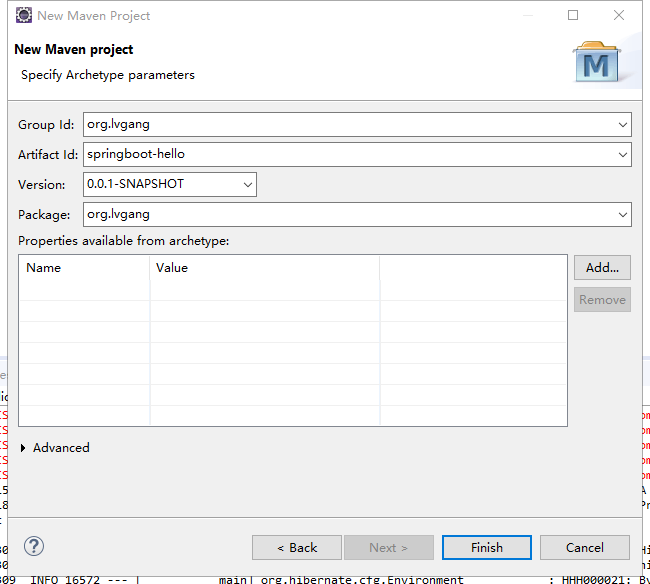
在pom.xml中添加依赖包以及JDK版本
1	<parent>
2		<groupId>org.springframework.boot</groupId>
3		<artifactId>spring-boot-starter-parent</artifactId>
4		<version>1.4.1.RELEASE</version>
5	</parent>
引入以上信息,主要的功能是,在下面再引入其它springboot相关Jar包时不需要写版本号了,它会跟据你引的父类的版本号,自己选择相应的Jar版本号
1	<properties>
2		<!-- JDK版本 -->
3		<java.version>1.8</java.version>
4	</properties>
以上信息,为设置JDK的版本号
1	<dependencies>
2		<!-- MVC,AOP的依赖包 -->
3		<dependency>
4			<groupId>org.springframework.boot</groupId>
5			<artifactId>spring-boot-starter-web</artifactId>
6		</dependency>
7	</dependencies>
引入springboot web相关Jar
编写SpringBoot启动类
1package org.lvgang;
2
3import org.springframework.boot.SpringApplication;
4import org.springframework.boot.autoconfigure.SpringBootApplication;
5
6/**
7 * Spring Boot启动类
8 *
9 * @author Administrator
10 *
11 */
12@SpringBootApplication // 等价于@Configuration,@EnableAutoConfiguration和@ComponentScan
13public class Application {
14	public static void main(String[] args) {
15		SpringApplication.run(Application.class, args);
16	}
17}
编写测试类
1package org.lvgang.controller;
2
3import org.springframework.web.bind.annotation.RequestMapping;
4import org.springframework.web.bind.annotation.RestController;
5
6/**
7 * Hello测试类
8 * @author Administrator
9 *
10 */
11
12@RestController   // 等价于@Controller+@RequstMapping
13public class HelloController {
14	  @RequestMapping("/hello")
15	  public String hello(){
16	    return "Hello world test!";
17	  }
18
19}
@RestController返回json字符串的数据,直接可以编写RESTFul的接口;
启动项目
第一种:在springBoot启动类中,右键Run As -> Java Application。
第二种:右键project – Run as – Maven build – 在Goals里输入spring-boot:run ,然后Apply,最后点击Run。
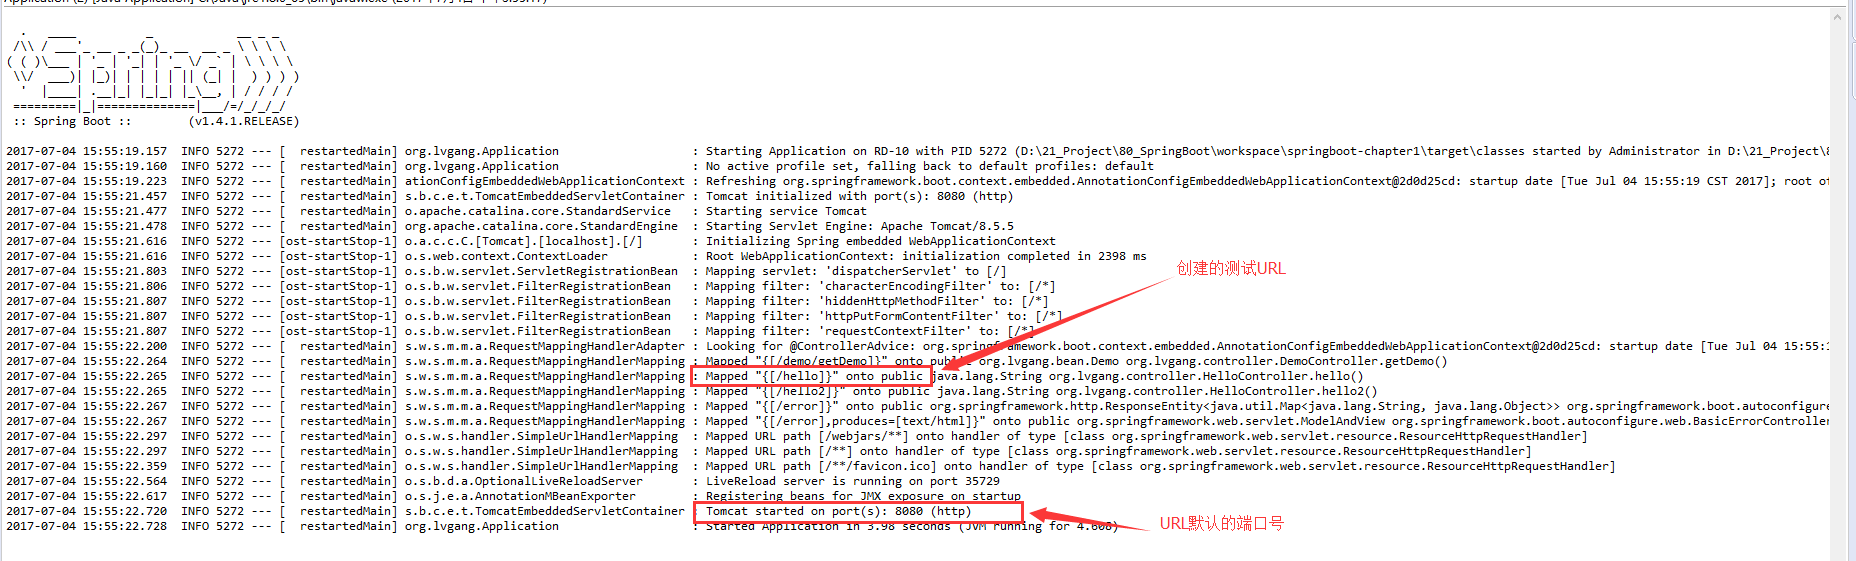
测试项目
打开浏览器输入地址:http://127.0.0.1:8080/hello, 如果看到页面展示了“Hello world test!”就表示成功了