1. 需求
(1)实用maven管理jar
(2)springboot 整合,mybaties
(3) 使用整合jsp进行显示数据(数据从数据库表中查出)
2.搭建maven环境
参考:
https://my.oschina.net/springMVCAndspring/blog/1817609
3. 给Eclipse安装springboot插件
参考:
https://my.oschina.net/springMVCAndspring/blog/1808502

4. 整合
4.1 搭建项目

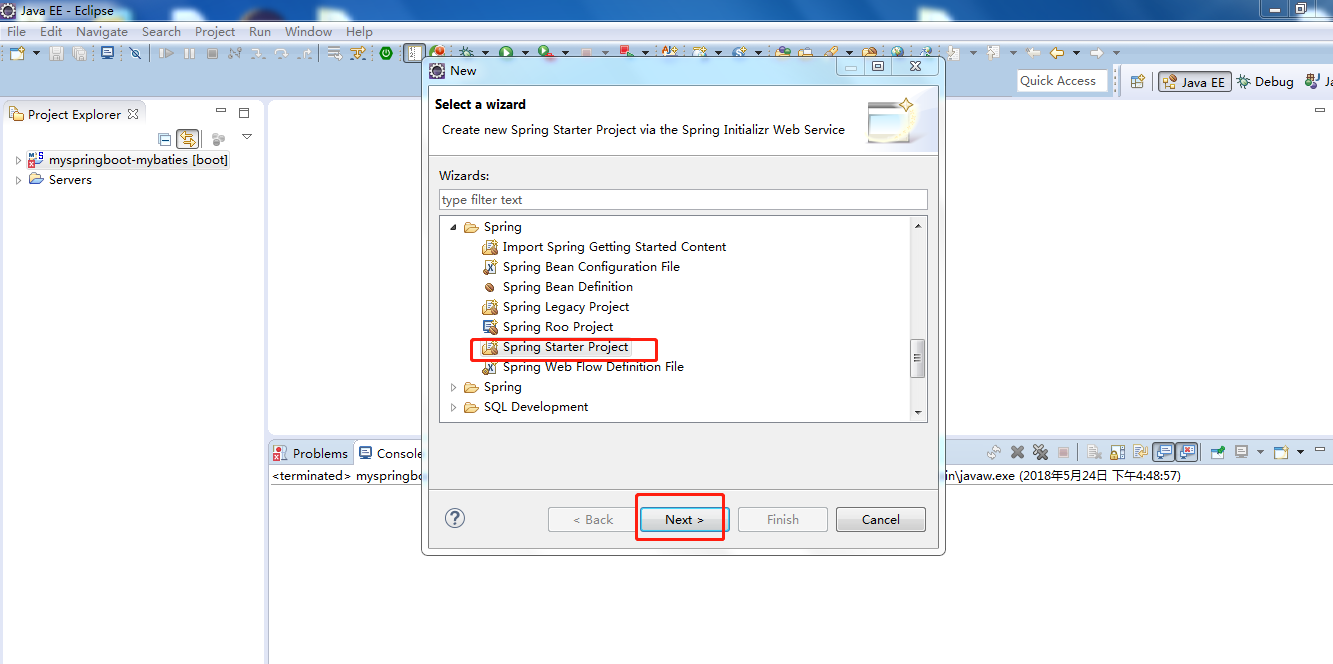

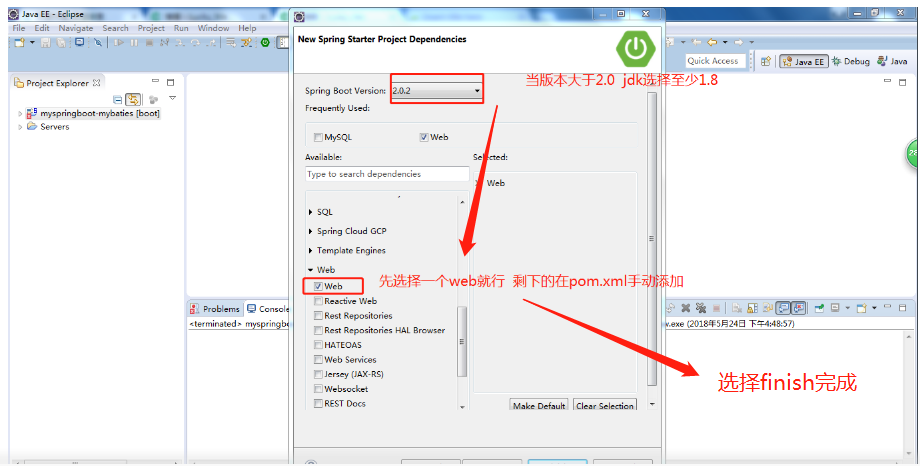
等待jar 下载完成
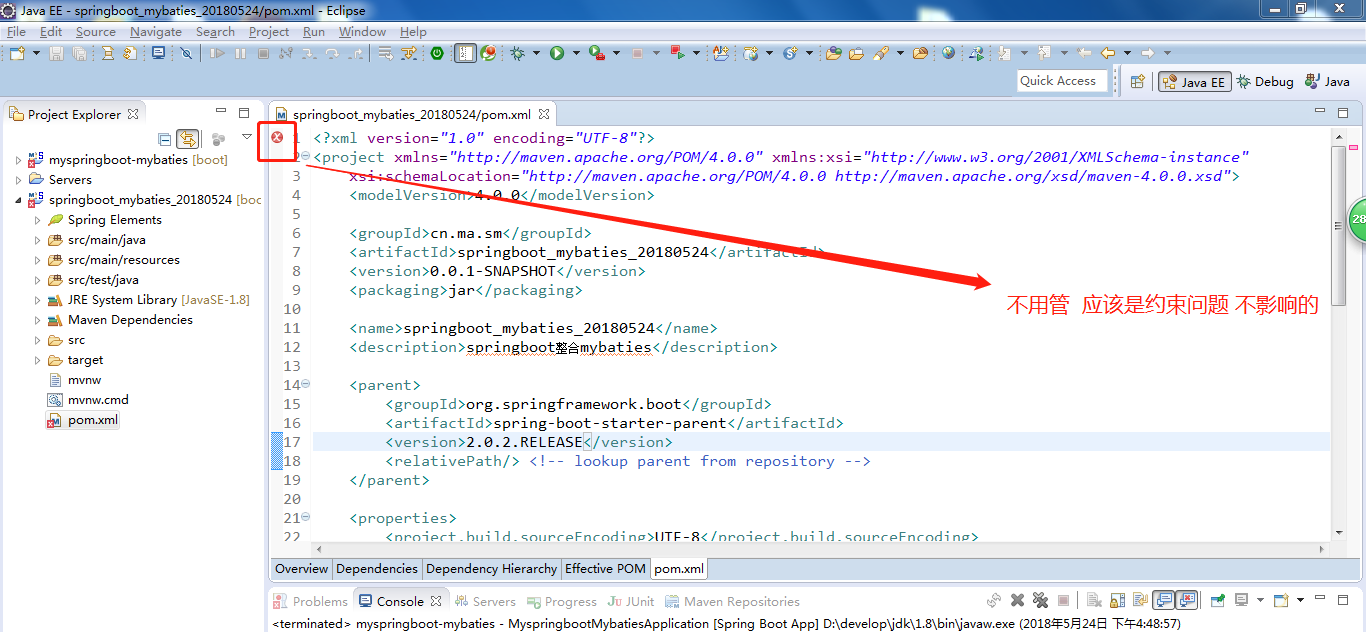
4.2 配置pom.xml 红色部分为要添加的jar
<?xml version="1.0" encoding="UTF-8"?><project xmlns="http://maven.apache.org/POM/4.0.0" xmlns:xsi="http://www.w3.org/2001/XMLSchema-instance"
xsi:schemaLocation="http://maven.apache.org/POM/4.0.0 http://maven.apache.org/xsd/maven-4.0.0.xsd">
<modelVersion>4.0.0</modelVersion>
<groupId>cn.ma.sm</groupId>
<artifactId>springboot_mybaties_20180524</artifactId>
<version>0.0.1-SNAPSHOT</version>
<packaging>jar</packaging>
<name>springboot_mybaties_20180524</name>
<description>springboot整合mybaties</description>
<parent>
<groupId>org.springframework.boot</groupId>
<artifactId>spring-boot-starter-parent</artifactId>
<version>2.0.2.RELEASE</version>
<relativePath/> <!-- lookup parent from repository -->
</parent>
<properties>
<project.build.sourceEncoding>UTF-8</project.build.sourceEncoding>
<project.reporting.outputEncoding>UTF-8</project.reporting.outputEncoding>
<java.version>1.8</java.version>
</properties>
<dependencies>
<dependency>
<groupId>org.springframework.boot</groupId>
<artifactId>spring-boot-starter-web</artifactId>
</dependency>
<dependency>
<groupId>org.springframework.boot</groupId>
<artifactId>spring-boot-starter-test</artifactId>
<scope>test</scope>
</dependency>
<!-- 1.springboot与mybaties整合jar -->
<dependency>
<groupId>org.mybatis.spring.boot</groupId>
<artifactId>mybatis-spring-boot-starter</artifactId>
<version>1.3.2</version>
</dependency>
<!-- 2. MySQL 驱动jar -->
<dependency>
<groupId>mysql</groupId>
<artifactId>mysql-connector-java</artifactId>
<scope>runtime</scope>
</dependency>
<!-- 3. commons -->
<dependency>
<groupId>org.apache.commons</groupId>
<artifactId>commons-lang3</artifactId>
<version>3.4</version>
</dependency>
<dependency>
<groupId>com.github.pagehelper</groupId>
<artifactId>pagehelper-spring-boot-starter</artifactId>
<version>1.2.5</version>
</dependency>
<!-- 6. alibaba的druid数据库连接池 -->
<dependency>
<groupId>com.alibaba</groupId>
<artifactId>druid-spring-boot-starter</artifactId>
<version>1.1.9</version>
</dependency>
<!-- 7 8 9 是为了整合jsp -->
<!-- 7.servlet依赖 -->
<dependency>
<groupId>javax.servlet</groupId>
<artifactId>javax.servlet-api</artifactId>
<scope>provided</scope>
</dependency>
<!-- 8.jstl -->
<dependency>
<groupId>javax.servlet</groupId>
<artifactId>jstl</artifactId>
</dependency>
<!-- 9.jsp支持 -->
<dependency>
<groupId>org.apache.tomcat.embed</groupId>
<artifactId>tomcat-embed-jasper</artifactId>
<scope>provided</scope>
</dependency>
</dependencies>
<build>
<plugins>
<plugin>
<groupId>org.springframework.boot</groupId>
<artifactId>spring-boot-maven-plugin</artifactId>
</plugin>
</plugins>
<!--放行xml格式文件--> <resources> <resource> <directory>src/main/java</directory> <includes> <include>**/*.xml</include> </includes> <filtering>true</filtering> </resource> </resources>
</build>
</project>4.3 设计一个简单的数据
创建数据库

创建表
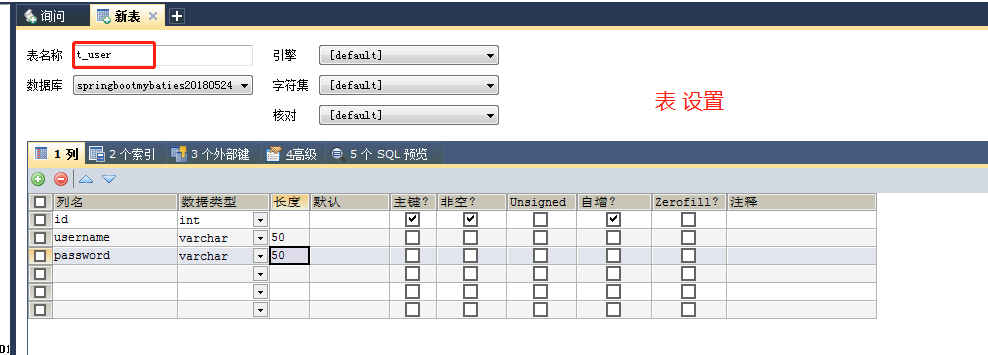
表中添加数据

4.4 创建实体类

4.5 配置数据源
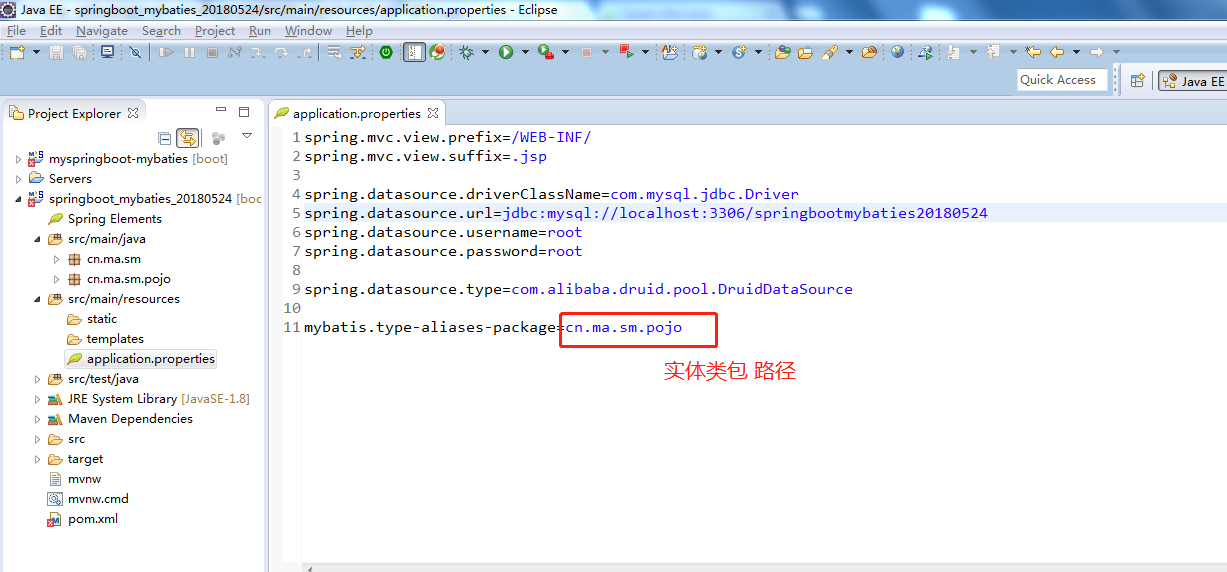
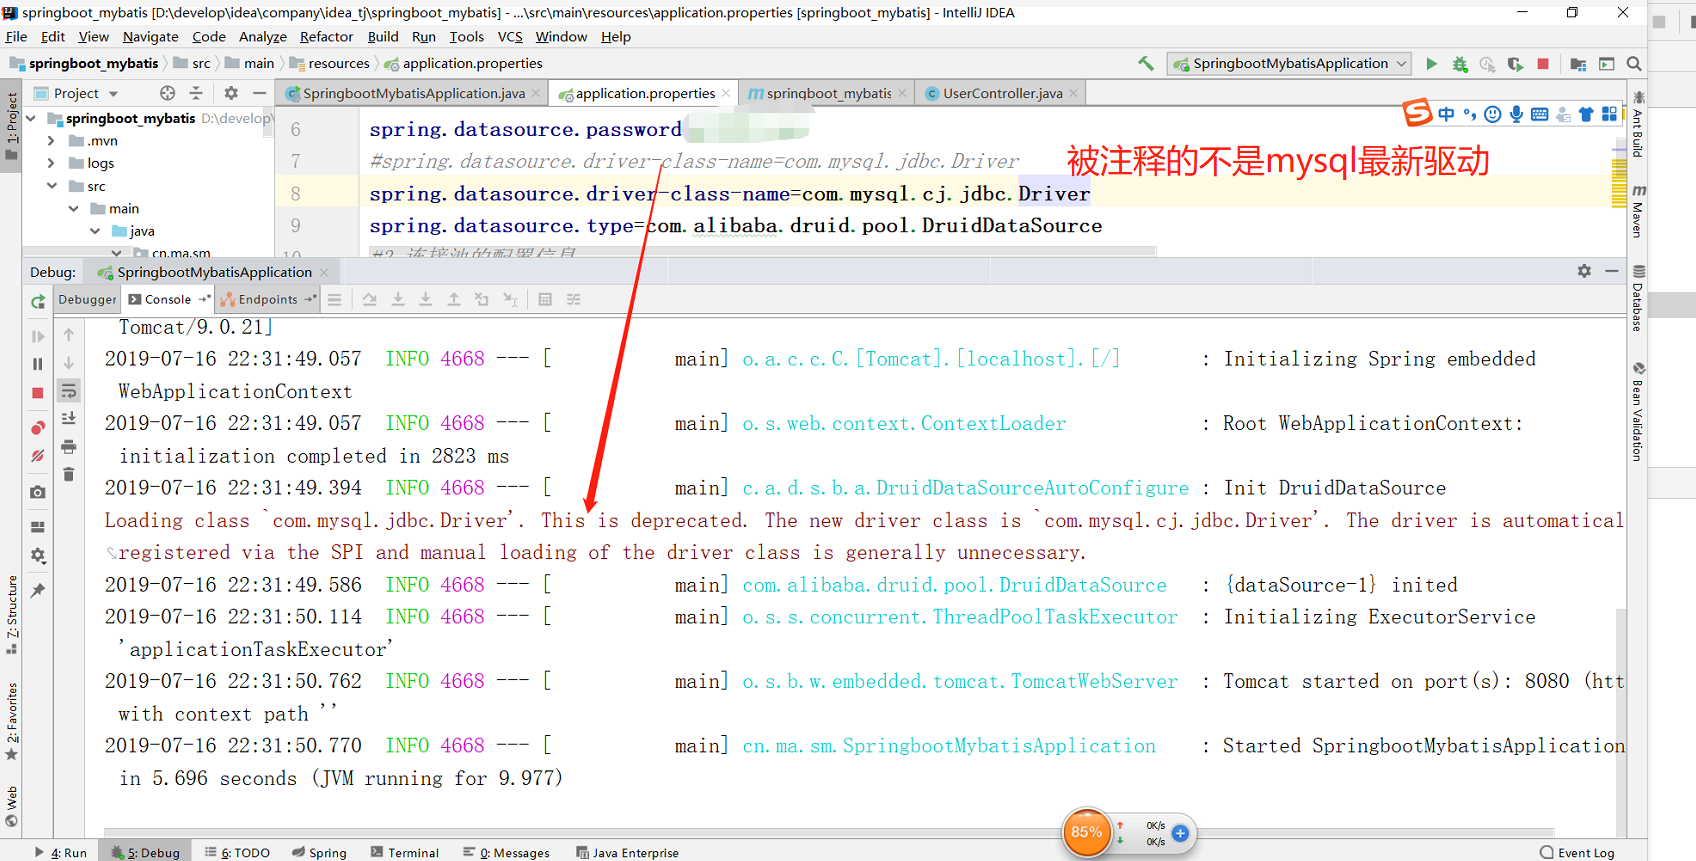
#1.配置端口 server.port=9000 #2.连接数据源 spring.datasource.url=jdbc:mysql://localhost:3306/studydb?useUnicode=true&useJDBCCompliantTimezoneShift=true&useLegacyDatetimeCode=false&serverTimezone=UTC spring.datasource.username=root spring.datasource.password=root #spring.datasource.driver-class-name=com.mysql.jdbc.Driver
spring.datasource.driver-class-name=com.mysql.cj.jdbc.Driver
spring.datasource.type=com.alibaba.druid.pool.DruidDataSource
#3.连接池的配置信息
spring.datasource.initialSize=5
spring.datasource.minIdle=5
spring.datasource.maxActive=20
spring.datasource.maxWait=60000
spring.datasource.timeBetweenEvictionRunsMillis=60000
spring.datasource.minEvictableIdleTimeMillis=300000
spring.datasource.validationQuery=SELECT 1 FROM DUAL
spring.datasource.testWhileIdle=true
spring.datasource.testOnBorrow=false
spring.datasource.testOnReturn=false
spring.datasource.poolPreparedStatements=true
spring.datasource.maxPoolPreparedStatementPerConnectionSize=20
spring.datasource.filters=stat,wall,log4j
spring.datasource.connectionProperties=druid.stat.mergeSql=true;druid.stat.slowSqlMillis=5000
#4.统一配置实体类包路径
mybatis.type-aliases-package=cn.ma.sm.pojo
#5.开启驼峰命名
mybatis.configuration.map-underscore-to-camel-case=true
4.6 controller层
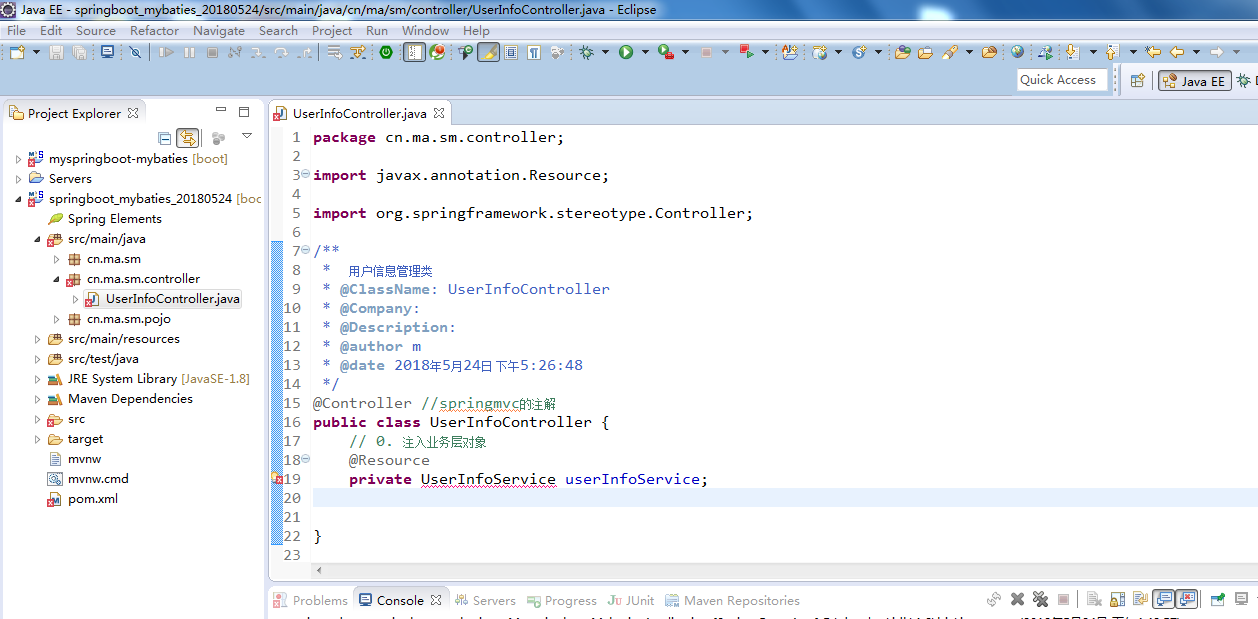
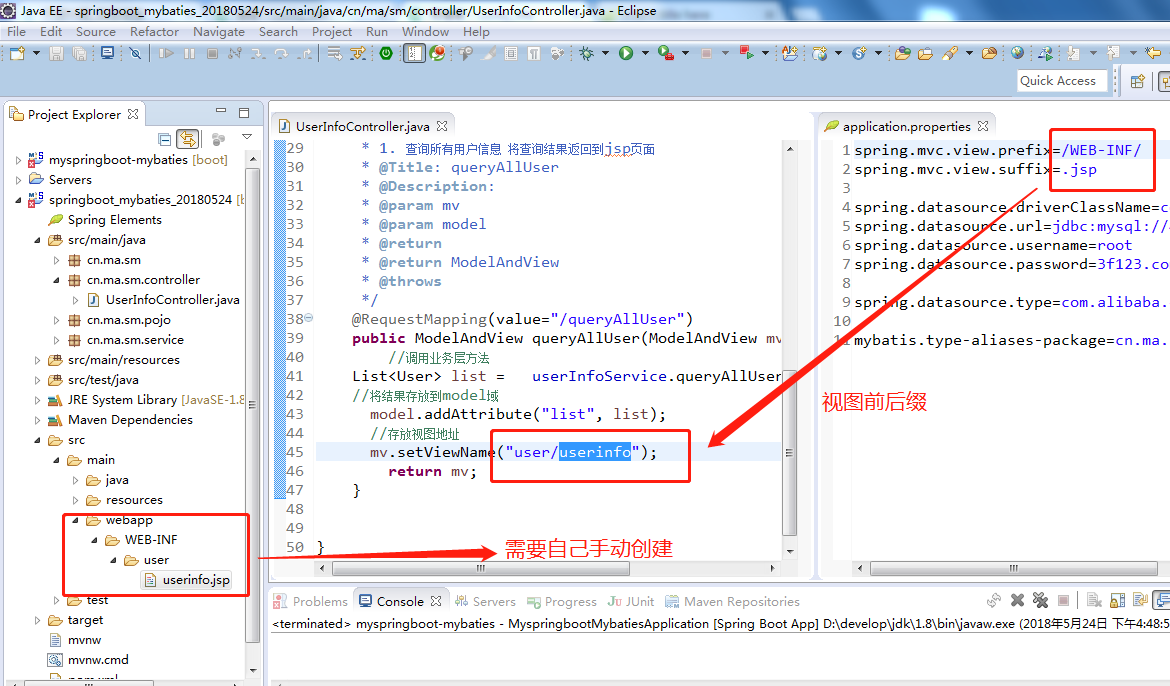
4.7 service层

4.8 mapper
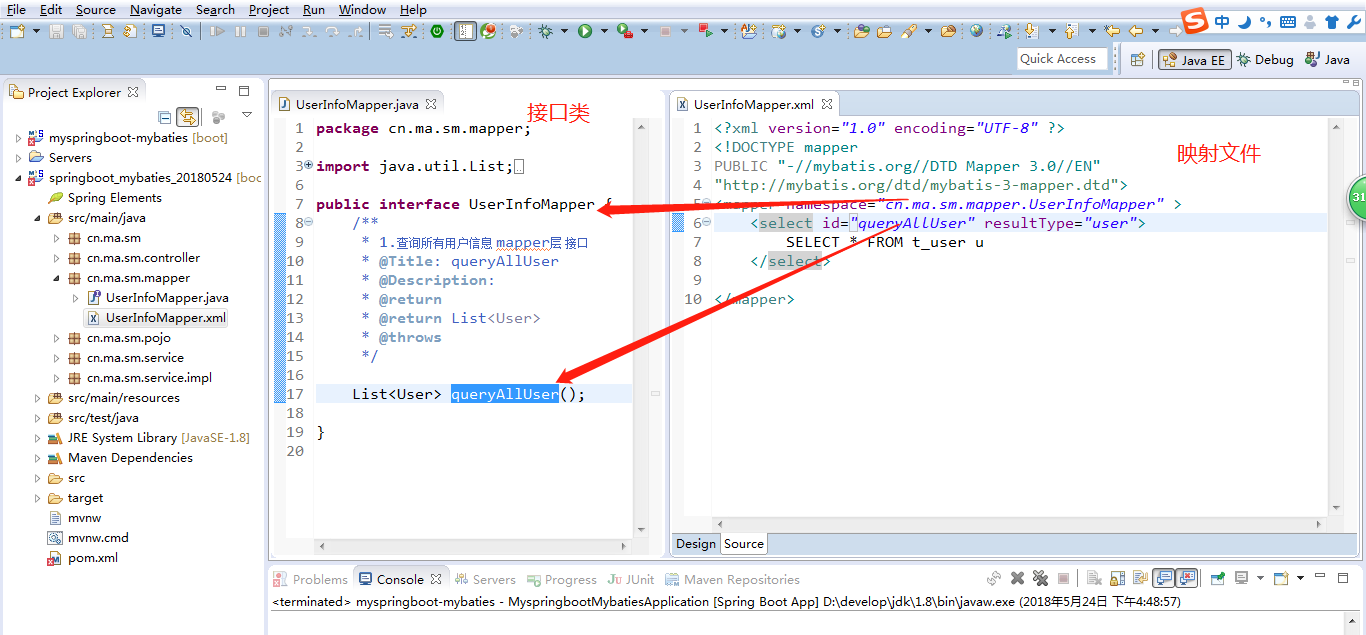
4.9 springboot 启动器中配置mapper包路径
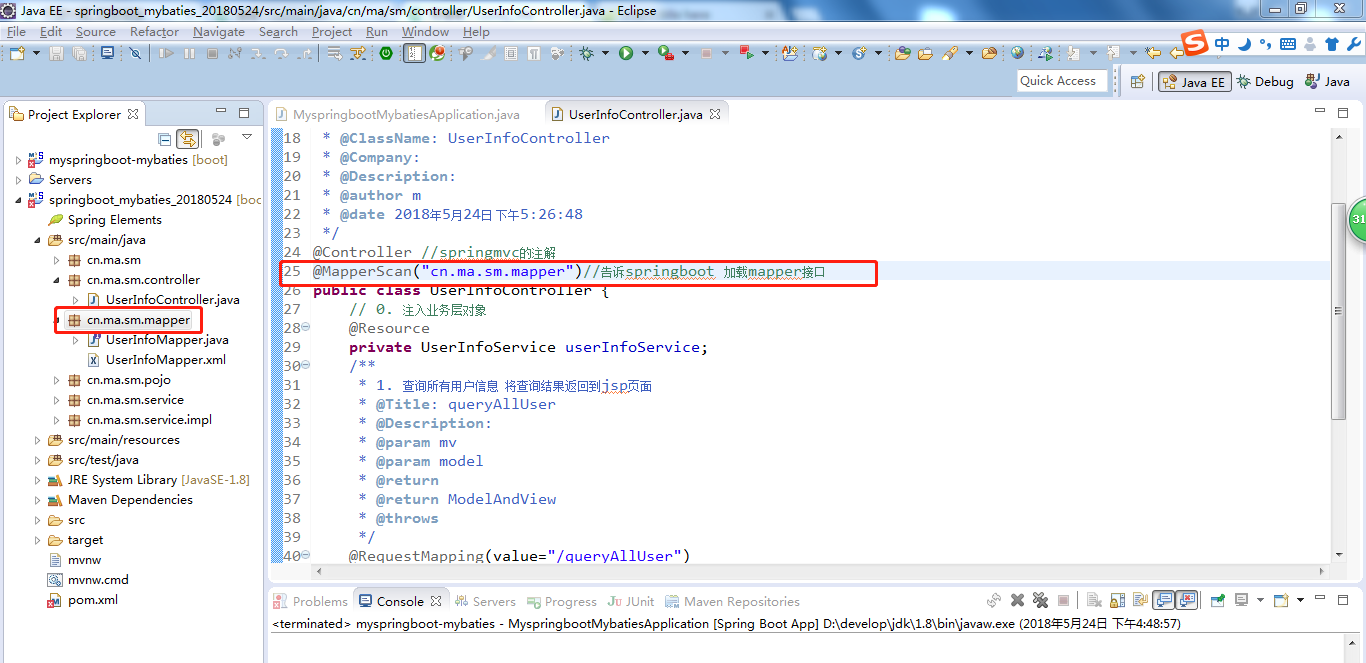
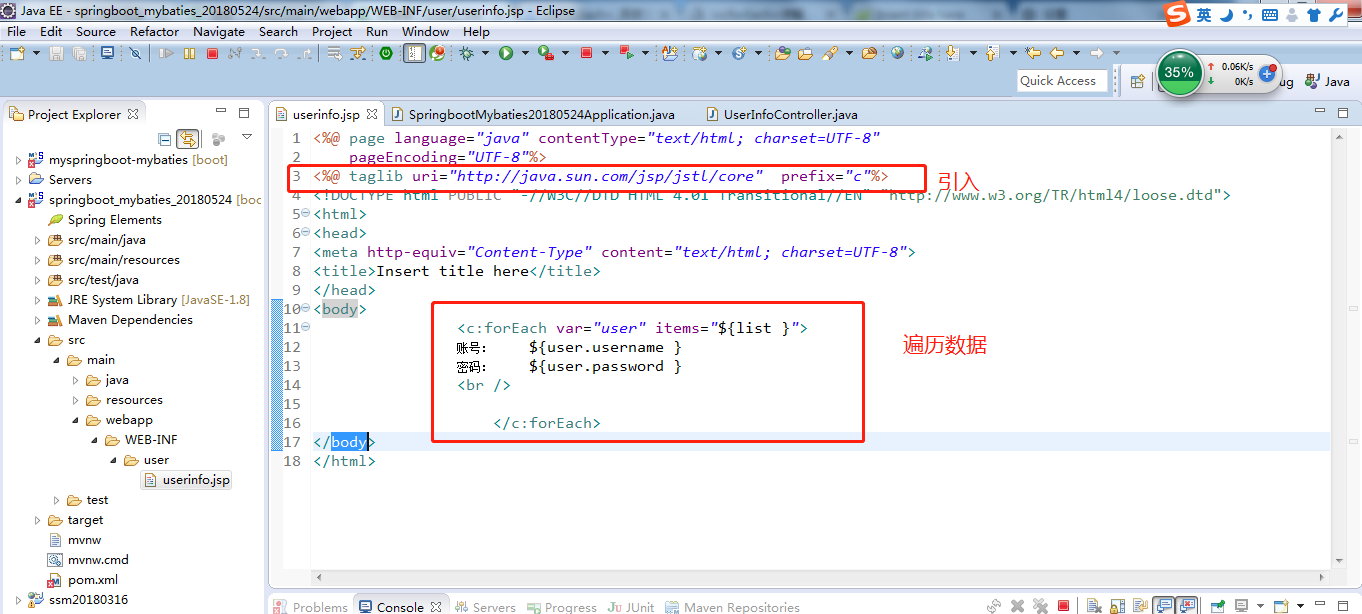
4.10 编写jsp页面
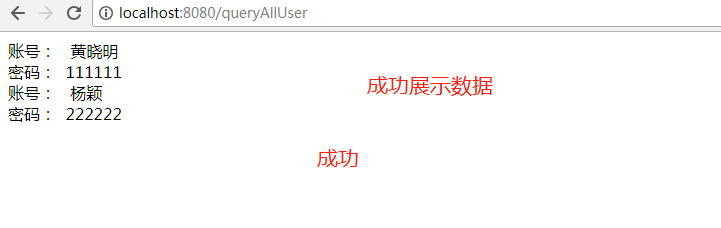
5. 效果
6.代码
https://gitee.com/Luck\_Me/springbootAndMybaties
7.部署
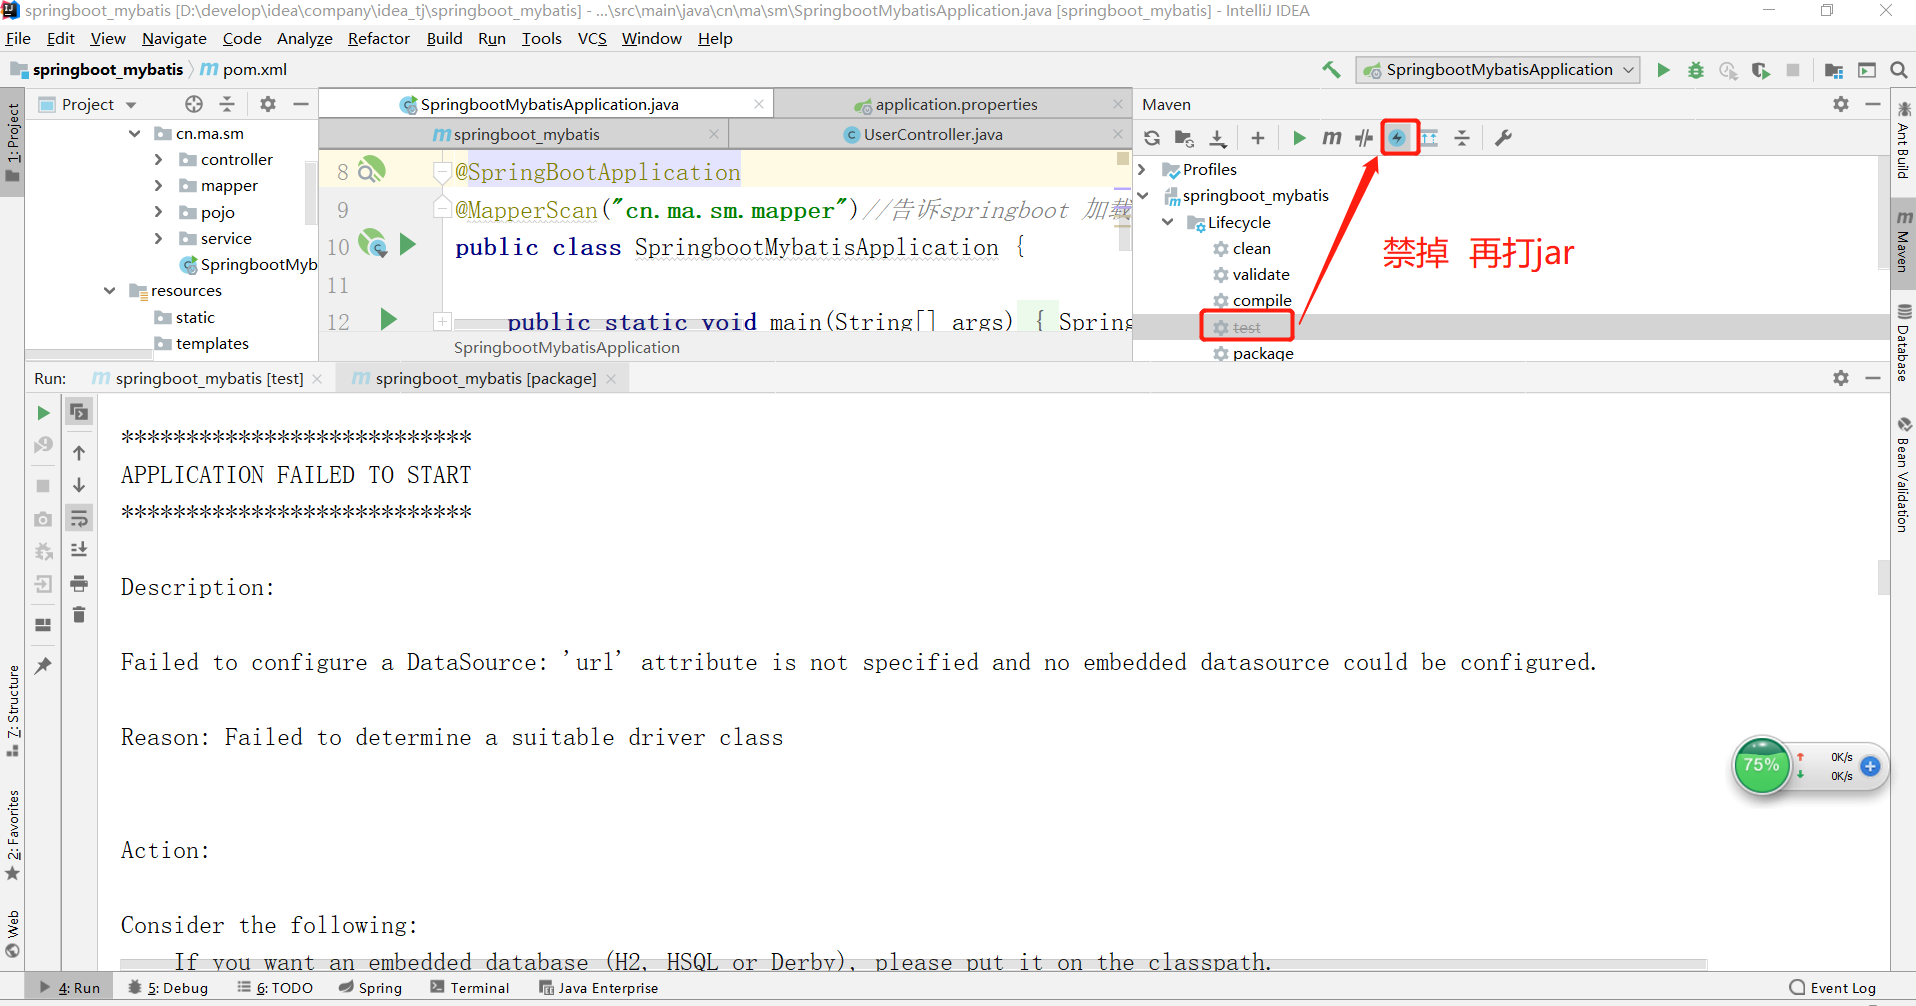
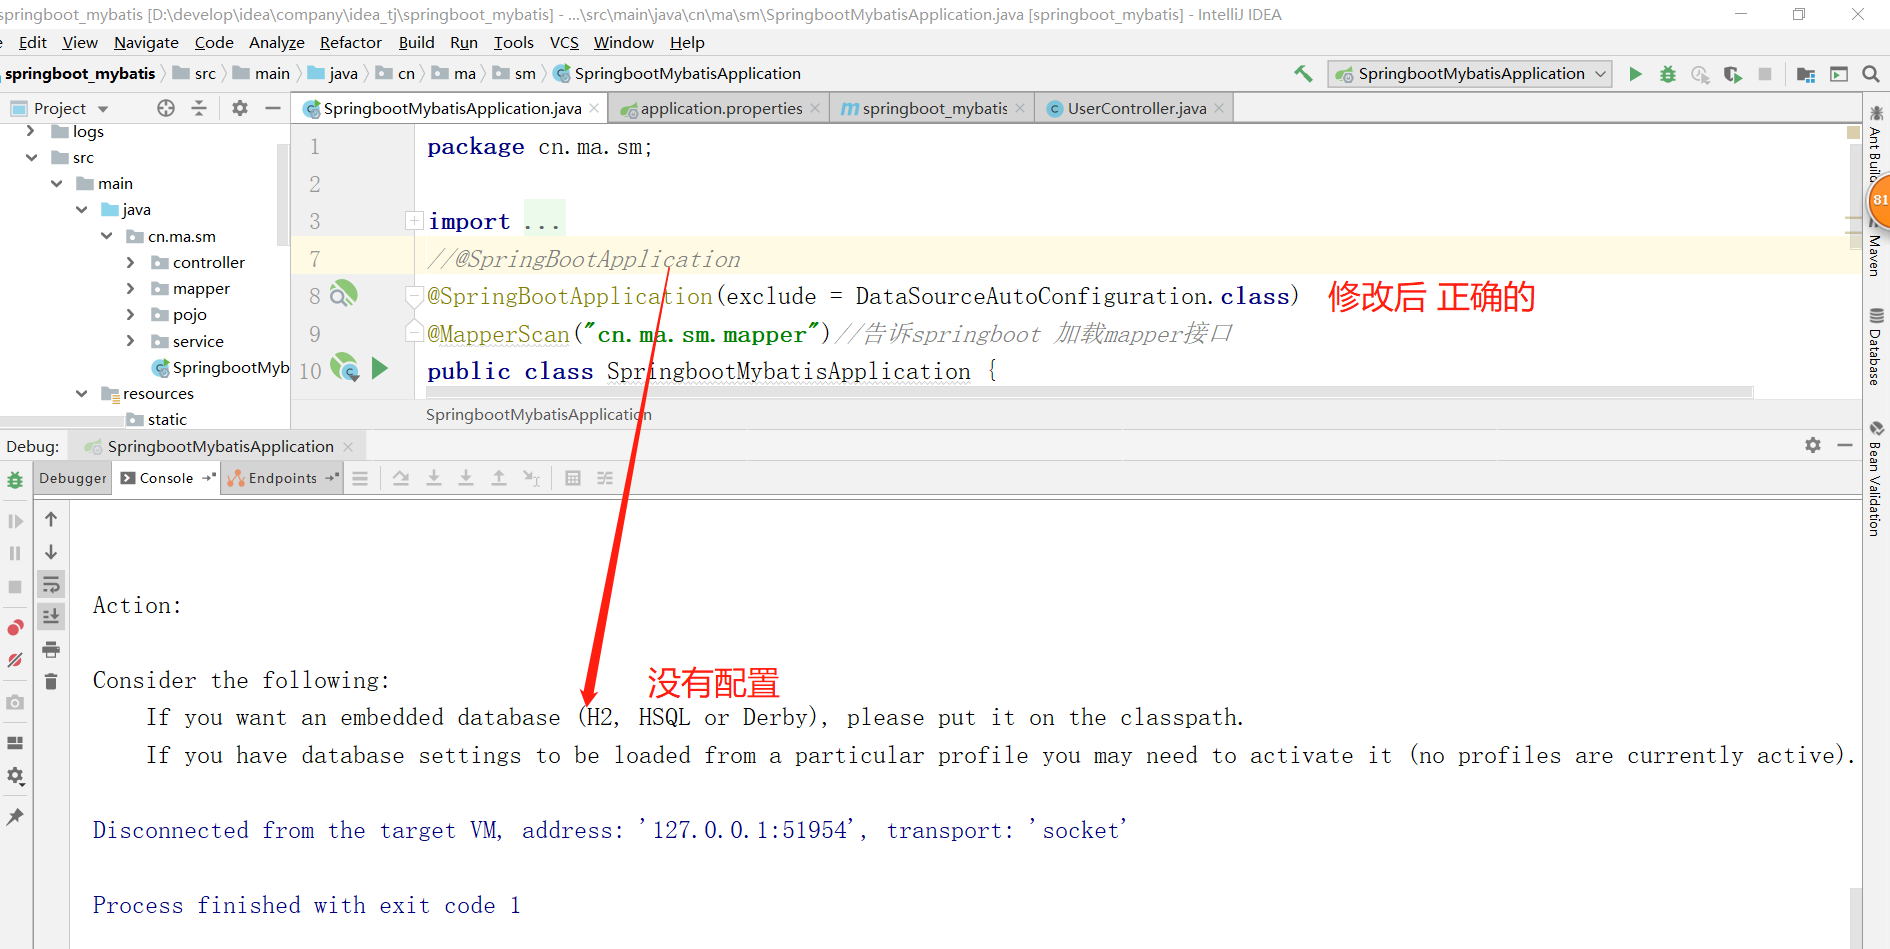
7.1 打jar 错误