
一直更新了iOS8,但是一直没有开始研究这个iOS8,今天因为项目用到了推送,于是体验了iOS8的推送,先讲讲这个推送。目前分为四个推送:用户推送,本地推送,远程推送,地理位置推送。

用户推送
我们先开始讲这个用户推送,我们要使用之前必须先注册这个推送,用户要允许这个程序进行推送
注册过程:
1if (IS_IOS8) {
2        //1.创建消息上面要添加的动作(按钮的形式显示出来)
3        UIMutableUserNotificationAction *action = [[UIMutableUserNotificationAction alloc] init];
4        action.identifier = @"action";//按钮的标示
5        action.title=@"Accept";//按钮的标题
6        action.activationMode = UIUserNotificationActivationModeForeground;//当点击的时候启动程序
7        //    action.authenticationRequired = YES;
8        //    action.destructive = YES;
9
10        UIMutableUserNotificationAction *action2 = [[UIMutableUserNotificationAction alloc] init];
11        action2.identifier = @"action2";
12        action2.title=@"Reject";
13        action2.activationMode = UIUserNotificationActivationModeBackground;//当点击的时候不启动程序,在后台处理
14        action.authenticationRequired = YES;//需要解锁才能处理,如果action.activationMode = UIUserNotificationActivationModeForeground;则这个属性被忽略;
15        action.destructive = YES;
16
17        //2.创建动作(按钮)的类别集合
18        UIMutableUserNotificationCategory *categorys = [[UIMutableUserNotificationCategory alloc] init];
19        categorys.identifier = @"alert";//这组动作的唯一标示,推送通知的时候也是根据这个来区分
20        [categorys setActions:@[action,action2] forContext:(UIUserNotificationActionContextMinimal)];
21
22        //3.创建UIUserNotificationSettings,并设置消息的显示类类型
23        UIUserNotificationSettings *notiSettings = [UIUserNotificationSettings settingsForTypes:(UIUserNotificationTypeBadge | UIUserNotificationTypeAlert | UIRemoteNotificationTypeSound) categories:[NSSet setWithObjects:categorys, nil nil]];
24        [application registerUserNotificationSettings:notiSettings];
25
26    }else{
27        [application registerForRemoteNotificationTypes: UIRemoteNotificationTypeAlert | UIRemoteNotificationTypeBadge | UIRemoteNotificationTypeSound];
28    }
29
30  - (void)application:(UIApplication *)application didRegisterUserNotificationSettings:(UIUserNotificationSettings *)notificationSettings
31{
32//    UIUserNotificationSettings *settings = [application currentUserNotificationSettings];
33//    UIUserNotificationType types = [settings types];
34//    //只有5跟7的时候包含了 UIUserNotificationTypeBadge
35//    if (types == 5 || types == 7) {
36//        application.applicationIconBadgeNumber = 0;
37//    }
38    //注册远程通知
39    [application registerForRemoteNotifications];
40}
我们现在仅仅是注册了通知的设置,还要注册推送通知的行为,在iOS8中,行为能直接在推送消息进行,如回复消息,拒绝消息等总结就是三个方法进行注册

我们如何能进行这些行为,首先我们需注册这些行为。
-
Actions
-
1 UIMutableUserNotificationAction *acceptAction = [[UIMutableUserNotificationAction alloc] init]; 2 acceptAction.identifier = @"RickAction"; 3 acceptAction.title = @"Accept"; 4 acceptAction.activationMode = UIUserNotificationActivationModeBackground; 5 acceptAction.destructive = NO; 6 acceptAction.authenticationRequired = NO; -
Categories
-
1  UIMutableUserNotificationCategory *inviteCategory = [[UIMutableUserNotificationCategory alloc] init];
2  inviteCategory.identifier = @"INVITE_CATEGORY";
3  [inviteCategory setActions:@[acceptAction] forContext:UIUserNotificationActionContextDefault];
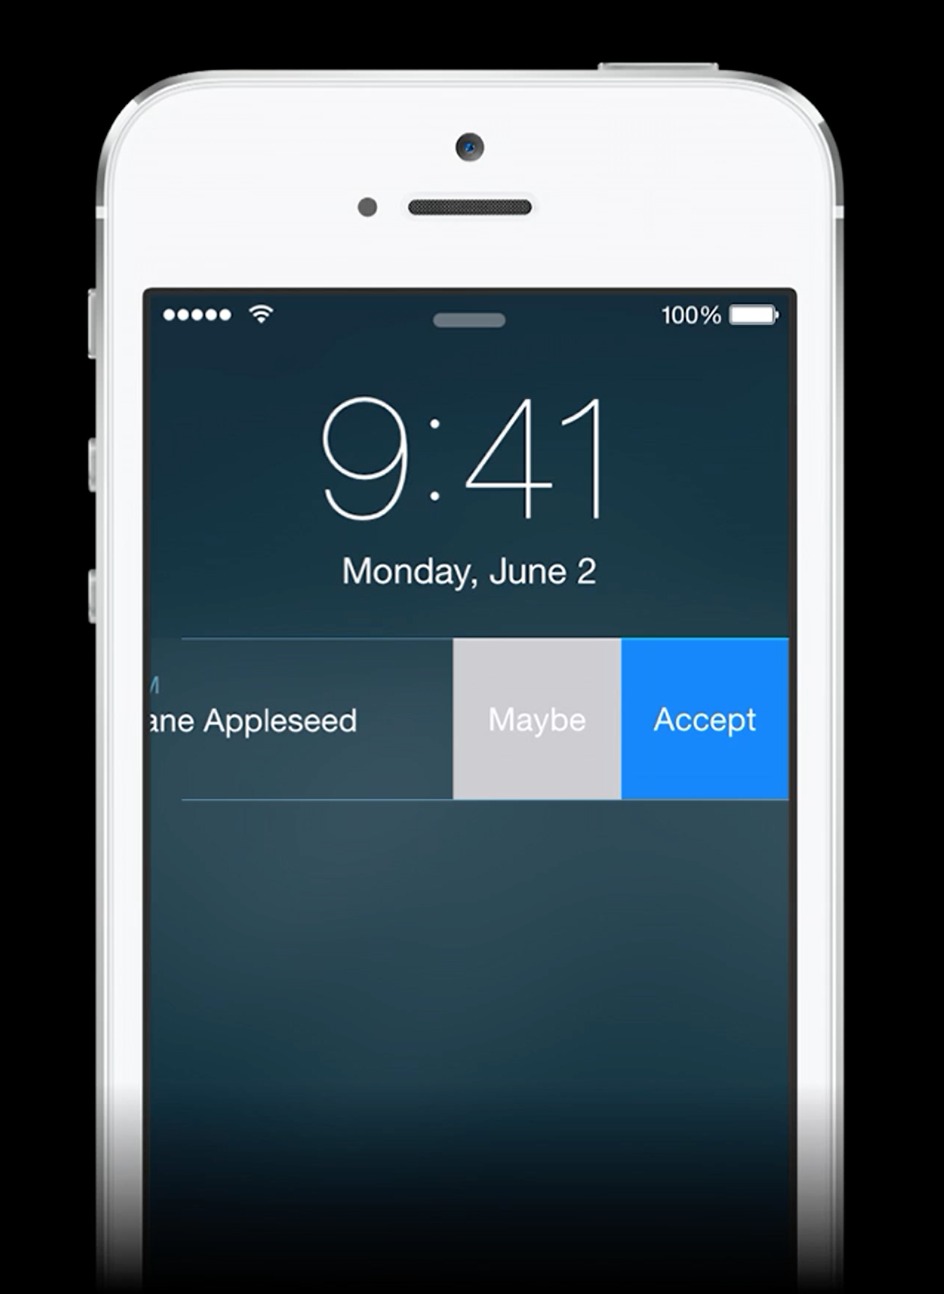
1我们需要注意这个UIUserNotificationActionContextDefault,如果我们使用这个,我们会得到这个推送行为,Maybe和Accept 2 3我们还可以使用UIUserNotificationActionContextMinimal得到的是Decline和Accept行为 4 5 6 7
-
Settings
在这些行为注册之后,我们加上之前提到的推送设置就完成了注册推送的这个流程了
-
1  NSSet *categories = [NSSet setWithObjects:inviteCategory, nil nil];
2  UIUserNotificationType  types = UIUserNotificationTypeBadge | UIUserNotificationTypeSound | UIUserNotificationTypeAlert ;
3  UIUserNotificationSettings  *mySettings  = [UIUserNotificationSettings settingsForTypes:types categories:categories];
4  [[UIApplication sharedApplication] registerUserNotificationSettings:mySettings];
远程推送
1----
2
3远程推送,所有消息大小不超过2KB,我们获取远程推送的json格式的消息,解析这个消息就是我们的远程推送了:
-
1 { 2 “aps”: { 3 "content-available": 1, 4 "alert": "This is the alert text", 5 "badge": 1, 6 "sound": "default" 7 } 8 } -
若要使用远程推送,满足两个条件:一、用户需要调用注册用户推送registerUserNotificationSettings;二、在info.plist文件中UIBackgroundModes必须包含远程通知。
-
[[UIApplication sharedApplication] registerForRemoteNotifications]; -
1 - (void)application:(UIApplication *)application didRegisterForRemoteNotificationsWithDeviceToken:(NSData *)deviceToken { 2 NSString *token=[NSString stringWithFormat:@"%@",deviceToken]; 3 token=[token stringByReplacingOccurrencesOfString:@"<" withString:@""]; 4 token=[token stringByReplacingOccurrencesOfString:@">" withString:@""]; 5 token=[token stringByReplacingOccurrencesOfString:@" " withString:@""]; 6 7 } -
1  - (void)application:(UIApplication *)application didFailToRegisterForRemoteNotificationsWithError:(NSError *)error {
2
3  }
iOS7通知代理方法
1 2 3后来又增加了本地通知的代理方法 4 5 6 7iOS8的推送代理方法只有两个了 8 9
-
1  - (void)application:(UIApplication *)application handleActionWithIdentifier:(NSString *)identifier forLocalNotification:(UILocalNotification *)notification completionHandler:(void (^)())completionHandler
2  {
3  }
4
5  - (void)application:(UIApplication *)application handleActionWithIdentifier:(NSString *)identifier forRemoteNotification:(NSDictionary *)userInfo completionHandler:(void (^)())completionHandler
6  {
7  }
8
9  - (void)application:(UIApplication *)application handleActionWithIdentifier:(NSString *)identifier forLocalNotification:(UILocalNotification *)notification completionHandler:(void (^)())completionHandler
10  {
11      if ([identifier isEqualToString:@"RickAction"]) {
12          [self handleAcceptActionWithNotification:notification];
13      }
14      completionHandler();
15  }
16
17  - (void)handleAcceptActionWithNotification:(UILocalNotification*)notification
18  {
19  }
地理位置推送
这个推送是新的API才有的特性,必须配合CLLocation定位一起使用。
-
1  //Location Notification
2      CLLocationManager *locMan = [[CLLocationManager alloc] init];
3      locMan.delegate = self;
4      [locMan requestWhenInUseAuthorization];
5
6  #pragma mark - CLLocationManager
7
8  - (void)locationManager:(CLLocationManager *)manager didChangeAuthorizationStatus:(CLAuthorizationStatus)status
9
10  {
11      BOOL canUseLocationNotifications = (status == kCLAuthorizationStatusAuthorizedWhenInUse);
12      if (canUseLocationNotifications) {
13          [self startShowLocationNotification];
14      }
15  }
16  - (void)application:(UIApplication *)application didReceiveLocalNotification:(UILocalNotification *)notification
17
18  {
19      CLRegion *region = notification.region;
20      if (region) {
21      }
22  }
23
24  - (void)startShowLocationNotification
25
26  {
27      CLLocationCoordinate2D local2D ;
28      local2D.latitude = 123.0;
29      local2D.longitude = 223.0;
30      UILocalNotification *locNotification = [[UILocalNotification alloc] init];
31      locNotification.alertBody = @"你接收到了";
32      locNotification.regionTriggersOnce = YES;
33      locNotification.region = [[CLCircularRegion alloc] initWithCenter:local2D radius:45 identifier:@"local-identity"];
34      [[UIApplication sharedApplication] scheduleLocalNotification:locNotification];
35  }
如果没有开启Core Location 那么上面的didReceiveLocalNotification不会被调用
1最后再总结一下,整个推送流程我觉得是这样子的,先注册推送,然后推送消息,客户端接收推送消息,执行推送行为。如果有错误,还请在文章下面评论,欢迎指正。 2 3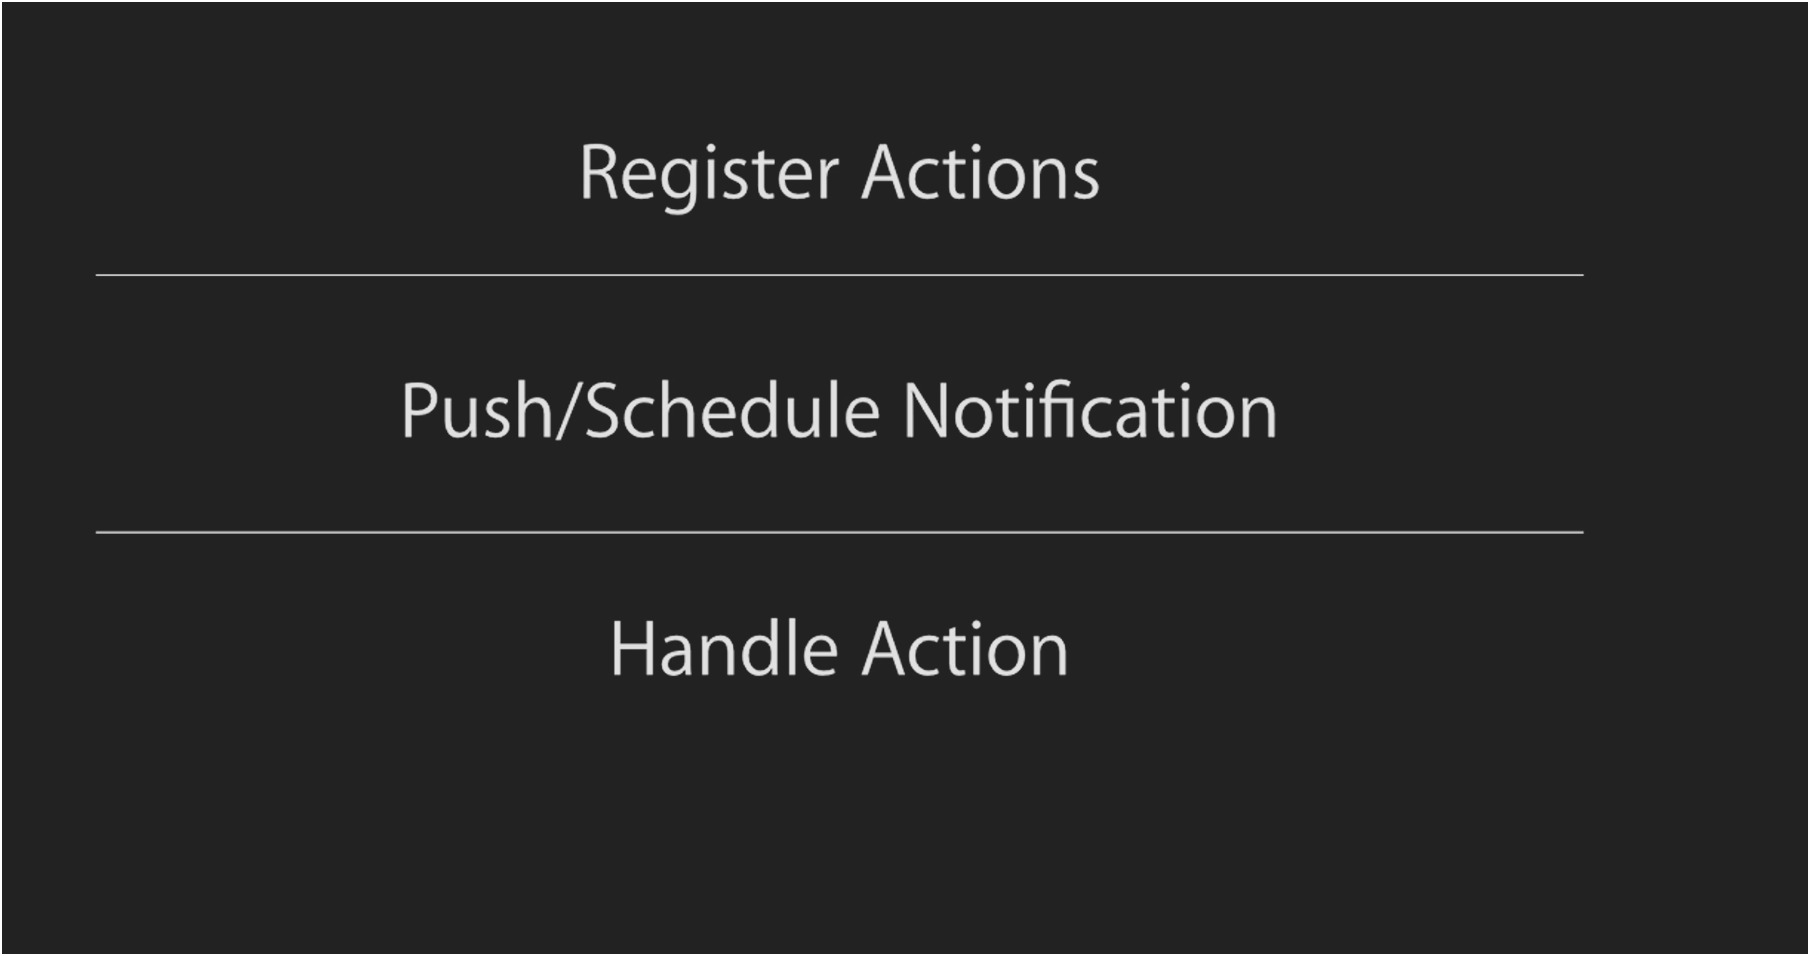 4 5 6这个博客写的也不错:[http://blog.csdn.net/yujianxiang666/article/details/35260135](https://www.oschina.net/action/GoToLink?url=http%3A%2F%2Fblog.csdn.net%2Fyujianxiang666%2Farticle%2Fdetails%2F35260135)