
SwiftUI直通车系列三(3)—— 使用导航
关于SwiftUI,我们前两篇博客介绍了独立组件的布局与属性设置相关内容,并且介绍了开发中最常用的列表视图的使用。但是一个完整的应用程序不可能是单界面的,如何使用SwiftUI进行界面间的导航跳转,是我们本博客讨论的重点。前两篇博客地址如下:
在本系列的第二篇博客中,我们能够使用SwiftUI来构建列表视图,通常,列表视图用来展示目录页面,当用户点击列表中的某一项时,需要跳转到详情页。在iOS应用中,页面的跳转常用导航控制器进行管理。在SwiftUI中,创建一个导航也是非常简单的,只需要在组件最外层嵌套NavigationView即可。以我们之前的列表视图Demo为例,改写代码如下:
1import SwiftUI
2import UIKit
3
4struct ContactModel {
5    var name:String
6    var phone:String
7}
8
9let modelData = [
10    ContactModel(name:"王小丫", phone:"15137348888"),
11    ContactModel(name:"李小二", phone:"15137348989")
12]
13
14struct ContentView: View {
15
16    var body: some View {
17        VStack (alignment: .leading, spacing: 10) {
18            Text("Hello, SwiftUI!啊啊啊")
19                .foregroundColor(Color.red)
20                .underline()
21                .font(Font.system(size: 25))
22            Spacer()
23            Text("Hello, SwiftUI!")
24            .foregroundColor(Color.red)
25            .underline()
26            .font(Font.system(size: 25))
27        }
28        .padding(EdgeInsets(top: 30, leading: 0, bottom: 30, trailing: 0))
29    }
30}
31
32struct Label:UIViewRepresentable {
33    func makeUIView(context: Context) -> UILabel {
34        UILabel(frame: .zero)
35     }
36
37    func updateUIView(_ uiView: UILabel, context: Context) {
38        uiView.text = "Hello"
39    }
40}
41
42
43struct ContentImage:View {
44    var body: some View {
45        Image("demo")
46        .clipShape(Circle())
47        .shadow(radius: 30)
48    }
49}
50
51struct RowContent:View {
52
53    var contactModel:ContactModel
54
55    var body: some View {
56        HStack(alignment:.top) {
57            Image("demo").resizable().frame(width: 70, height: 70)
58            VStack(alignment:.leading, spacing: 10) {
59                Text(self.contactModel.name).bold().font(Font.system(size: 25))
60                Text(self.contactModel.phone).font(Font.system(size: 20))
61            }
62            Spacer()
63            }.padding(EdgeInsets(top: 10, leading: 20, bottom: 10, trailing: 20))
64    }
65}
66
67struct ListContent:View {
68    var body: some View {
69        NavigationView {
70            List(modelData, id: \.name) { model in
71                RowContent(contactModel: model)
72            }
73            .navigationBarTitle("通讯录")
74        }
75    }
76}
77
78struct ContentView_Previews: PreviewProvider {
79    static var previews: some View {
80        ListContent()
81    }
82}
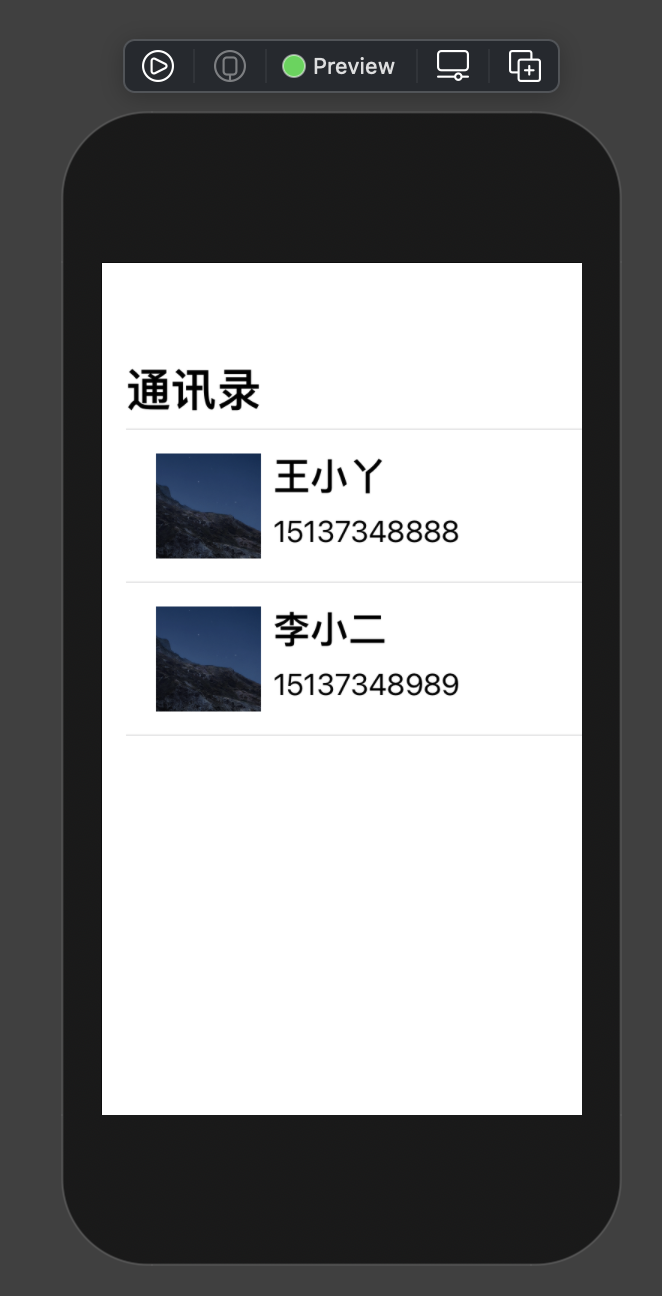
你只需要关注ListContent结构体即可,其中为列表视图设置了导航,并且定义了导航栏上的标题,效果如下图:
要实现页面的跳转,需要为要触发跳转的组件添加NavigationLink包裹,NavigationLink可以指向要跳转的详情页面,如下:
1struct ListContent:View {
2    var body: some View {
3        NavigationView {
4            List(modelData, id: \.name) { model in
5                NavigationLink(destination: ContentImage()) {
6                    RowContent(contactModel: model)
7                }
8            }
9            .navigationBarTitle("通讯录")
10        }
11    }
12}
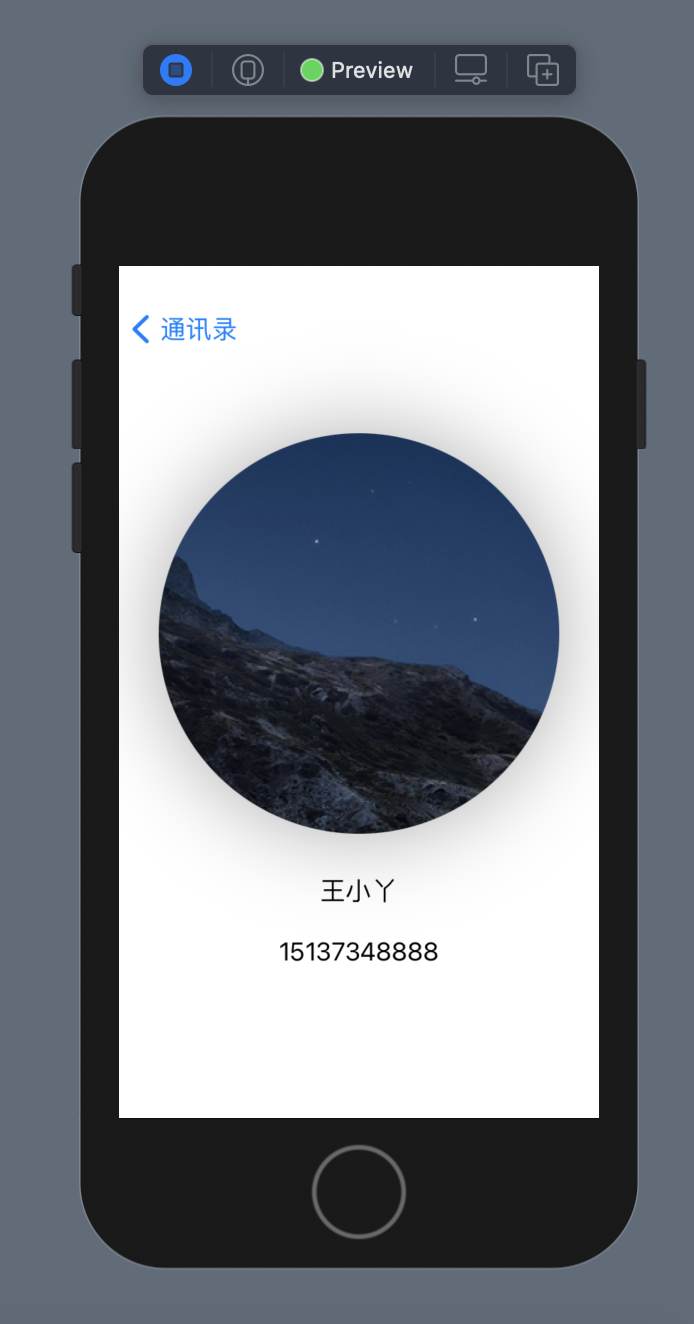
如果详情页面是动态的,在跳转时,我们也可以将数据传递过去,如下:
1struct ContentImage:View {
2    var name:String
3    var phone:String
4    var body: some View {
5        VStack() {
6            Image("demo")
7                .clipShape(Circle())
8                .shadow(radius: 30)
9                .offset(x: 0, y: -70)
10            Text(name).offset(x: 0, y: -50)
11            Text(phone).offset(x: 0, y: -30)
12        }
13    }
14}
15
16struct ListContent:View {
17    var body: some View {
18        NavigationView {
19            List(modelData, id: \.name) { model in
20                NavigationLink(destination: ContentImage(name: model.name, phone: model.phone)) {
21                    RowContent(contactModel: model)
22                }
23            }
24            .navigationBarTitle("通讯录")
25        }
26    }
27}
效果如下图所示:
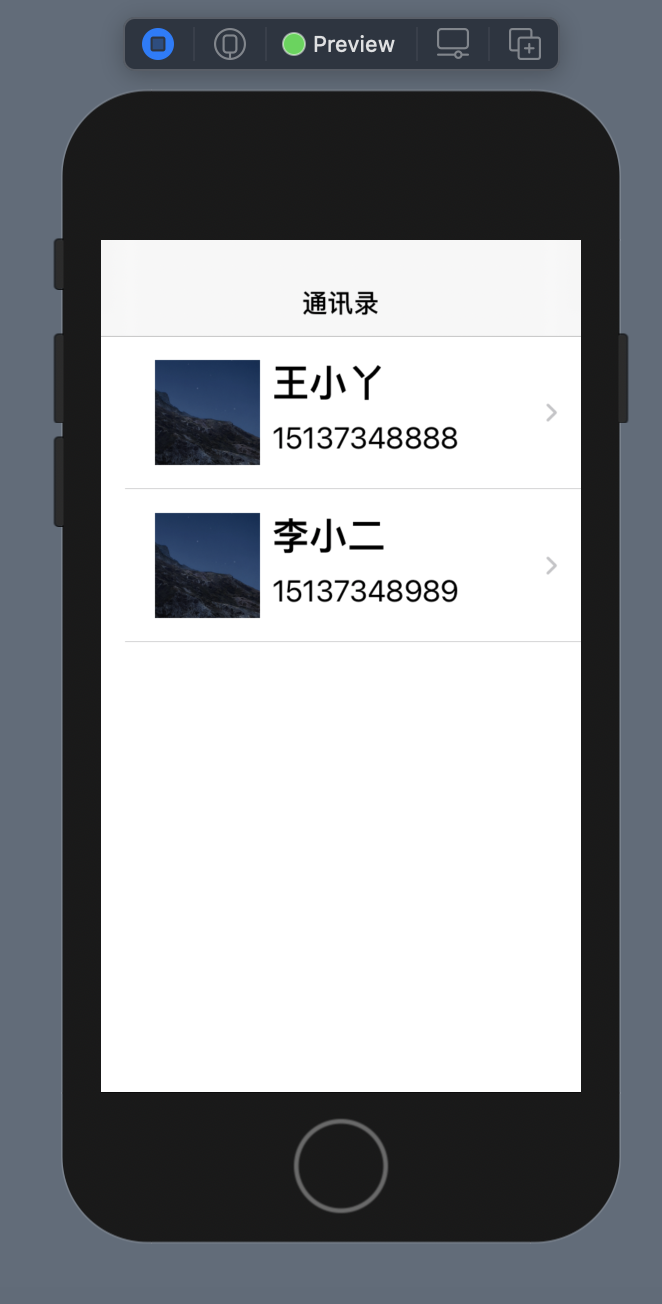
默认导航的标题是大文字风格的,若要使用常规风格的,需要配置其displayMode属性,如下:
1struct ListContent:View {
2    var body: some View {
3        NavigationView {
4            List(modelData, id: \.name) { model in
5                NavigationLink(destination: ContentImage(name: model.name, phone: model.phone)) {
6                    RowContent(contactModel: model)
7                }
8            }
9            .navigationBarTitle("通讯录", displayMode: .inline)
10        }
11    }
12}
效果如下图所示:
专注技术,热爱生活,交流技术,也做朋友。
——珲少 QQ群:805263726