
本文主要介绍如何使用原生js,通过面向对象的方式实现一个文件上传预览的组件,该组件利用FileReader来实现文件在前端的解析,预览,读取进度等功能,并对外暴露相应api来实现用户自定义的需求,比如文件上传,进度监听,自定义样式,读取成功回调等。
组件设计架构如下:
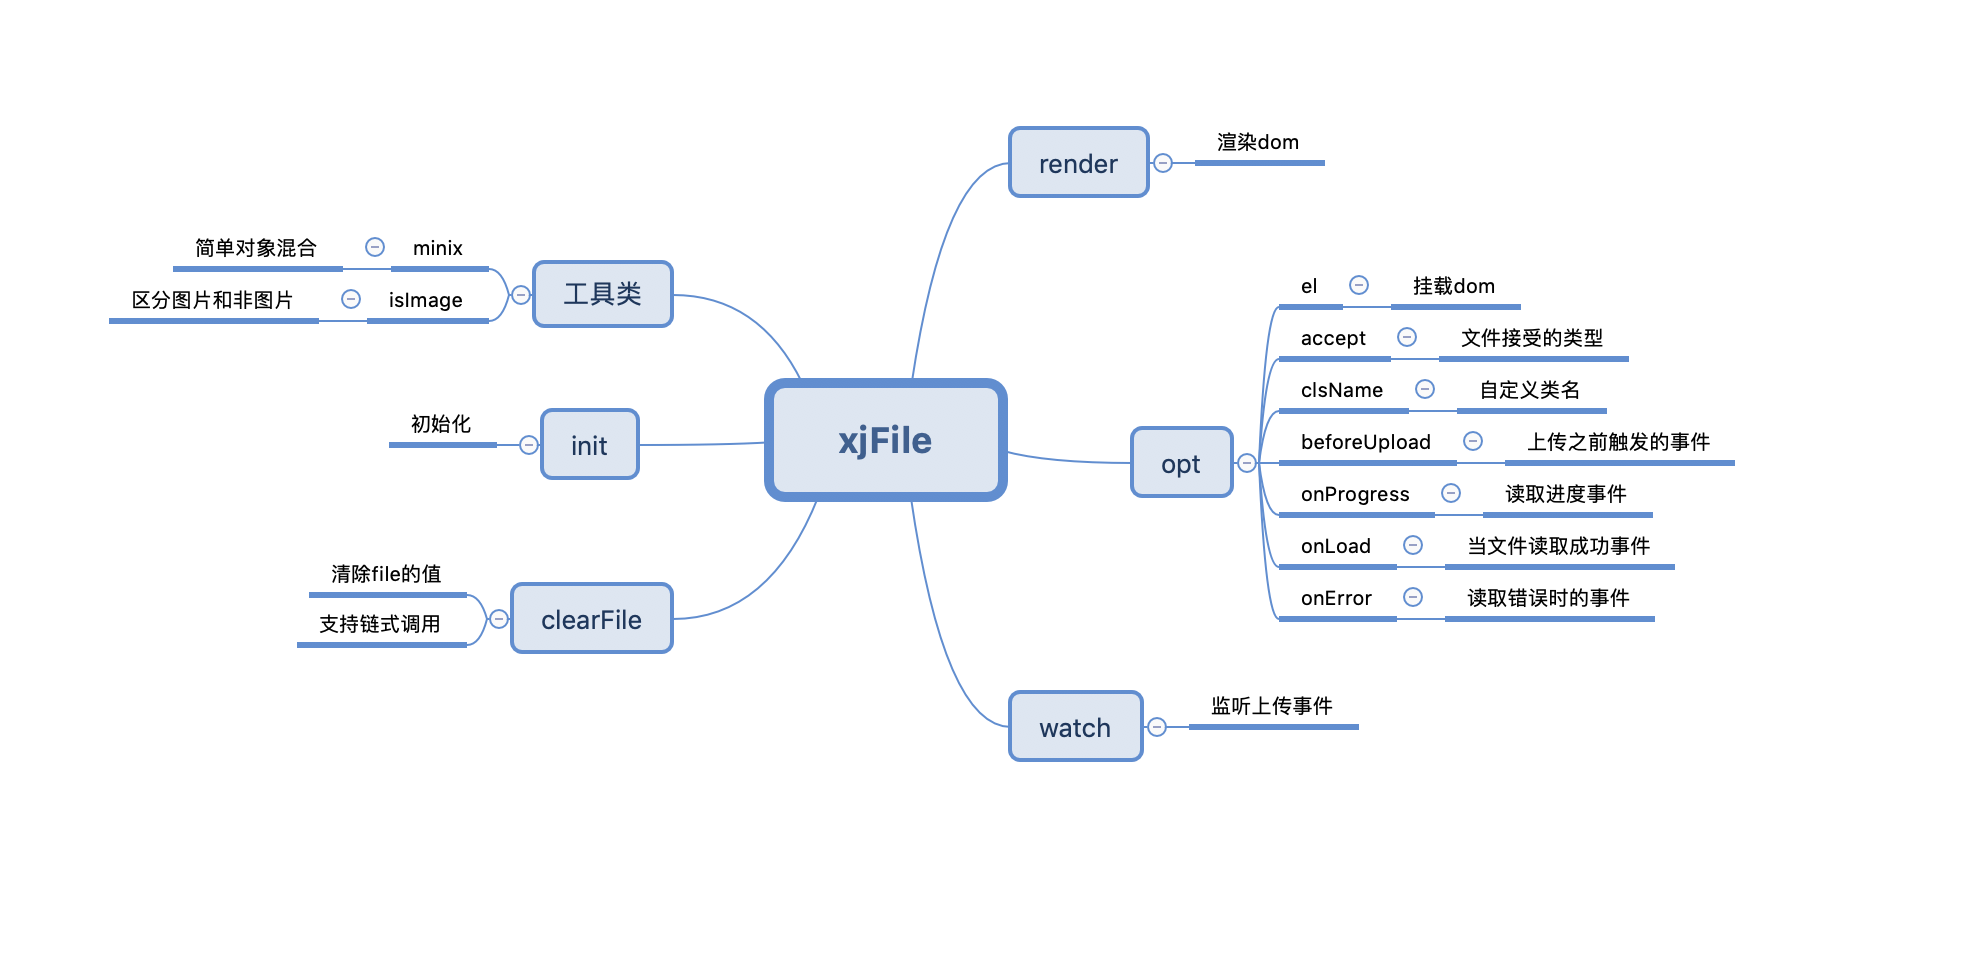
涉及的核心知识点如下:
- 闭包:减少变量污染,缩短变量查找范围
- 自执行函数
- file API:对文件进行读取,解析,监控文件事件
- DocumentFragment API:主要用来优化dom操作
- minix :用来实现对象混合
- 正则表达式:匹配文件类型
- class :类组件
github地址
Demo演示
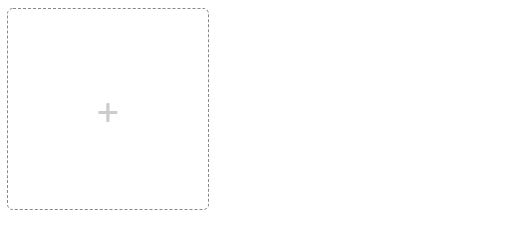



使用:
1<div id="test"></div>
2<script src="./js/xjFile.js"></script>
3<script>
4    new xjFile({
5        el: '#test', // 不填则直接默认挂在body上
6        accept: 'image/png', // 可选
7        clsName: 'xj-wrap', // 可选
8        beforeUpload: function(e) { console.log(e) }, // 可选
9        onProgress: function(e) { console.log(e) }, // 可选
10        onLoad: function(e) { console.log(e) }, // 可选
11        onError: function(e) { console.error('文件读取错误', e) } // 可选
12    });
13</script>
css代码:
1.xj-wrap {
2            position: relative;
3            display: inline-block;
4            border: 1px dashed #888;
5            width: 200px;
6            height: 200px;
7            border-radius: 6px;
8            overflow: hidden;
9        }
10        .xj-wrap::before {
11            content: '+';
12            font-size: 36px;
13            position: absolute;
14            transform: translate(-50%, -50%);
15            left: 50%;
16            top: 50%;
17            color: #ccc;
18        }
19        .xj-wrap .xj-pre-img {
20            width: 100%;
21            height: 100%;
22            background-repeat: no-repeat;
23            background-position: center center;
24            background-size: 100%;
25        }
26        .xj-file {
27            position: absolute;
28            left: 0;
29            right: 0;
30            bottom: 0;
31            top: 0;
32            opacity: 0;
33            cursor: pointer;
34        }
js代码:
1(function(win, doc){
2    function xjFile(opt) {
3        var defaultOption = {
4            el: doc.body,
5            accept: '*', // 格式按照'image/jpg,image/gif'传
6            clsName: 'xj-wrap',
7            beforeUpload: function(e) { console.log(e) },
8            onProgress: function(e) { console.log(e) },
9            onLoad: function(e) { console.log(e) },
10            onError: function(e) { console.error('文件读取错误', e) }
11        };
12
13        // 获取dom
14        if(opt.el) {
15            opt.el = typeof opt.el === 'object' ? opt.el : document.querySelector(opt.el);
16        }
17
18        this.opt = minix(defaultOption, opt);
19        this.value = '';
20        this.init();
21    }
22
23    xjFile.prototype.init = function() {
24        this.render();
25        this.watch();
26    }
27
28    xjFile.prototype.render = function() {
29        var fragment = document.createDocumentFragment(),
30            file = document.createElement('input'),
31            imgBox = document.createElement('div');
32        file.type = 'file';
33        file.accept = this.opt.accept || '*';
34        file.className = 'xj-file';
35        imgBox.className = 'xj-pre-img';
36        // 插入fragment
37        fragment.appendChild(file);
38        fragment.appendChild(imgBox);
39        // 给包裹组件设置class
40        this.opt.el.className = this.opt.clsName;
41        this.opt.el.appendChild(fragment);
42    }
43
44    xjFile.prototype.watch = function() {
45        var ipt = this.opt.el.querySelector('.xj-file');
46        var _this = this;
47        ipt.addEventListener('change', (e) => {
48            var file = ipt.files[0];
49
50            // 给组件赋值
51            _this.value = file;
52
53            var fileReader = new FileReader();
54
55            // 读取文件开始时触发
56            fileReader.onloadstart = function(e) {
57                if(_this.opt.accept !== '*' && _this.opt.accept.indexOf(file.type.toLowerCase()) === -1) {
58                    fileReader.abort();
59                    _this.opt.beforeUpload(file, e);
60                    console.error('文件格式有误', file.type.toLowerCase());
61                }
62            }
63
64            // 读取完成触发的事件
65            fileReader.onload = (e) => {
66                var imgBox = this.opt.el.querySelector('.xj-pre-img');
67                if(isImage(file.type)) {
68                    imgBox.innerHTML = '';
69                    imgBox.style.backgroundImage = 'url(' + fileReader.result + ')';
70                } else {
71                    imgBox.innerHTML = fileReader.result;
72                }
73
74                imgBox.title = file.name;
75
76                this.opt.onLoad(e);
77            }
78
79            // 文件读取出错事件
80            fileReader.onerror = (e) => {
81                this.opt.onError(e);
82            }
83
84            // 文件读取进度事件
85            fileReader.onprogress = (e) => {
86                this.opt.onProgress(e);
87            }
88
89            isImage(file.type) ? fileReader.readAsDataURL(file) : fileReader.readAsText(file);
90
91        }, false);
92    }
93
94    // 清除ipt和组件的值,支持链式调用
95    xjFile.prototype.clearFile = function() {
96        this.opt.el.querySelector('.xj-file').value = '';
97        this.value = '';
98        return this
99    }
100
101    // 简单对象混合
102    function minix(source, target) {
103        for(var key in target) {
104            source[key] = target[key];
105        }
106        return source
107    }
108
109    // 检测图片类型
110    function isImage(type) {
111        var reg = /(image\/jpeg|image\/jpg|image\/gif|image\/png)/gi;
112        return reg.test(type)
113    }
114
115    // 将方法挂载到window上
116    win.xjFile = xjFile;
117
118})(window, document);
class版(后期规划)
class版的也很简单,大致框架如下,感兴趣的朋友可以实现一下呦~
1class XjFile {
2    constructor(opt) {
3
4    }
5
6    init() {
7
8    }
9
10    watch() {
11
12    }
13
14    render() {
15
16    }
17
18    clearFile() {
19
20    }
21
22    minix(source, target) {
23
24    }
25
26    isImage(type) {
27
28    }
29}
总结
该组件仍有需要完善的地方,在后期使用中,会慢慢更新,优化,欢迎大家提出宝贵的建议。
更多推荐
最后,更多技术优质文章,技术资料,欢迎关注《趣谈前端》