
Eureka管理界面自定义
1开发工具:SpringToolSuite 4
2Spring-cloud版本:Greenwich.SR2,
近来公司用Eureka来做服务管理,要把服务端的界面增加些自己公司的属性上去,我简单的记录下修改的过程,过程如:
构建Eureka项目
创建Eureka项目
本人用的是SpringToolSuite的工具来构建Eureka项目,个人喜欢,工具可自行选择,pom.xml配置文件如下:
1<parent>
2		<groupId>org.springframework.boot</groupId>
3		<artifactId>spring-boot-starter-parent</artifactId>
4		<version>2.1.3.RELEASE</version>
5	</parent>
6	<properties>
7		<java.version>1.8</java.version>
8		<project.build.sourceEncoding>UTF-8</project.build.sourceEncoding>
9		<project.reporting.outputEncoding>UTF-8</project.reporting.outputEncoding>
10		<spring-cloud.version>Greenwich.SR6</spring-cloud.version>
11	</properties>
12	<!-- 引入 eureka-serverr的核心包 -->
13	<dependencies>
14		<dependency>
15			<groupId>org.springframework.cloud</groupId>
16			<artifactId>spring-cloud-starter-netflix-eureka-server</artifactId>
17		</dependency>
18	</dependencies>
19	<dependencyManagement>
20		<dependencies>
21			<dependency>
22				<groupId>org.springframework.cloud</groupId>
23				<artifactId>spring-cloud-dependencies</artifactId>
24				<version>${spring-cloud.version}</version>
25				<type>pom</type>
26				<scope>import</scope>
27			</dependency>
28		</dependencies>
29	</dependencyManagement>
编写启动类
1@EnableEurekaServer
2@SpringBootApplication
3public class ServerEurekaApplication extends SpringBootServletInitializer {
4
5	private static final Logger logger = LoggerFactory.getLogger(ServerEurekaApplication.class);
6
7	public static void main(String[] args) {
8		ConfigurableApplicationContext context = SpringApplication.run(ServerEurekaApplication.class, args);
9		ConfigurableEnvironment env = context.getEnvironment();
10		logger.info(
11				"\n----------------------------------------------------------\n\t"
12						+ "Application '{}' is running! Access URLs:\n\t" + "Local: \t\thttp://localhost:{}"
13						+ "\n----------------------------------------------------------",
14				env.getProperty("spring.application.name"), env.getProperty("server.port"));
15		logger.info("ServerEurekaApplication 已启动成功.....");
16	}
17
18	@Override
19	protected SpringApplicationBuilder configure(SpringApplicationBuilder builder) {
20		return builder.sources(this.getClass());
21	}
22}
23
24注意:
25springboot启动方式:
26	1、可以直接在main方法里用SpringApplication.run(EurekaServerApplication.class, args);运行
27	2、使用SpringBootServletInitializer启动,不过需要实现configure方法,这样用的第二种
28区别暂时就不在此讲解了。
配置文件
配置application.properties
1# eureka 端口
2server.port=5761
3spring.application.name=eureka
4# eureka 配置
5eureka.instance.hostname=localhost
6eureka.client.serviceUrl.defaultZone=http://${eureka.instance.hostname}:${server.port}/eureka/
7eureka.instance.prefer-ip-address=true
8eureka.instance.instance-id=http://${eureka.instance.hostname}:${server.port}
9
10eureka.client.fetch-registry=true
11eureka.client.register-with-eureka=false
12eureka.server.enable-self-preservation=false
13eureka.client.registry-fetch-interval-seconds=30
14eureka.instance.lease-renewal-interval-in-seconds=15
15eureka.instance.lease-expiration-duration-in-seconds=45
16# logging文件配置
17logging.config=classpath:logback-spring.xml
18info.logging.path=/eureka/logs/custom-eureka
启动
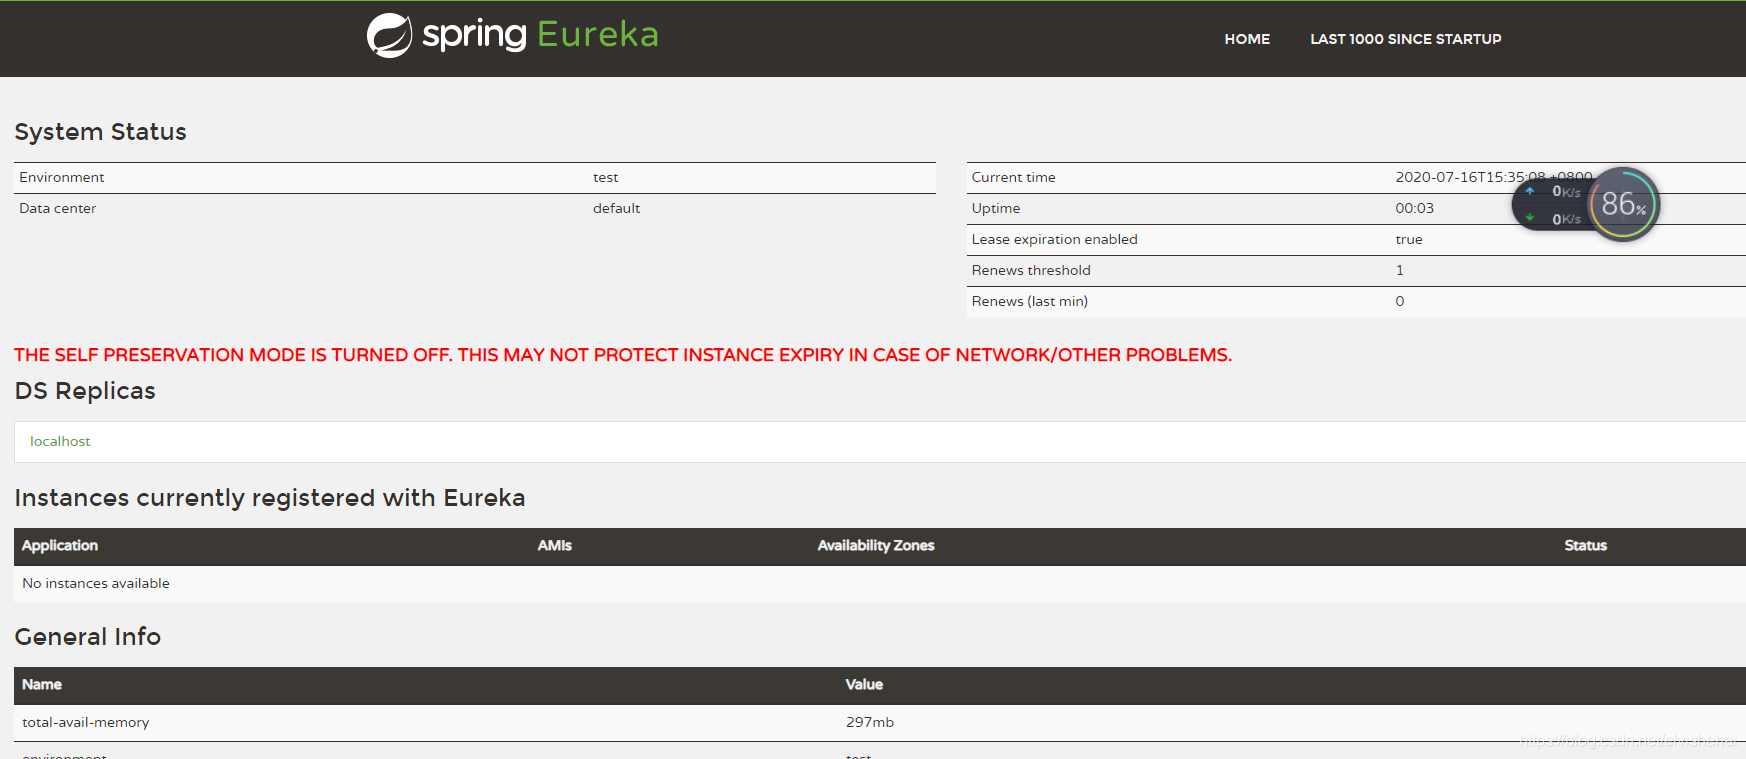
自定义Eureka页面
修改页面模板
在本地仓库中找到spring-cloud-netflix-eureka-server.jar文件所在的目录,版本根据maven引入的版本号
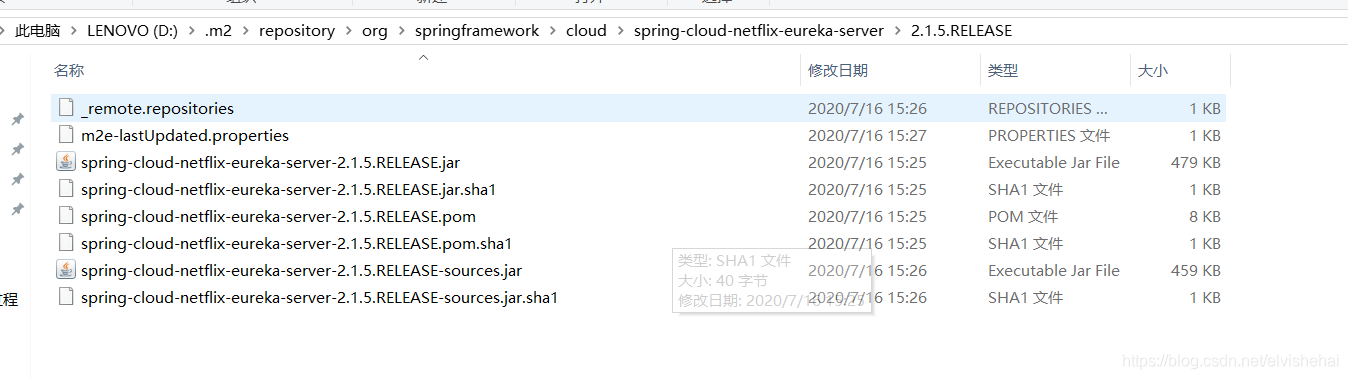
打开jar文件
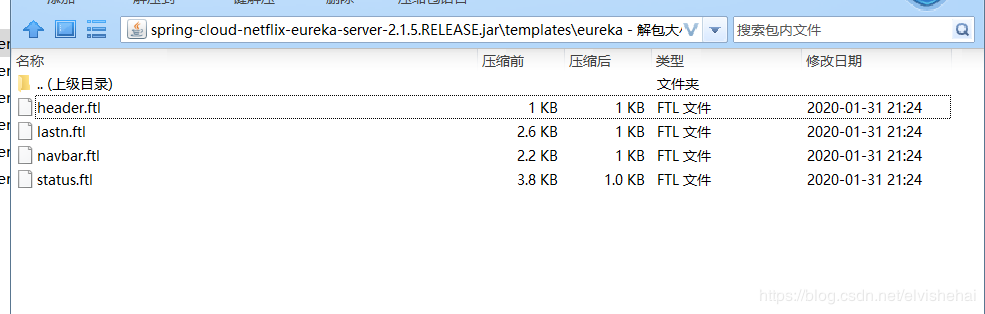
eureka.jar目录下的templates文件夹下存放了Erueka Server管理页面的模板文件,修改时可以将模板文件复制出来到当前项目的resources/templates/eureka目录下,然后进行自定义界面内容。
- header.ftlh:HOEM页面导航(导航模板页面模板)
- lastn.ftlh:页面整合模板,整合了header.ftlh与navbar.ftlh增加服务注册信息展示
- navbar.ftlh:System Status+DS Replicas(服务状态和集群信息页面模板)
- status.ftlh:Instance Info区域(显示服务器的基本状态)
找到status.ftlh文件,该文件是显示InstanceInfo 后面这一栏,文件中增加版权信息,代码如下:
1<footer style="position: fixed;background-color: rgba(43, 166, 166, 0.5);color: #FFF;bottom: 0;left: 0;right: 0;text-align: center;height: 20px;
2lie-height: 20px;">Copyright (C) Eureka 2019-2060, All Rights Reserved XXXXX</footer>
查看效果
重新运行eureka项目,访问原先的页面可以看到已经增加了公司版权一栏。

总结
以上是简单的修改了eureka页面的展示内容,当然再复杂的信息可以自行发挥,如包括可以修改logo,中文翻译,修改样式等。
由于本章设计的代码比较多,请结合源码进行学习
源码参考:https://gitee.com/viphzc/springcloud